


How to get crispy skin on roasted farm-raised chicken?

The Quest for Unrivaled Crispness
Roasting a whole chicken is a classic culinary endeavor, and for many, the ultimate goal is that coveted, shatteringly crisp skin. While farm-raised chickens are known for their superior flavor and texture, getting their skin perfectly golden and crisp can sometimes be a challenge. Fear not, for a few simple yet crucial techniques can transform your roast chicken from good to absolutely legendary.

Step 1: The Absolute Importance of Drying
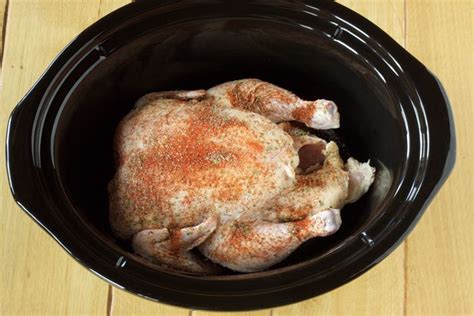
This is arguably the most critical step. Moisture is the enemy of crispiness. Even if your chicken looks dry, there’s always surface moisture. Pat the chicken thoroughly, inside and out, with paper towels. For best results, place the chicken, uncovered, on a wire rack set over a baking sheet in the refrigerator for at least 6-12 hours, or even up to 24 hours. The circulating air in the fridge will draw out moisture from the skin, leading to an incredibly dry surface ready for crisping.
Once dried, rub the chicken all over with a generous amount of salt. Salt not only seasons the meat but also helps to draw out any remaining surface moisture through osmosis, which then evaporates. Some chefs also recommend a pinch of baking powder mixed with salt and spices – the baking powder helps break down proteins in the skin, further enhancing crispness.
Step 2: Proper Seasoning and Fat Application
After drying and salting, it’s time for fat. A light coating of high-smoke-point oil (like avocado or grapeseed) or softened butter will help conduct heat and achieve that beautiful golden-brown color. Don’t overdo it; a thin, even layer is sufficient. At this stage, you can also add your desired herbs and spices, making sure they adhere well to the skin.
Consider placing aromatics like lemon halves, onion quarters, and garlic cloves inside the cavity. While they won’t directly affect skin crispiness, they will infuse the meat with flavor.
Step 3: Mastering Roasting Temperatures
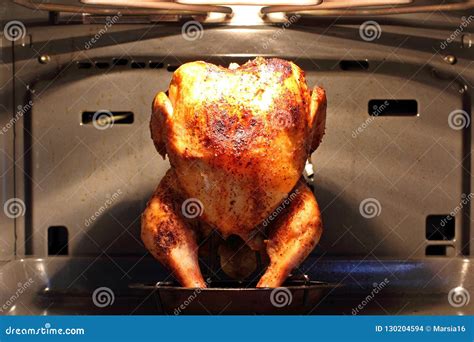
The key to crisp skin lies in a two-stage temperature approach. Start with a high oven temperature, typically 400-425°F (200-220°C), for the first 20-30 minutes. This initial blast of heat will render the fat beneath the skin and kickstart the browning and crisping process. After this initial period, reduce the oven temperature to a moderate 375°F (190°C) and continue roasting until the chicken is cooked through.
Ensure your chicken is roasted on a wire rack set inside a roasting pan. This allows air to circulate all around the chicken, preventing the bottom from becoming soggy and promoting even crisping. Avoid basting; basting reintroduces moisture to the skin, undoing all your hard work.
Step 4: The Art of Patience and Resting
Once your chicken reaches an internal temperature of 165°F (74°C) in the thickest part of the thigh (without touching bone), remove it from the oven. It’s crucial not to carve it immediately. Transfer the chicken to a clean cutting board and tent it loosely with foil for 10-15 minutes. This resting period allows the juices to redistribute throughout the meat, resulting in a more tender and flavorful chicken. Crucially, the skin will retain its crispness during this short rest, perhaps even becoming slightly more brittle as it cools slightly.

Conclusion: A Crispy Culinary Reward
Achieving perfectly crispy skin on your roasted farm-raised chicken isn’t a matter of luck but rather a testament to meticulous preparation and precise technique. By prioritizing dryness, applying proper seasoning and fat, mastering your oven temperatures, and allowing for a crucial resting period, you’ll consistently deliver a magnificent roast chicken with skin that crackles with every bite. Get ready to impress your family and friends with this truly satisfying culinary triumph!