How to keep homemade food fresh for country road trips?

There’s nothing quite like the comfort and cost-effectiveness of homemade food, especially when you’re exploring scenic country roads. However, keeping those delicious meals fresh and safe from spoilage can be a challenge when you’re miles away from a refrigerator. With a bit of planning and the right techniques, you can ensure your culinary creations remain palatable and safe throughout your journey.
Choose Your Food Wisely
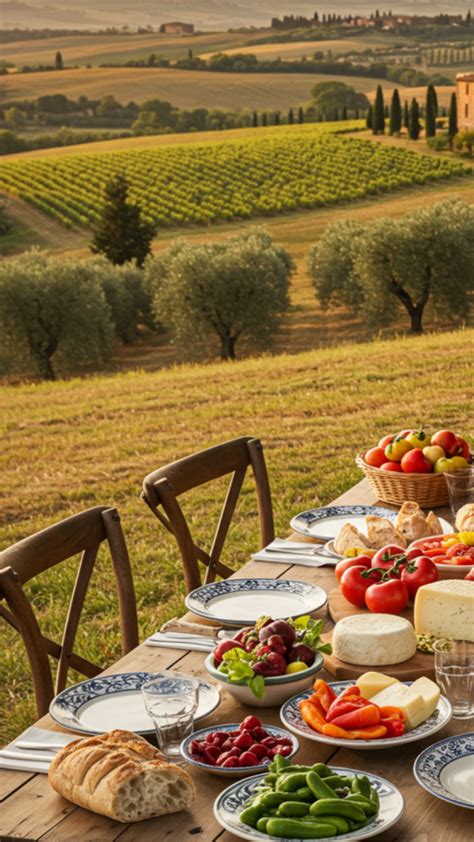
The first step in successful road trip food preservation begins before you even pack. Opt for foods that are inherently less perishable or hold up well without constant refrigeration for short periods. Think about items that are low in moisture, high in acidity, or can be eaten cold without much fuss.
- Good Choices: Hard-boiled eggs, sandwiches with sturdy bread (avoiding overly wet fillings like fresh tomatoes until assembly), pasta salads (without creamy dressings), roasted vegetables, pre-cooked meats (like grilled chicken strips), muffins, cookies, and fresh whole fruits (apples, oranges, bananas).
- Avoid or Pack Separately: Cream-based dishes, delicate greens, raw meats, and anything highly susceptible to bacterial growth in warm temperatures. Pack dressings, sauces, and condiments in separate, small, airtight containers.

The Art of Packing and Insulation
Effective packing is crucial. Invest in quality gear and use smart strategies to create an optimal environment for your food.
Container Selection
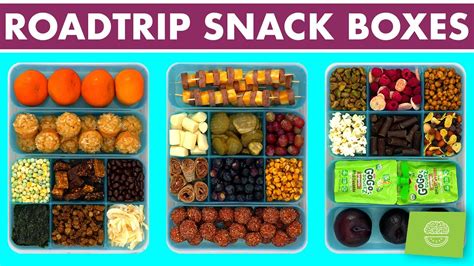
- Airtight is Key: Use airtight containers (glass or BPA-free plastic) to prevent leaks, odors, and contamination. They also help maintain food temperature better than flimsy alternatives.
- Portion Control: Pack food in individual or meal-sized portions to minimize opening larger containers, which exposes food to warmer air.
- Stacking Smarts: Choose containers that stack efficiently to maximize cooler space.
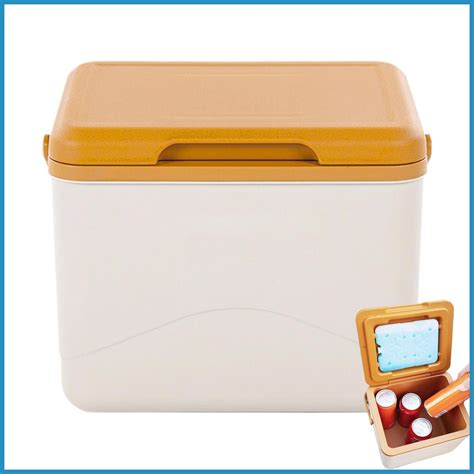
Cooler Choice and Preparation
- High-Quality Coolers: A good insulated cooler is your best friend. Rotomolded coolers offer superior insulation but can be heavy. Hard-sided coolers generally perform better than soft-sided ones for longer trips.
- Pre-chill Your Cooler: Before packing, pre-chill your cooler by filling it with ice or ice packs for several hours, then dump the old ice and replace it with fresh ice just before departure. This lowers the interior temperature and helps everything stay cold longer.
Superior Cooling Methods
Beyond a good cooler, the right chilling agents make all the difference.
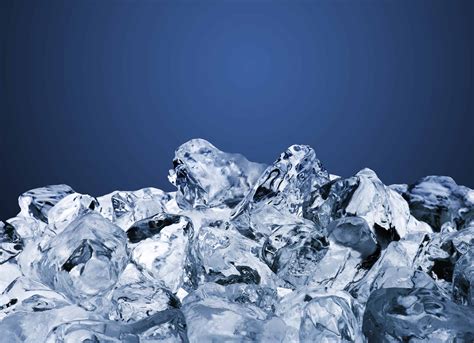
- Ice Packs: Reusable ice packs are convenient and don’t make a watery mess. Freeze them solid overnight.
- Block Ice vs. Cubed Ice: Block ice melts much slower than cubed ice, making it ideal for longer trips. If using cubed ice, consider freezing water bottles or juice boxes, which can serve as both a cooling agent and a drink later.
- Layering Strategy: Place a layer of ice or ice packs at the bottom of the cooler. Add your most perishable items (meats, dairy) directly on top or nestled among the ice. Fill in gaps with more ice or ice packs, and place less perishable items on top.
- Dry Ice (with Caution): For extended trips or extremely hot weather, dry ice is incredibly effective. Place it at the bottom of the cooler, wrapped in newspaper or a towel, and ensure good ventilation in your car (never seal it in a passenger compartment without airflow). Handle with gloves!
On-the-Road Management and Food Safety
Keeping food fresh isn’t just about packing; it’s also about managing it during the trip.
- Minimize Opening: Every time you open the cooler, warm air rushes in. Try to limit openings to meal times. Consider having a separate “snack cooler” for drinks and quick bites that will be accessed more frequently.
- Keep it Cool: Store your cooler inside the car, out of direct sunlight. If possible, place it on the floor or under a seat where the ambient temperature is lower than in the trunk.
- Hand Hygiene: Always wash or sanitize your hands before handling food. Pack wet wipes and hand sanitizer.
- Know the “Danger Zone”: Bacteria multiply rapidly between 40°F (4°C) and 140°F (60°C). Food should not be left in this temperature range for more than two hours (or one hour if the ambient temperature is above 90°F / 32°C). When in doubt, throw it out.

Practical Tips for Success
- Plan Your Meals: Know what you’ll eat when. Consume the most perishable items earlier in the trip.
- Bring Supplies: Don’t forget cutlery, plates, napkins, a small cutting board, and a sharp knife (safely stored) for assembling sandwiches or cutting fruit.
- Trash Bags: Pack several for waste, especially for food scraps.
- Refreeze or Replenish: If you’re staying overnight in a motel, refreeze your ice packs or buy new ice if needed.
- Separate Raw from Cooked: Always keep raw ingredients (if any) separate from cooked food to prevent cross-contamination.

Embarking on a country road trip with homemade food can be a truly rewarding experience, offering healthy, delicious, and budget-friendly meals. By implementing these strategies – from smart food choices and meticulous packing to superior cooling and vigilant food safety practices – you can enjoy the culinary comforts of home, no matter how far off the beaten path you venture. Happy travels and happy eating!