


How to make a flaky pie crust from scratch using lard?

Why Lard is Your Secret Weapon for Flaky Crust
For generations, experienced bakers have known a secret to truly outstanding pie crust: lard. While butter and shortening have their places, pure lard offers a unique combination of properties that results in an incredibly tender and unmistakably flaky crust that simply can’t be replicated with other fats. Lard has a higher melting point than butter, which means it stays solid longer when mixed into the flour, creating larger pockets of fat that steam and expand during baking, resulting in those desirable airy layers.
Furthermore, lard’s larger fat crystals contribute to a more tender crumb, preventing the gluten from developing too much and making the crust tough. Opting for good quality, unrendered lard is key for the best flavor and texture, though readily available processed lard can also yield excellent results.
Essential Ingredients
- 2 ½ cups (300g) all-purpose flour, chilled
- 1 teaspoon salt
- 1 cup (226g) cold lard, cut into ½-inch cubes
- ½ cup (120ml) ice water, plus more if needed
Gather Your Tools
Having the right equipment at hand makes the process smoother. You’ll need a large mixing bowl, a pastry blender (or two forks/your fingertips), measuring cups and spoons, plastic wrap, and a rolling pin.
Step-by-Step Guide to a Perfect Lard Pie Crust
1. Combine Dry Ingredients
In your large mixing bowl, whisk together the chilled all-purpose flour and salt. Chilling the flour helps keep the lard colder for longer, which is crucial for flakiness.
2. Cut in the Lard
Add the cold, cubed lard to the flour mixture. Using a pastry blender, two forks, or your fingertips, cut the lard into the flour until the mixture resembles coarse meal with some pea-sized pieces of lard still visible. Avoid overworking it; the goal is to keep the lard distinct and cold.
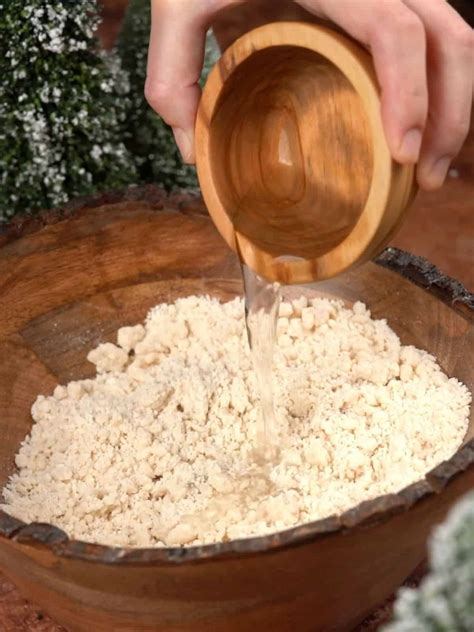
3. Add Ice Water Gradually
Sprinkle the ice water, one tablespoon at a time, over the flour-lard mixture. Gently mix with a fork or your hands until the dough just begins to come together. Be careful not to add too much water; the dough should be shaggy but hold together when squeezed. It’s better to have a slightly dry dough than a wet, sticky one.
4. Form and Chill
Divide the dough in half. Gently form each half into a flat disk, wrap tightly in plastic wrap, and refrigerate for at least 30 minutes, or up to 2 days. Chilling the dough allows the gluten to relax, makes it easier to roll, and further solidifies the lard.

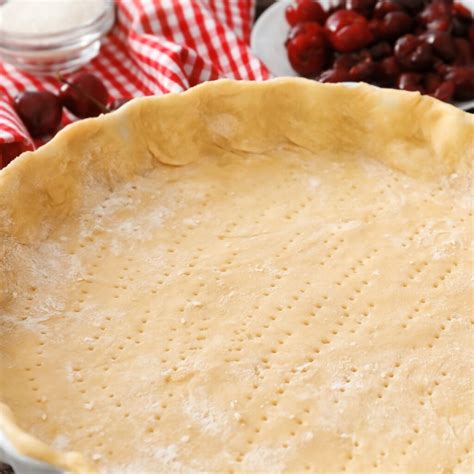
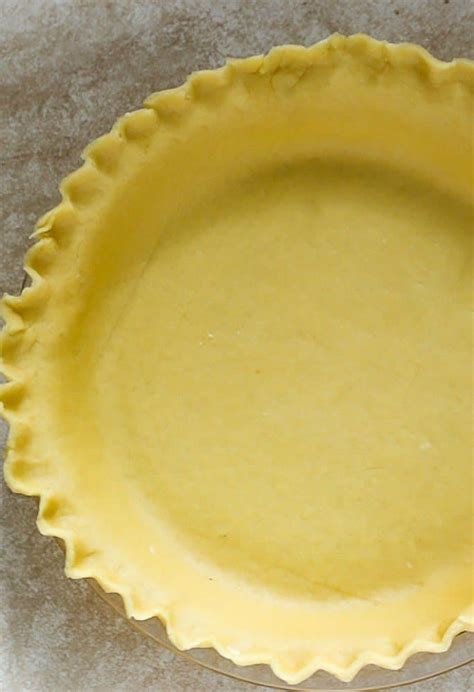
5. Roll and Bake
On a lightly floured surface, roll out one disk of dough from the center outwards into a 12-inch circle. Carefully transfer the dough to your pie plate. Trim the edges, leaving about a ½-inch overhang, then crimp as desired. Fill and bake according to your pie recipe. For a single crust pie, you can blind bake it first if the recipe calls for it.
Pro Tips for Pie Crust Perfection
- Keep it Cold: This is the golden rule! Cold ingredients, cold hands, and cold tools all contribute to a flakier crust.
- Don’t Overwork: Over-mixing develops gluten, leading to a tough crust. Mix just enough for the dough to come together.
- Mind the Water: Add just enough water for the dough to form. Too much makes it tough; too little makes it crumbly.
- Quality Lard: Seek out good quality, unrendered lard from a butcher for the best results, though commercially available lard works well too.
Conclusion
Making a flaky pie crust from scratch using lard is a rewarding culinary skill that elevates any pie. With a little practice and adherence to these tips, you’ll be creating tender, layered crusts that will impress everyone at your table. Embrace the tradition and taste the difference that genuine lard makes in your baking!


