


How to make sourdough starter consistently active for rustic homemade bread?

Understanding Your Sourdough Starter
A vibrant, active sourdough starter is the heart and soul of incredible rustic bread. It’s a living culture of wild yeasts and bacteria that creates the unique flavor and airy texture sourdough is known for. A sluggish starter, however, can lead to dense, flat loaves. The key to consistency lies in understanding what your starter needs to thrive and providing it with the optimal environment.
Think of your starter as a pet; it requires regular feeding, a comfortable temperature, and a clean home. Neglecting any of these aspects can quickly diminish its activity. By paying close attention to its behavior, you’ll soon learn to read its readiness for baking.

The Golden Rules of Feeding: Ratio, Flour, and Water
1. The Right Feeding Ratio
One of the most critical factors is the feeding ratio. A common and highly effective ratio is 1:1:1 (starter:flour:water by weight). For example, if you keep 50g of starter, you would feed it with 50g of fresh flour and 50g of water. This ensures there’s enough food to go around, allowing the yeast and bacteria to multiply robustly before running out of sustenance.
Adjusting the ratio can also influence activity. A higher ratio of food (e.g., 1:2:2 or 1:3:3) can slow down the fermentation, making it useful if you need to extend the time between feedings or want a slower rise. Conversely, a lower ratio means it eats faster, which might be good for a quick boost before baking.
2. Quality Flour Matters
Not all flours are created equal for sourdough. Opt for unbleached, organic flours whenever possible. Whole wheat flour or rye flour are often excellent choices for feeding, especially during the initial stages or for occasional boosts, as they contain more nutrients for the microbes. All-purpose unbleached flour also works well for regular maintenance. Avoid bleached flours, as the bleaching process can damage the natural enzymes and nutrients vital for your starter’s health.
3. Hydration and Water Quality
Always use filtered or unchlorinated water. Chlorine can inhibit microbial activity, essentially harming your starter. Tap water that has been left out overnight can often suffice if filtering isn’t an option, as chlorine tends to dissipate. The hydration level (how much water relative to flour) also impacts consistency. A 100% hydration starter (equal parts flour and water by weight) is common and easier to work with, showing clear signs of activity. If your starter is too stiff, it might struggle to rise effectively; too liquid, and it might peak and fall too quickly.
Environmental Factors: Temperature is Key
Temperature plays a crucial role in your starter’s activity. The ideal temperature range for most sourdough starters is between 70-80°F (21-27°C). In this range, yeast and bacteria are most active, leading to faster, more predictable fermentation.
- Warmer Temperatures: Accelerate fermentation. Your starter will peak faster, but might also get hungry more quickly. Useful in colder months or when you need a quick boost.
- Cooler Temperatures: Slow down fermentation. This is perfect for storing your starter in the refrigerator between bakes, extending the time before it needs feeding. If your kitchen is consistently cool, your starter will simply take longer to become active after feeding.
You can use a proofing box, your oven with the light on (check temperature carefully!), or even a warm spot near a radiator to maintain an optimal temperature. Consistency in temperature will lead to consistency in activity.
Signs of an Active Starter and When to Bake
An active starter will exhibit several clear signs:
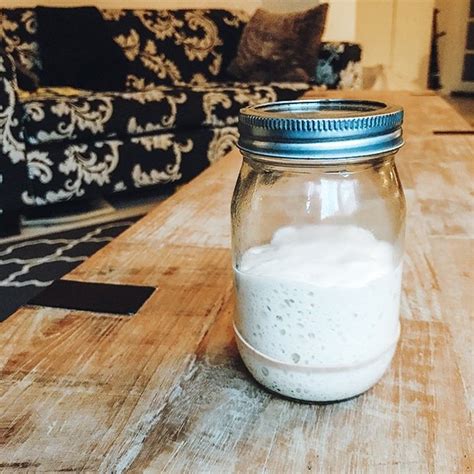
- Bubbles: Lots of small and large bubbles throughout, especially on the surface.
- Rise: It will double or even triple in size after feeding, peaking at its maximum volume.
- Smell: A pleasant, tangy, slightly yeasty aroma. Not overpoweringly alcoholic or acrid.
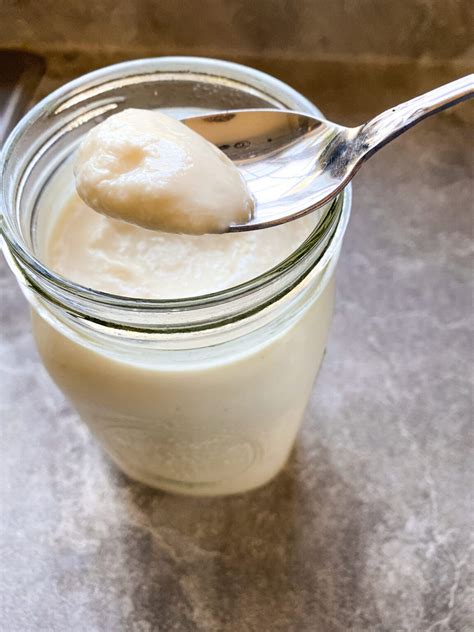
- Float Test: A small spoonful dropped into water should float. This indicates it’s full of trapped gas and ready to leaven your bread.
The best time to use your starter for baking is when it has just peaked or is slightly past its peak – typically 4-8 hours after feeding, depending on temperature. This is when its leavening power is strongest.
Troubleshooting Common Sourdough Starter Issues
Even with the best intentions, starters can sometimes become sluggish or develop issues. Here’s how to address them:
- Sluggish Starter: Increase feeding frequency, use a higher percentage of whole wheat or rye flour, and ensure it’s in a warmer environment.
- Hooch (Dark Liquid): This is a sign of hunger. Pour it off, discard more starter, and feed more frequently or with a higher ratio of flour.
- Mold: Unfortunately, mold means your starter is compromised and should be discarded. Prevent this by using clean jars and utensils, and feeding regularly.
- Lack of Rise: Ensure your starter isn’t too cold, try a higher feeding ratio, and make sure your flour is fresh and unbleached.
Patience is key with sourdough. Don’t get discouraged if it takes a few tries to get it right. With consistent care and attention to these details, you’ll soon have a robust, consistently active sourdough starter ready to make the most delicious rustic bread.