How to make sourdough starter from scratch using only whole grains and wild yeast?
Embrace the Art of Sourdough: Your Journey to a Whole Grain Starter
Creating your own sourdough starter from scratch is a rewarding journey into the heart of natural baking. Far from a mere ingredient, a sourdough starter is a living, breathing culture of wild yeast and beneficial bacteria, ready to transform simple flour and water into magnificent loaves of bread. This guide focuses on harnessing the robust power of whole grains, which are rich in nutrients and naturally abundant with the wild yeasts needed to kickstart a healthy, active culture.
Understanding Sourdough: More Than Just Yeast
A sourdough starter is a symbiotic culture of yeast and lactic acid bacteria (LAB) living in a fermented flour-and-water paste. The wild yeast produces carbon dioxide, which leavens the bread, while the LAB contribute to the characteristic sour flavor and improved shelf life. Using whole grains, particularly whole wheat or rye, provides more nutrients for these microorganisms to thrive, often leading to a more vigorous and flavorful starter compared to those made with refined flours.
Why Whole Grains are Optimal for Starter Creation
Whole grain flours contain the entire wheat berry – bran, germ, and endosperm. The bran and germ are particularly rich in micronutrients, minerals, and enzymes that act as superfoods for the wild yeast and bacteria. More importantly, the surface of the grain’s outer layers (bran) naturally hosts a greater diversity and quantity of wild yeasts, making whole grain flours excellent candidates for initiating a starter. Rye flour, in particular, is renowned for its ability to kickstart a very active culture quickly.
Ingredients and Equipment You’ll Need
Gathering your simple tools and ingredients is the first step towards your thriving starter.
- Whole Grain Flour: Organic whole wheat flour or organic whole rye flour are highly recommended. Organic is preferred as it’s less likely to contain residues that could hinder microbial growth.
- Non-Chlorinated Water: Tap water often contains chlorine, which can inhibit wild yeast activity. Use filtered water, bottled spring water, or simply leave tap water out in an open container for 24 hours to allow the chlorine to evaporate.
- Glass Jar: A 1-quart (1-liter) wide-mouth glass jar is ideal.
- Breathable Cover: A clean cloth, cheesecloth, or loose-fitting lid to allow air circulation while keeping contaminants out.
- Spatula or Spoon: For mixing.
- Kitchen Scale: For accurate measurements (highly recommended for consistency).
Step-by-Step Guide: The Initial Mix (Day 1)
Day 1: The Inaugural Mix
This is where your starter’s life begins. Precision in measurement is key for consistent results, so a kitchen scale is your best friend here.
- In your clean glass jar, combine 50 grams (approximately 1/2 cup) of whole grain flour with 50 grams (approximately 1/4 cup) of non-chlorinated water.
- Mix thoroughly with a spatula or spoon until no dry flour spots remain. The mixture should have the consistency of a thick paste or pancake batter.
- Scrape down the sides of the jar to keep it tidy.
- Cover the jar loosely with your breathable cover.
- Place the jar in a warm spot in your kitchen (ideally 70-78°F / 21-26°C), away from direct sunlight. This warmth encourages yeast and bacteria activity.
- Leave undisturbed for 24 hours.

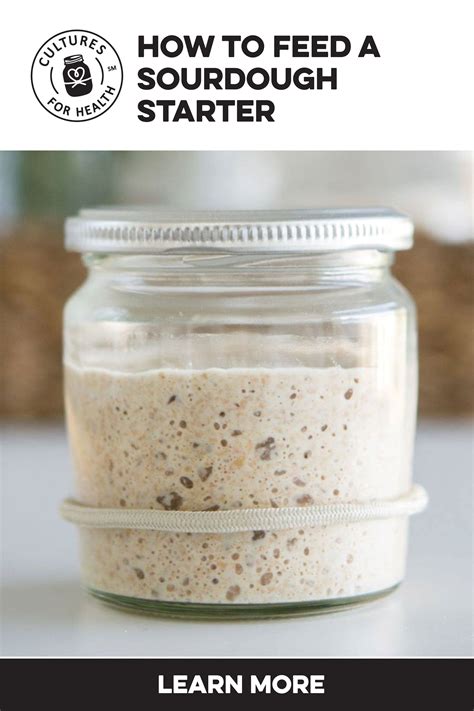
The Feeding Schedule: Days 2-7+
Consistency in feeding is crucial for developing a strong, active starter. You’ll be feeding your starter once or twice daily, discarding a portion each time to manage its volume and provide fresh nutrients.
Day 2: First Observations and Feed
After 24 hours, you might not see much activity, but don’t worry! Your starter is just waking up.
- Observe: Look for tiny bubbles, especially on the surface or sides. You might notice a faint, slightly fermented smell.
- Discard: Scoop out and discard all but 50 grams (about 1/4 cup) of your starter.
- Feed: Add 50 grams of fresh whole grain flour and 50 grams of non-chlorinated water to the remaining starter.
- Mix: Stir well until fully combined.
- Cover & Rest: Cover loosely and return to its warm spot for another 24 hours.
Day 3-4: Increased Activity
You should start seeing more signs of life.
- Observe: Bubbles should be more noticeable, and the starter might show some slight rise and fall. The smell might become more yeasty, slightly sour, or even vinegary.
- Feeding Schedule: Continue the Day 2 feeding routine (discard down to 50g, feed 50g flour + 50g water) every 12-24 hours. If your kitchen is warm, you might need to feed every 12 hours.
Day 5-7+: Reaching Peak Activity
By this point, your starter should be consistently active and ready for baking.
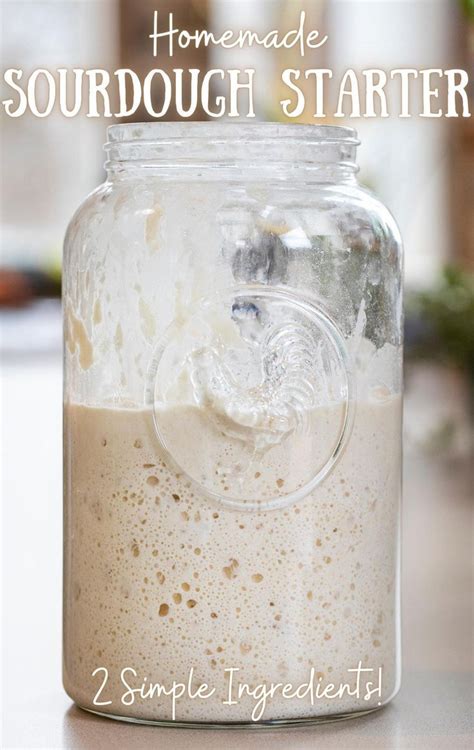
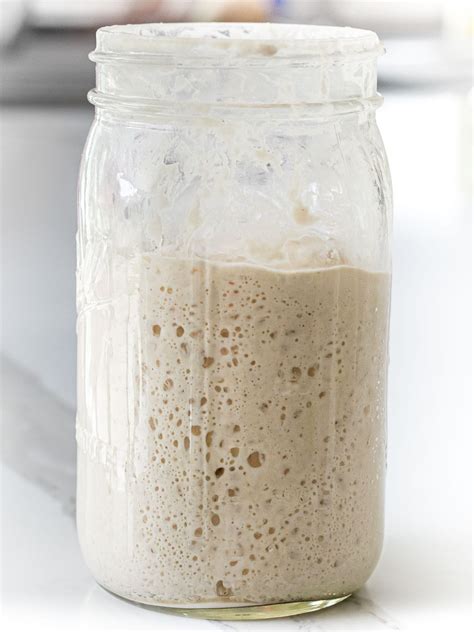
- Observe: A mature starter will reliably double (or more) in size within 4-8 hours after feeding. It will be full of bubbles, have a pleasant tangy, yeasty aroma, and a spongy texture.
- Feeding: Continue feeding every 12-24 hours as described, until it consistently reaches peak activity within 4-8 hours.
Signs of an Active and Healthy Starter
A mature, ready-to-bake sourdough starter exhibits several key characteristics:
- Reliable Doubling: After feeding, it should consistently rise to at least double its original volume within 4-8 hours (depending on ambient temperature).
- Bubbly Texture: The entire culture should be filled with small and large bubbles, indicating active fermentation.
- Pleasant Aroma: It should smell tangy, yeasty, and slightly sweet, reminiscent of ripe fruit or good yogurt. Avoid smells that are overly sharp, like nail polish remover, which can indicate an unbalanced culture (though common in early stages).
- Float Test: Take a small spoonful of starter at its peak (when it has risen the most) and drop it into a glass of water. If it floats, it’s ready to bake with!
Troubleshooting Common Sourdough Starter Issues
Don’t be discouraged if your starter doesn’t behave exactly as expected. It’s a living thing!
- No Activity / Slow Activity: Ensure your kitchen is warm enough. Move it to a warmer spot or use a proofing box. Be patient; some starters take longer to get going. Try switching to a different whole grain flour, like rye, for a few feedings to boost activity.
- Hooch: A dark liquid forming on top is called ‘hooch.’ It’s a sign your starter is hungry. Clear hooch is generally fine; stir it in or pour it off before feeding. Darker hooch suggests a very hungry starter. Feed more frequently or adjust ratios.
- Mold: If you see any fuzzy, colored spots (green, black, orange), discard the entire starter immediately and start over. Mold usually indicates contamination.
- Foul Odors: Strong, unpleasant odors (like gym socks or vomit) can occur in the early stages as different microbes compete. Continue feeding, and the beneficial yeast and bacteria should eventually dominate, leading to a pleasant aroma. If it persists beyond a few days, consider starting anew.
Maintaining Your Active Sourdough Starter
Once your starter is consistently active, you have a few options for maintenance:
- Room Temperature (for frequent bakers): If you bake every day or every other day, keep your starter at room temperature and feed it once or twice daily.
- Refrigeration (for less frequent bakers): For baking once a week or less, store your starter in the refrigerator. Feed it once a week: take it out, let it warm up for a few hours, feed it, let it sit at room temperature for 4-8 hours until bubbly, then return it to the fridge.
- Discard Use: Don’t throw away your discard! Use it for delicious recipes like crackers, pancakes, waffles, or even pizza dough.
Conclusion: Your Sourdough Journey Begins
Successfully cultivating a whole grain sourdough starter is a testament to patience and the wonder of natural fermentation. With your active starter, you’re now equipped to bake incredible, flavorful, and wholesome sourdough breads, expanding your culinary skills and bringing the age-old tradition of artisanal baking into your home. Enjoy the process, and happy baking!