


How to make tough garden beef cuts fall-apart tender in a Dutch oven?
Even the most robust cuts of beef from your local butcher or backyard-raised animals can be transformed into a melt-in-your-mouth masterpiece with the right approach. The secret weapon? A Dutch oven. This versatile piece of cookware, combined with the art of slow braising, can turn tough, fibrous meat into a tender, flavorful delight that literally falls apart at the touch of a fork.
The Magic of Low and Slow in a Dutch Oven
A Dutch oven is more than just a pot; it’s a culinary crucible perfectly designed for braising. Its heavy construction, tight-fitting lid, and excellent heat retention create an ideal environment for transforming tough cuts. The even distribution of heat prevents scorching, while the sealed lid traps steam and moisture, ensuring that your beef stays juicy and succulent throughout the long cooking process. This consistent, gentle heat is crucial for breaking down connective tissues without drying out the meat.
Selecting the Best “Tough” Cuts
Not all beef cuts are created equal, and some are inherently better suited for the low-and-slow Dutch oven method. Look for cuts rich in collagen and connective tissue, which are typically tougher but become incredibly tender when broken down. Excellent choices include:
- Chuck Roast: A classic for pot roasts, known for its marbling and rich flavor.
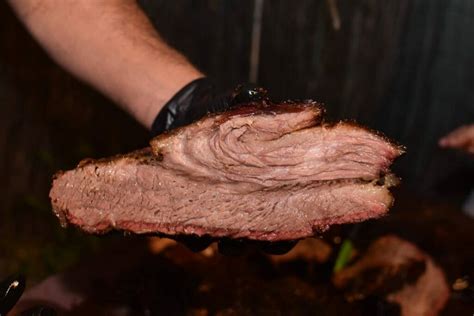
- Brisket: Popular for smoking, but exceptional when braised to tender perfection.
- Short Ribs: Bone-in or boneless, these are incredibly flavorful and become wonderfully tender.
- Oxtail: While less common, oxtail yields an incredibly rich, gelatinous sauce and tender meat.
The Science Behind Fall-Apart Tenderness
The magic happens at a molecular level. Tough beef cuts contain a lot of collagen, a type of connective tissue that makes meat chewy. When subjected to low, moist heat over several hours, this collagen slowly breaks down and converts into gelatin. Gelatin adds a luxurious, silky texture to the meat and enriches the braising liquid, creating a savory sauce. This process is why slow cooking is essential; high heat would simply toughen the muscle fibers further before the collagen has a chance to transform.
Step-by-Step Guide to Tender Beef
1. Prepare Your Beef
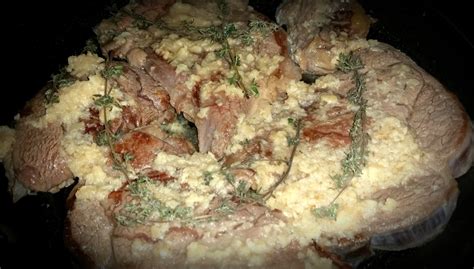
Pat the beef dry with paper towels. Season generously on all sides with salt, black pepper, and any other desired spices (garlic powder, paprika, etc.). This step is crucial for building flavor.
2. Sear for Flavor
Heat a tablespoon or two of high-smoke-point oil (like canola or grapeseed) in your Dutch oven over medium-high heat until shimmering. Sear the beef on all sides until a deep, golden-brown crust forms. This Maillard reaction creates incredible depth of flavor. Remove the beef and set aside.
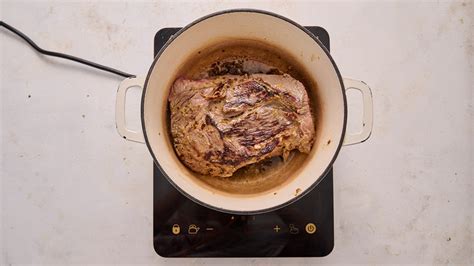
3. Build the Flavor Base
Reduce the heat to medium. Add chopped aromatics like onions, carrots, and celery to the Dutch oven, scraping up any browned bits from the bottom. Sauté until softened, then add minced garlic and cook for another minute until fragrant. A splash of red wine or a bit of tomato paste can be added here for extra depth.
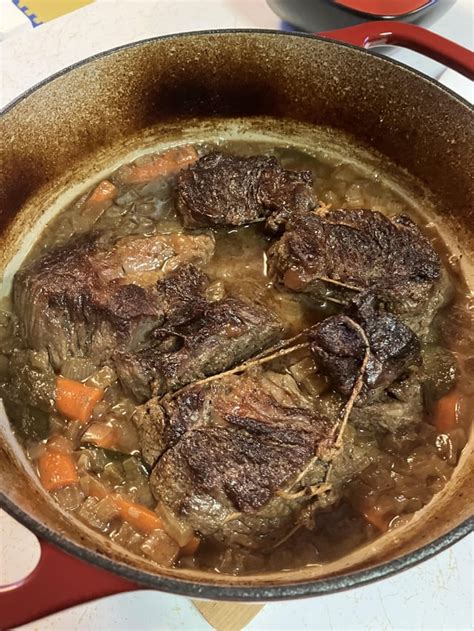
4. Add Braising Liquid
Return the seared beef to the Dutch oven. Pour in enough liquid (beef broth, red wine, water, or a combination) to come about halfway or two-thirds up the sides of the meat. You don’t want to fully submerge it, as some parts benefit from being exposed to the hot, moist air above the liquid. Add herbs like bay leaves and thyme.
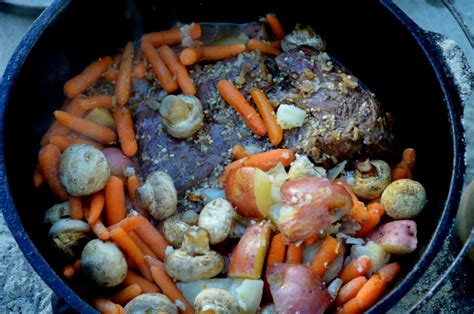
5. The Low and Slow Cook
Bring the liquid to a gentle simmer on the stovetop, then cover the Dutch oven tightly with its lid. Transfer it to a preheated oven set to a low temperature, typically 300-325°F (150-160°C). Cook for 3-4 hours, or even longer for larger cuts, until the beef is incredibly tender and easily shredded with a fork. Check occasionally to ensure the liquid isn’t completely evaporating, adding more if necessary.
6. Rest and Serve
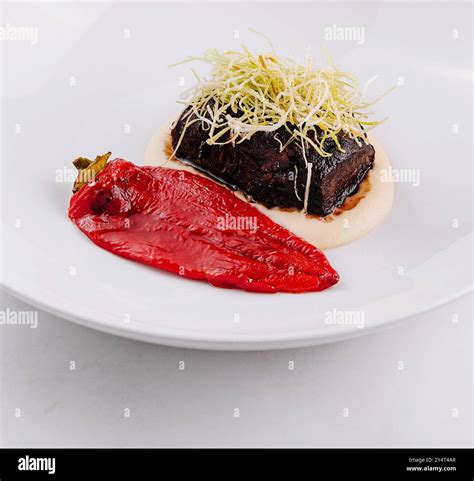
Once cooked, remove the Dutch oven from the oven. You can either remove the beef and shred it, or if it’s a roast, slice it. If desired, you can strain the braising liquid, skim off excess fat, and reduce it on the stovetop to create a rich sauce. Allow the meat to rest for at least 10-15 minutes before serving; this allows the juices to redistribute, ensuring maximum tenderness and flavor.
Expert Tips for Ultimate Tenderness
- Don’t Rush It: Patience is key. The longer and slower you cook, the more tender the beef will become.
- Add Acidity: A splash of red wine, a can of crushed tomatoes, or a bit of vinegar in your braising liquid can help break down connective tissues even further, adding brightness to the flavor.
- Season in Layers: Season the meat before searing, then taste and adjust the seasoning of your braising liquid.
- Check for Doneness: The best indicator of doneness isn’t a thermometer, but a fork. If the meat pulls apart easily with minimal effort, it’s ready.
Conclusion
Turning tough garden beef cuts into fall-apart tender meals in a Dutch oven is a rewarding culinary journey. By understanding the science behind the process and following these simple steps, you can confidently transform even the most challenging cuts into a deeply flavorful, incredibly tender dish that will impress family and friends. Embrace the low and slow method, and let your Dutch oven work its magic.


