How to safely can low-acid garden vegetables?
Understanding Low-Acid Foods and Why Pressure Canning is Crucial
Preserving your garden’s bounty is a rewarding experience, but when it comes to low-acid vegetables, safety is paramount. Foods like green beans, corn, peas, carrots, potatoes, asparagus, and all meats, poultry, and fish are considered low-acid. This means they have a pH level above 4.6, creating an environment where the dangerous bacterium Clostridium botulinum can thrive and produce deadly toxins if not processed correctly. Unlike high-acid foods (like most fruits and pickled vegetables) which can be safely preserved using a boiling water bath canner, low-acid foods absolutely require a pressure canner to reach temperatures high enough to destroy botulism spores.
Essential Equipment for Safe Pressure Canning
Before you begin, gather all the necessary tools. Investing in quality equipment is key to successful and safe canning:
- Pressure Canner: This is non-negotiable. Ensure it’s in good working order, with a functional pressure gauge (dial gauges should be tested annually) or weighted gauge.
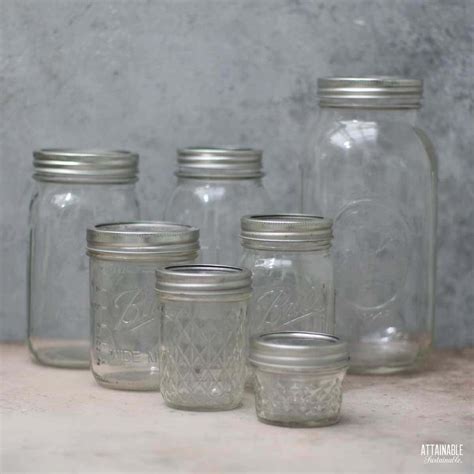
- Canning Jars: Use only approved glass canning jars (e.g., Mason jars) specifically designed for home canning. Inspect for chips or cracks.
- Two-Piece Lids: New flat lids for each batch and screw bands (which can be reused).
- Canning Tools: Jar lifter, canning funnel, headspace ruler, bubble remover/de-bubbler, and a clean damp cloth.
- Basic Kitchen Tools: Large pots, sharp knives, cutting boards, and timers.
Preparing Your Vegetables and Jars
Proper preparation is the first step towards a safe canned product. Always work with clean hands and sanitized equipment.
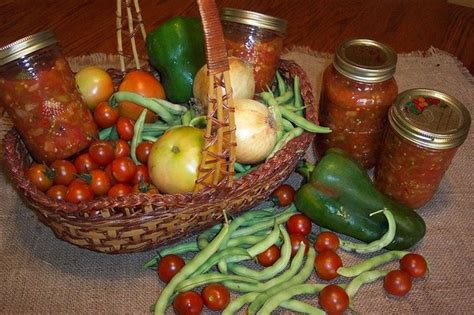
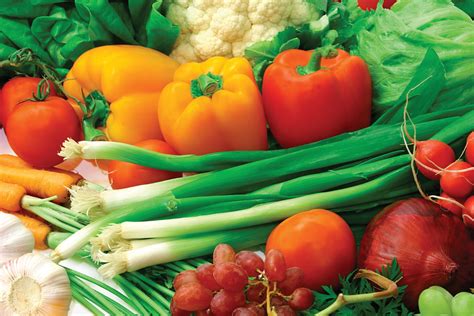
- Select Fresh Produce: Choose ripe, firm, undamaged vegetables. Process them as soon as possible after harvesting for the best quality.
- Wash Thoroughly: Wash vegetables under cold running water. Scrub root vegetables with a brush.
- Prepare Vegetables: Peel, trim, chop, or slice according to your recipe. Follow tested recipes from reliable sources like the USDA Complete Guide to Home Canning for specific preparation instructions for each vegetable.
- Prepare Jars: Wash jars in hot, soapy water, rinse well. While sterilization isn’t strictly necessary for foods processed for 10 minutes or more in a pressure canner, ensuring jars are clean and hot helps prevent thermal shock. Keep jars hot until filling.
- Prepare Lids: Follow the manufacturer’s instructions for preparing flat lids. Some require simmering in hot water, while others do not.
The Step-by-Step Pressure Canning Process
This is where precision is crucial. Do not rush any step.
- Fill Jars: Pack hot vegetables (raw-pack or hot-pack, as per your recipe) into hot jars. Use a canning funnel to keep jar rims clean. Leave the specified headspace (usually 1 inch for low-acid foods).
- Add Liquid (if specified): Cover vegetables with boiling water, broth, or the liquid from a hot-pack process, maintaining proper headspace.
- Remove Air Bubbles: Use a plastic or rubber utensil (not metal) to remove air bubbles by running it between the food and the inside of the jar. Adjust headspace if necessary.
- Clean Rims and Seal: Wipe jar rims clean with a damp cloth. Center a new flat lid on each jar, and screw on the band fingertip-tight (just until resistance is met).
- Load Canner: Place jars on the rack in the pressure canner. Add 2-3 inches of hot water to the canner, or as specified by your canner’s manufacturer.
- Vent the Canner: Place the canner lid on and lock it. Turn heat to high. Allow a steady stream of steam to escape from the vent pipe for 10 minutes (venting). This purges air from the canner, ensuring the correct temperature is reached.
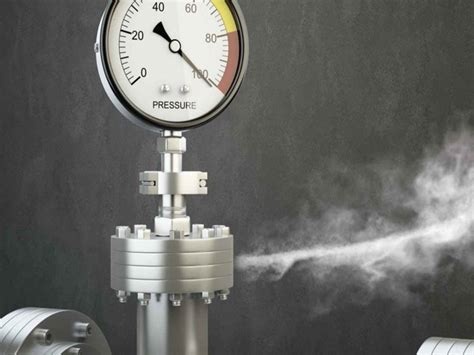
- Process: Apply the weighted gauge or close the petcock/vent to allow pressure to build. Once the desired pressure (check your recipe for altitude adjustments) is reached, start your processing timer. Maintain consistent pressure by adjusting heat.
- Cool Down: Once processing time is complete, turn off the heat. Let the canner cool naturally until the pressure gauge reads zero and the lid safety lock disengages. Do NOT force cool the canner.
- Remove Jars: After the pressure drops to zero, wait 10 minutes before carefully opening the canner. Remove jars with a jar lifter and place them on a towel-lined surface, ensuring they don’t touch.

Post-Canning Safety and Storage
The canning process isn’t over until your jars are sealed and stored safely.
- Check Seals: After 12-24 hours, check jar seals. Lids should be concave (curved inward) and not flex when pressed. If a lid is not sealed, refrigerate the contents immediately and consume within a few days, or reprocess within 24 hours using a new lid and following all steps again.
- Clean and Store: Wash sealed jars, label with contents and date, and store in a cool, dark, dry place. Remove screw bands before storage to prevent rust and allow better inspection of seals.
- Expiration: For best quality, use home-canned foods within one year.
- Never Taste Test: If there’s any doubt about a jar’s seal or contents (bulging lid, unusual smell, mold, cloudy liquid), do not taste it. Discard the food safely.
By following these meticulous steps and adhering to tested recipes, you can confidently and safely preserve your low-acid garden vegetables, enjoying your harvest year-round with peace of mind.