How to safely home pressure can low-acid garden vegetables?
For many avid gardeners, preserving the summer’s bounty is a cherished tradition. While water bath canning is suitable for high-acid foods like fruits and pickles, low-acid vegetables such as green beans, corn, carrots, and potatoes demand a different, more rigorous method: pressure canning. This process is crucial for preventing the growth of Clostridium botulinum, a dangerous bacterium that thrives in low-acid, oxygen-free environments.
Why Pressure Canning is Non-Negotiable for Low-Acid Foods
The primary reason for using a pressure canner for low-acid vegetables is food safety. Low-acid foods have a pH level higher than 4.6. In these foods, the botulism toxin can produce spores that are extremely heat-resistant. A boiling water bath (212°F or 100°C) isn’t hot enough to destroy these spores. A pressure canner, however, reaches temperatures between 240°F and 250°F (116°C-121°C), effectively neutralizing the botulinum spores and making your home-canned produce safe for consumption.
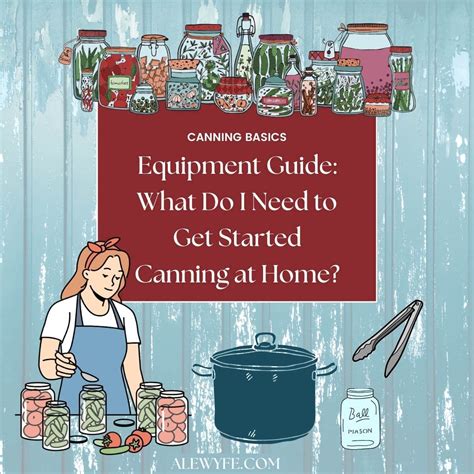
Essential Equipment for Safe Pressure Canning
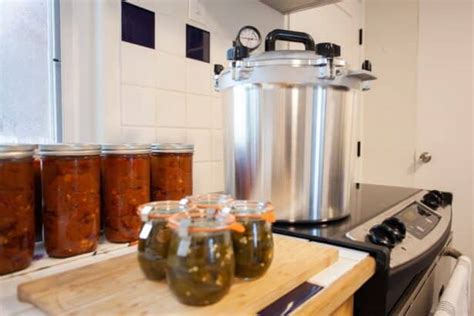
Before you begin, gather the necessary tools. A good quality, modern pressure canner (either weighted-gauge or dial-gauge) is paramount. Ensure your canner is in good working order, and if it’s a dial-gauge model, have it tested annually for accuracy by your local extension office. You’ll also need Mason jars specifically designed for canning (pint or quart), new two-piece lids (flats and rings), a jar lifter, a canning funnel, a bubble remover/headspace tool, and basic kitchen utensils.
Always use canning jars that are free of chips or cracks, as these can prevent a proper seal or cause breakage during processing. Lids are single-use, but rings can be reused if they are not rusty or bent.
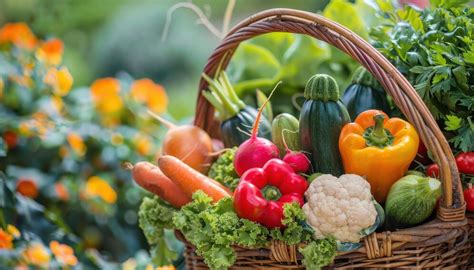
Preparing Your Vegetables for Canning
The quality of your finished product starts with the quality of your fresh produce. Select only blemish-free, firm vegetables at their peak ripeness. Wash them thoroughly under cold running water.
Raw Pack vs. Hot Pack
- Raw Pack: This method involves filling jars with uncooked vegetables, then covering them with boiling water or broth. It’s quicker for preparation but can result in more “float” (vegetables rising to the top) and a less full jar due to shrinkage during processing. It’s often used for denser vegetables like corn or carrots.
- Hot Pack: Vegetables are briefly blanched or cooked lightly before being packed hot into jars. This method helps to remove air, reduce shrinkage, and achieve a fuller pack, often yielding better quality for items like green beans or potatoes. Fill jars with the hot vegetables and their cooking liquid, leaving appropriate headspace.
Always refer to a tested recipe (USDA or extension service) for specific preparation, packing, and headspace requirements for each vegetable.
The Pressure Canning Process: Step-by-Step
Once your jars are packed, the real work begins:
- Prepare the Canner: Add 2-3 inches of water to the bottom of the pressure canner, place the canner rack inside, and heat the water to a simmer.
- Load Jars: Carefully place the filled jars (with lids and rings tightened finger-tight) onto the rack in the canner. Ensure jars aren’t touching.
- Vent the Canner: Place the canner lid on and lock it into place. Turn up the heat. Allow steam to escape steadily from the vent pipe for a full 10 minutes. This step is critical to remove all air from the canner, as trapped air can lead to inaccurate pressure readings and under-processing.
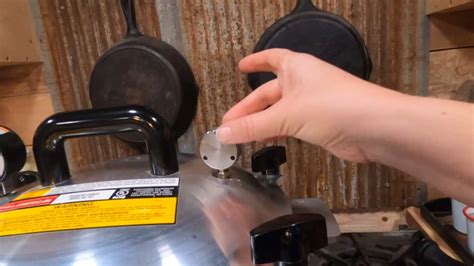
- Build Pressure: After venting, place the weighted gauge or close the petcock on a dial-gauge canner. The pressure will begin to rise. Once the desired pressure is reached (refer to your recipe and adjust for altitude), begin timing the processing.
- Maintain Pressure: Adjust heat as needed to maintain a constant, steady pressure throughout the entire processing time. Fluctuations can lead to unsafe products.
- Cool Down: Once processing time is complete, turn off the heat. Allow the canner to cool naturally and completely until the pressure returns to zero. Do NOT rush this process by forcing cooling, as it can cause liquid loss from jars or damage to your canner.
Post-Canning Safety and Storage
After the pressure has returned to zero, wait another 10 minutes before carefully removing the canner lid (tilt it away from you to avoid steam burns). Use a jar lifter to remove jars and place them on a towel or cooling rack, ensuring they are not touching each other, in a draft-free area. Let them cool undisturbed for 12-24 hours.
Checking Seals: After cooling, check all jar seals. A properly sealed lid will be concave (curved inward) and will not flex when pressed. Remove the screw bands (they can trap moisture and cause rust). If a jar hasn’t sealed, refrigerate and consume the contents within a few days, or reprocess within 24 hours using a new lid.
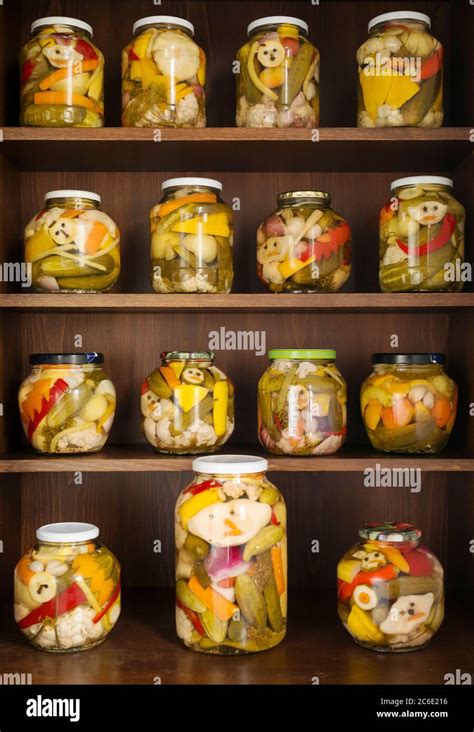
Storage: Wipe down jars, label them with contents and date, and store them in a cool, dark, dry place. Properly canned goods can last for at least a year. Always inspect jars before opening; discard any jar with a bulging lid, leakage, mold, or an unusual odor.
Enjoying Your Harvest Safely
Home pressure canning low-acid garden vegetables is a rewarding skill that allows you to enjoy nutritious produce year-round. By meticulously following USDA-approved guidelines and understanding the importance of proper technique and equipment, you can ensure your canned foods are not only delicious but also completely safe for your family. Happy canning!