How to start a sourdough starter from scratch for homemade bread?
The Magic of Sourdough: Why Start from Scratch?
There’s something uniquely satisfying about baking bread from scratch, and the journey often begins with a vibrant sourdough starter. Far more than just yeast, a sourdough starter is a living culture of wild yeasts and beneficial bacteria, captured from the air and flour around you. This natural leavening agent imparts a distinct tangy flavor, incredible texture, and superior digestibility to your bread. While it requires a bit of patience and consistency, creating your own starter is a rewarding process that connects you to generations of bakers and the simple, fulfilling pleasures of country living.
Gather Your Essentials: What You’ll Need
Starting a sourdough starter is surprisingly simple, requiring only two basic ingredients: flour and water. However, the quality of these ingredients and a few simple tools can make a difference in your success.
- Flour: Unbleached all-purpose flour, bread flour, or whole wheat flour are excellent choices. Whole wheat flour often contains more wild yeasts and nutrients, which can kickstart the fermentation process. Organic flours are also a great option.
- Water: Unchlorinated water is crucial. Tap water can contain chlorine, which inhibits yeast activity. Filtered or bottled spring water is best. If you only have tap water, let it sit out in an open container overnight to allow the chlorine to dissipate.
- Jar: A clean, clear glass jar (pint or quart size) with a wide mouth for easy mixing and observation.
- Lid: A loose-fitting lid, plastic wrap, or a breathable cloth secured with a rubber band. The starter needs air but also protection from contaminants.
- Spatula or spoon: For mixing.
- Kitchen scale (optional but recommended): For precise measurements, especially during feeding, which leads to more consistent results.
Day-by-Day Guide to Creating Your Starter
Day 1: The Beginning
In your clean glass jar, combine 50g (approximately 1/4 cup) unbleached all-purpose or whole wheat flour with 50g (approximately 1/4 cup) unchlorinated water. Mix thoroughly until there are no dry spots and the mixture forms a thick, pancake-batter-like paste. Scrape down the sides of the jar to keep it tidy. Cover loosely with a lid or plastic wrap (don’t seal it airtight) and leave it at room temperature (ideally 70-75°F / 21-24°C) for 24 hours. A warmer environment can speed up activity, while a cooler one will slow it down.
Day 2-3: First Signs of Life
Check your mixture. You might see a few small bubbles, or it might still look exactly the same. Don’t worry if nothing dramatic has happened yet; it’s still early in the fermentation process! Discard about half of the starter (approximately 50g). Feed the remaining 50g with 50g fresh flour and 50g unchlorinated water. Mix well, cover loosely, and return to room temperature for another 24 hours. Repeat this exact feeding process on Day 3, observing for any new bubbles or changes in aroma.
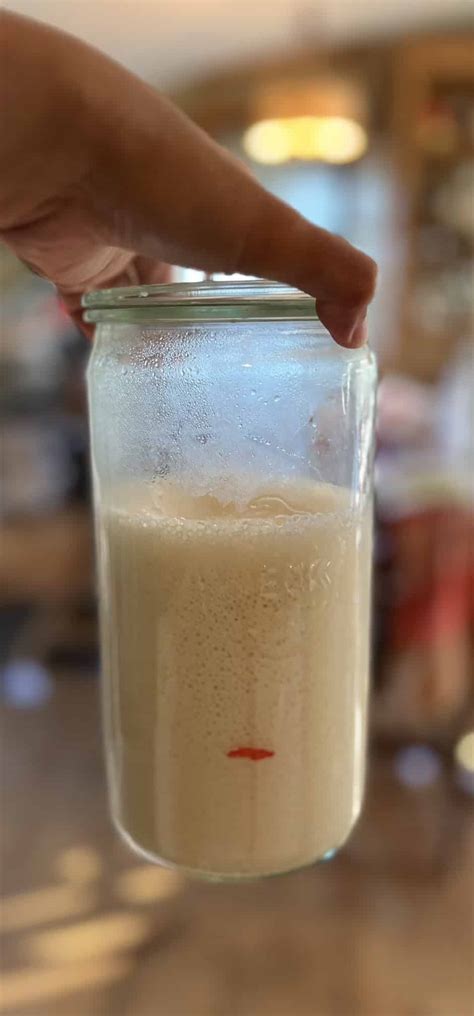
Day 4-5: Increased Activity
By now, you should be seeing more activity. Look for noticeable bubbles on the surface and sides of the jar, and a slight increase in volume shortly after feeding. You might even detect a faint, pleasant yeasty or slightly sour aroma. This is a good sign that the wild yeasts are multiplying! Continue the feeding routine: discard half (50g), feed with 50g flour and 50g water, mix, and cover loosely. Repeat on Day 5, closely monitoring for consistent bubbling and rise.
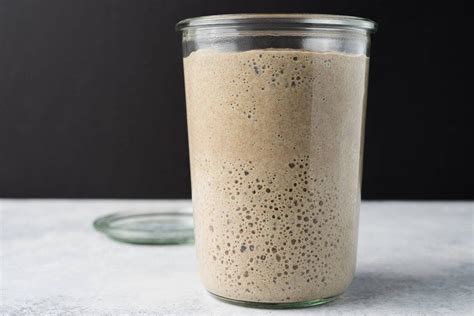
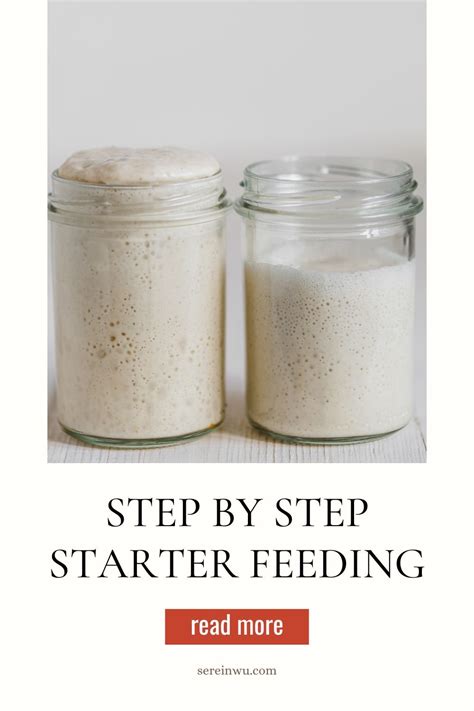
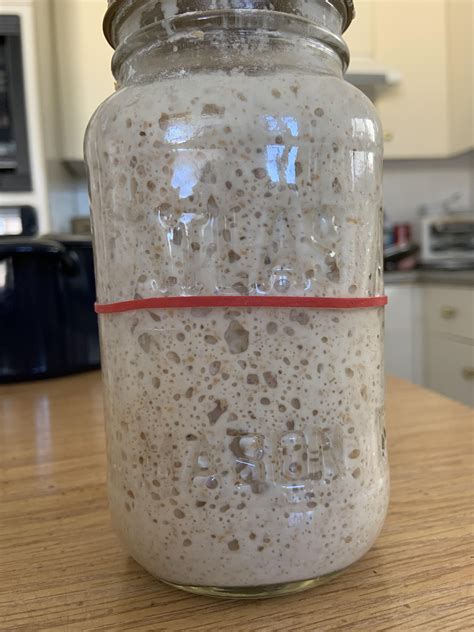
Day 6-7: A Robust Culture Emerges
Your starter should now be showing consistent and strong activity. It should double in size within 4-8 hours after feeding, be full of bubbles throughout, and smell pleasantly tangy, like ripe fruit, mild yogurt, or even a hint of sourdough bread. It should also have a slightly stretchy, web-like texture when stirred. If it’s consistently doubling, full of bubbles, and passes the float test (a small spoonful floats in water), it’s likely ready to use for baking!
Maintaining Your Sourdough Starter
Once your starter is active and mature, you can maintain it in a few ways depending on your baking frequency:
- Room Temperature: If you plan to bake daily or every other day, you can keep your starter on the counter. Feed it every 12-24 hours by discarding most of it (leaving about 50g) and feeding it with 50g flour and 50g water.
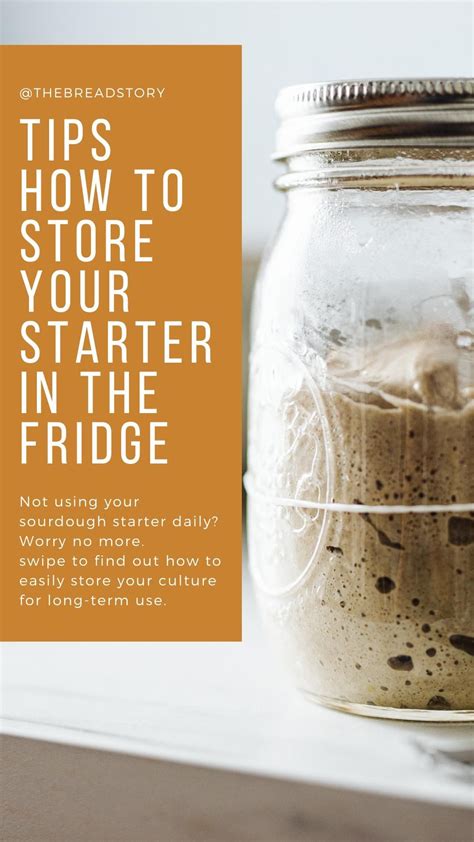
- Refrigerator: For less frequent baking (once a week or less), store your starter in the refrigerator. Feed it once a week: take it out, let it come to room temperature for an hour, discard most of it (leaving about 50g), feed it 50g flour and 50g water, let it sit at room temperature for 2-4 hours (until active and bubbly again), then return it to the fridge.
Troubleshooting Common Sourdough Issues
- No activity: Be patient! Temperature plays a huge role; ensure your room is warm enough. Try using a portion of whole wheat flour for a few feedings to boost yeast activity, as it contains more nutrients.
- Offensive smell (like nail polish remover or strong alcohol): This is usually a sign of an underfed starter. It’s very hungry! Discard more, feed it with fresh flour and water, and ensure it’s getting enough warmth. This smell should dissipate with regular, consistent feeding.
- Mold: If you see any fuzzy, colored mold (green, black, pink, orange), sadly, you must discard the entire batch and start over. This is rare with proper hygiene but can happen.
- Hooch: A dark liquid forming on top of your starter is called “hooch.” It indicates your starter is hungry and has consumed most of its food. You can pour it off or stir it in before feeding, then proceed with your regular feeding schedule.

Embrace the Sourdough Journey
Starting a sourdough starter is more than just a recipe; it’s a journey into the fascinating world of natural fermentation and a staple of traditional country living. With a little care, consistency, and observation, you’ll soon have a thriving starter ready to transform into countless loaves of rustic, flavorful bread. Enjoy the process, don’t be afraid to experiment with different flours, and savor the unparalleled taste of bread made entirely by your own hands and your very own living culture.