


How to start composting kitchen scraps for improving garden soil?

Transforming your kitchen waste into a valuable resource for your garden is one of the most rewarding and sustainable practices for any home gardener. Composting kitchen scraps not only diverts waste from landfills but also creates a rich, organic material that supercharges your garden soil, leading to healthier, more vibrant plants. If you’ve been curious about starting your own compost pile, you’re in the right place. This guide will walk you through the simple steps to begin your composting journey.
The Benefits of Composting Kitchen Scraps
Before diving into the ‘how-to,’ understanding the myriad benefits of composting can provide excellent motivation. Compost acts as a natural soil conditioner, improving soil structure, increasing water retention, and enhancing nutrient availability for plants. It introduces beneficial microorganisms that suppress plant diseases and pests. Furthermore, composting significantly reduces household waste, lowering your environmental footprint and often your trash bill. It’s a win-win for your garden, your wallet, and the planet.

Understanding Composting Basics: Greens and Browns
Successful composting relies on a balance of ‘green’ and ‘brown’ materials, along with adequate moisture and aeration. Think of greens as nitrogen-rich materials and browns as carbon-rich materials. A general rule of thumb is to aim for a 50/50 mix, or slightly more browns than greens, by volume.
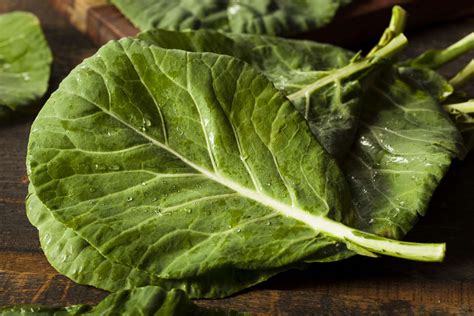
- Greens (Nitrogen-rich): Kitchen scraps like fruit and vegetable peels, coffee grounds, tea bags, grass clippings, and fresh plant trimmings. These provide the nitrogen needed for rapid decomposition.
- Browns (Carbon-rich): Dry leaves, shredded newspaper, cardboard (unwaxed), wood chips, straw, and small twigs. These provide structure and carbon, preventing the pile from becoming too dense or smelly.
What NOT to Compost (And Why)
While most organic matter can be composted, some items should be avoided to prevent pests, odors, or the spread of pathogens:
- Meat, bones, and dairy products: Attract pests (rodents, flies) and can create foul odors.
- Oily foods, fats, and grease: Slow decomposition and attract pests.
- Diseased plants: Can spread pathogens to your garden when the compost is used.
- Pet waste: Contains harmful bacteria and parasites.
- Weeds with seeds: May cause weed seeds to germinate in your garden.
Choosing Your Composting Method
There are several ways to compost, each with its own advantages. Your choice will depend on space, budget, and how quickly you want results:
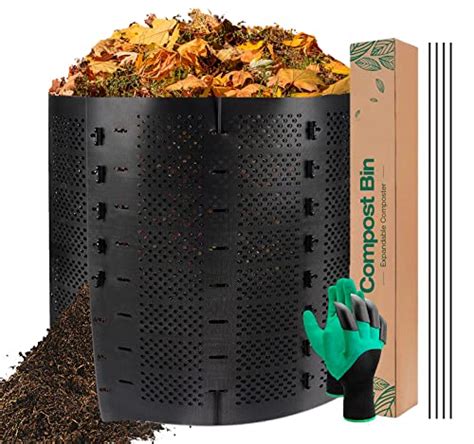
- Compost Bins: Enclosed units (plastic, wood, wire mesh) that contain the pile, often with lids to keep out pests. Great for small to medium-sized gardens.
- Compost Piles: A simple heap in a corner of your yard. Requires more space but is very low cost.
- Compost Tumblers: Sealed, rotating containers that make turning the compost easy and can speed up decomposition. Good for those who want quick results and don’t want to get their hands too dirty.
- Vermicomposting (Worm Composting): Uses special worms (red wigglers) to break down food scraps in an indoor or outdoor bin. Excellent for small spaces, apartments, and producing rich worm castings.
Setting Up Your Composting System
Once you’ve chosen your method, setting it up is straightforward. Select a shady or partly shaded spot in your garden, ideally on bare soil for good drainage and to allow beneficial microorganisms to enter the pile. Start by layering materials:
- Begin with a base layer of coarse brown materials (twigs, straw) to ensure aeration.
- Add a layer of greens (kitchen scraps), chopping larger pieces to speed decomposition.
- Cover with a layer of browns.
- Continue layering, ensuring each layer of greens is covered by browns to prevent odors and pests.
Maintaining Your Compost Pile for Success
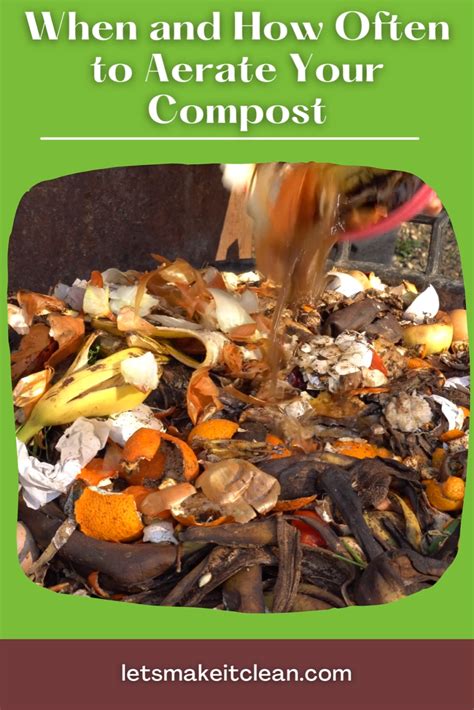
A healthy compost pile needs moisture and aeration. It should feel like a wrung-out sponge – damp but not soggy. If it’s too dry, decomposition slows; too wet, and it can become anaerobic and smelly. Add water if it feels dry, or more dry browns if it’s too wet.
Aeration is crucial. Turning the pile regularly (every week or two) with a pitchfork or by rotating a tumbler introduces oxygen, which fuels the microorganisms and speeds up decomposition. If your pile starts to smell like ammonia or rotten eggs, it’s likely too wet or has too many greens; add more browns and turn it.
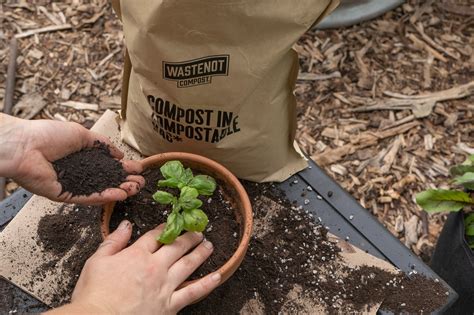
Harvesting and Using Your Finished Compost
Your compost is ready when it is dark brown, crumbly, smells earthy, and you can no longer identify the original materials. This process can take anywhere from a few weeks in a hot, well-managed tumbler to several months in a passive pile. Once ready, you can:
- Amend garden beds: Mix 1-4 inches of compost into your garden soil before planting.
- Top-dress plants: Spread a thin layer around the base of established plants to provide a slow-release nutrient boost.
- Potting mix ingredient: Blend compost with other materials like perlite or coir to create your own nutrient-rich potting mix.
- Lawn conditioner: Broadcast a thin layer over your lawn to improve soil health and grass vigor.
Conclusion
Starting to compost kitchen scraps is a simple yet profoundly impactful step toward a more sustainable lifestyle and a healthier garden. It transforms what was once considered waste into a valuable resource, closing the loop on your kitchen’s organic output and enriching the very soil that nourishes your plants. With a little patience and a basic understanding of greens, browns, moisture, and air, you’ll soon be harvesting your own ‘black gold’ and witnessing the remarkable benefits it brings to your garden.


