My homemade sourdough isn’t rising; what are common real food troubleshooting tips?
The Frustration of Flat Sourdough: A Baker’s Dilemma
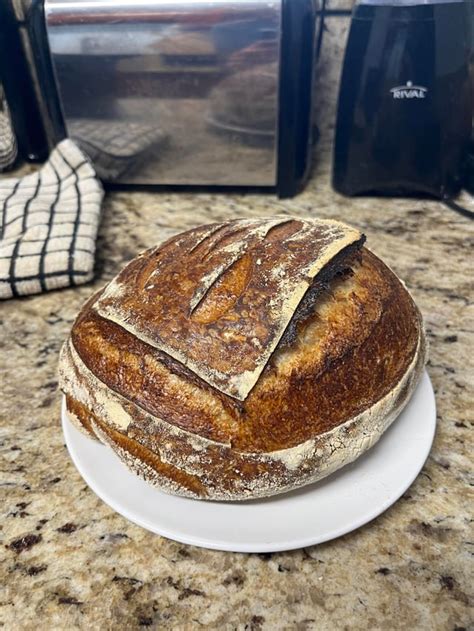
Few things are as rewarding as a perfectly risen loaf of homemade sourdough, and few things as deflating as one that stays stubbornly flat. If your sourdough isn’t reaching its full potential, don’t despair! Many factors can influence its rise, and with a few real food troubleshooting tips, you can often pinpoint and fix the problem. Let’s delve into the common culprits and how to overcome them.
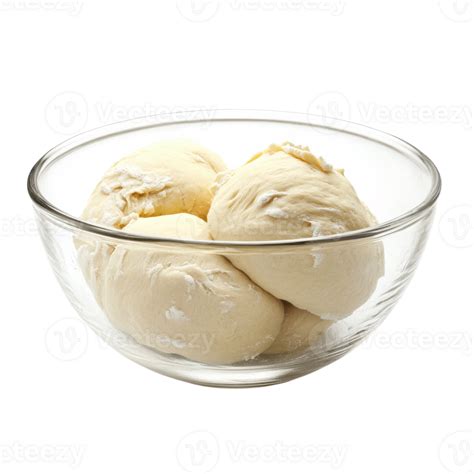
The Heart of the Loaf: Your Sourdough Starter
A vibrant, active starter is paramount for good oven spring. If your starter seems sluggish, it’s likely the primary culprit.
Is Your Starter Active Enough?
The health of your starter directly impacts its ability to leaven bread. If it’s not bubbly and robust, your dough won’t rise.
- Perform the float test: Take a spoonful of your fed, ripe starter and drop it into a glass of water. If it floats, it’s ready. If it sinks, it needs more time or more consistent feeding.
- Tip: Feed your starter regularly, ideally 1:1:1 (starter:water:flour by weight) every 12-24 hours if kept at room temperature, or once a week if refrigerated (with a few warm feeds before baking).
Water and Flour Quality for Your Starter
Just like any living organism, your starter thrives on quality ingredients.
- Water: Chlorinated water can harm the beneficial microbes in your starter. Always use filtered or dechlorinated water.
- Flour: Using good quality unbleached bread flour or a mix of whole wheat and bread flour can provide more nutrients for your starter to thrive.
- Tip: Experiment with different flours. A touch of rye or whole wheat can sometimes boost activity significantly.

The Dough: Hydration, Flour, and Gluten Development
Once your starter is robust, attention turns to the dough itself. The ingredients and how they are handled play a crucial role.
Hydration Levels
Sourdough often benefits from higher hydration, but too much can make the dough difficult to handle and lead to a flatter loaf. Too little, and it might be dense.
- Tip: Start with a hydration level (water weight divided by flour weight) of 70-75% if you’re new, and gradually increase as you gain experience handling sticky dough.
Flour Choice Matters
Different flours absorb water differently and have varying protein content, which directly impacts gluten formation.
- Strong Bread Flour: A strong bread flour with a higher protein content (12-14%) is generally best for sourdough as it develops strong gluten, essential for trapping gases and creating rise.
- Tip: Avoid all-purpose flour for your primary flour unless it has a higher protein content. Consider mixing in a small percentage of whole wheat or rye for flavor and added nutrients for the yeast.
Proper Gluten Development
Sufficient kneading or stretch-and-folds are vital for developing a strong gluten network. This network traps the carbon dioxide produced by the yeast, allowing the bread to rise.
- Tip: Don’t skimp on stretch-and-folds during the bulk fermentation. Aim for 3-5 sets spaced 30-45 minutes apart, ensuring the dough becomes smooth, elastic, and holds its shape better.
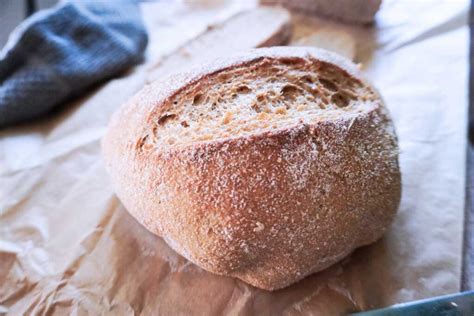
Proofing Perfection: Time and Temperature
The proofing stage is where the magic really happens, but it’s also where many bakers go wrong by under- or over-proofing. Both can lead to a flat loaf.
Temperature is Key for Bulk Fermentation
The temperature of your environment significantly impacts fermentation speed. A warmer room (75-80°F / 24-27°C) will speed things up, while a cooler room will slow it down.
- Tip: Aim for an ideal bulk fermentation temperature. If your kitchen is cool, try placing the dough in a proofer, a warm spot near an appliance, or in an oven with the light on (but not hot!). Look for a 30-50% increase in volume, not just sticking to a clock time.
Understanding the Cold Proof
A cold proof (retardation) in the refrigerator slows fermentation, develops flavor, and makes the dough easier to handle. However, it’s not meant for primary rising.
- Tip: Ensure your dough has achieved adequate bulk fermentation before cold proofing. The cold proof primarily firms up the dough and develops flavor; it won’t fix an under-proofed dough from bulk.
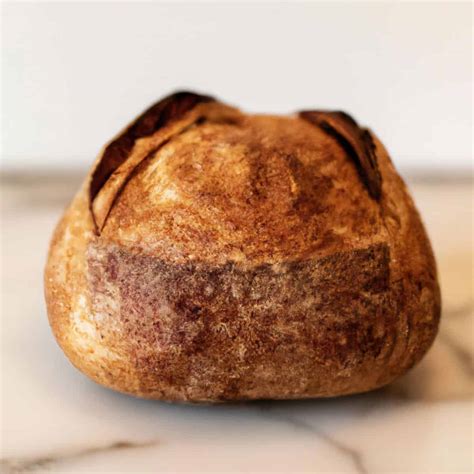
Shaping and Baking for Maximum Spring
Even with a perfect dough, improper shaping or baking technique can result in a flat loaf.
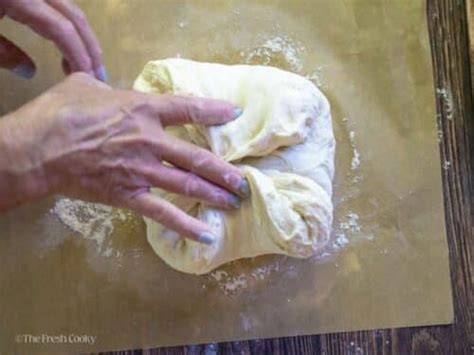
Gentle But Firm Shaping
Good shaping creates tension on the surface of the dough, which helps it hold its structure and encourages a strong oven spring.
- Tip: Handle the dough gently to avoid degassing it too much, but be firm enough to create surface tension. Watch videos on proper shaping techniques for your desired loaf type (boule or batard).
Creating Steam in the Oven
Steam in the initial phase of baking keeps the crust soft, allowing the dough to expand rapidly before the crust sets. Without steam, the crust hardens too quickly, restricting rise.
- Tip: Bake in a preheated Dutch oven for the first 20-25 minutes with the lid on, then remove the lid to crisp the crust. If you don’t have a Dutch oven, place a tray of hot water or ice cubes at the bottom of your oven when you load the bread.
Oven Temperature
A hot oven (typically 450-500°F / 232-260°C) is crucial for the initial burst of oven spring.
- Tip: Ensure your oven is fully preheated, including any baking stone or Dutch oven, for at least 30-60 minutes before baking.
Conclusion: Patience and Practice Lead to Perfect Loaves
Troubleshooting homemade sourdough can feel like detective work, but each flat loaf is a learning opportunity. By paying close attention to your starter’s health, understanding dough mechanics, controlling your proofing environment, and refining your baking technique, you’ll soon be enjoying beautifully risen, crusty loaves.
Remember, sourdough baking is a journey of patience and practice. Keep experimenting, keep observing, and don’t be afraid to adjust your methods. Happy baking!