My homemade sourdough starter isn’t active. Tips for a robust country loaf?
The journey to baking the perfect homemade sourdough loaf often begins with a thriving starter. If you’ve found your starter sluggish, refusing to bubble with life, it can be disheartening. But don’t despair! An inactive starter is a common hurdle, and with a few adjustments, you can coax it back to its vibrant, yeasty self, ready to contribute to a magnificent country loaf.
Why Isn’t Your Sourdough Starter Active?
Several factors can contribute to a sleepy starter. Understanding these can help you pinpoint the issue and bring your starter back to peak performance. The most common culprits include temperature, feeding ratios, and the type of flour and water you’re using.
Temperature Matters
Sourdough starters thrive in warm environments, ideally between 75-80°F (24-27°C). If your kitchen is too cold, the yeast and bacteria will slow down significantly, leading to less activity. Try placing your starter in a warmer spot, like on top of a refrigerator, near a warm oven (not on a hot one!), or in a proofing box.
Feeding Ratios and Flour Quality
Are you feeding your starter enough, and with the right kind of flour? A common ratio is 1:1:1 (starter:water:flour by weight). If your starter is very hungry (meaning it hasn’t been fed in a while or is consistently sluggish), you might try a higher ratio of flour and water, like 1:2:2, to give it more fuel. Whole wheat or rye flour can provide an extra boost of nutrients for the microbes, making your starter more vigorous, especially when initially building or reviving it. Always use unbleached flour, as bleaches can inhibit microbial growth.
Water Quality
Chlorinated water can harm the beneficial microbes in your starter. If your tap water is heavily chlorinated, let it sit out in an open container for 24 hours to allow the chlorine to dissipate, or use filtered water. Avoid distilled water, as it lacks the minerals necessary for microbial health.
Reviving a Sluggish Starter
Once you’ve identified potential issues, consistent care is key to revival. Patience is also a virtue in sourdough baking.
Consistent Feeding Schedule
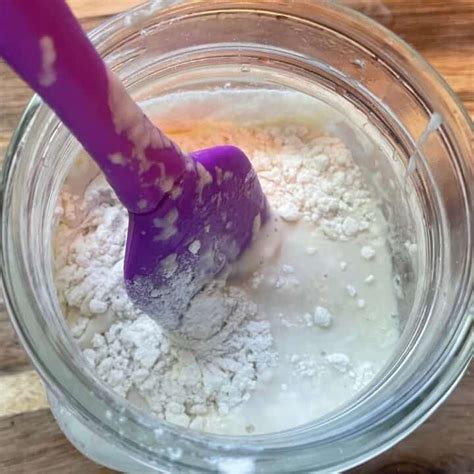
For a few days, try feeding your starter every 12 hours. Discard most of the old starter, leaving only a tablespoon or two, then feed it with equal parts (by weight) fresh flour and water. This frequent feeding ensures it always has fresh nutrients, encouraging robust activity.
Warm Environment and Observation
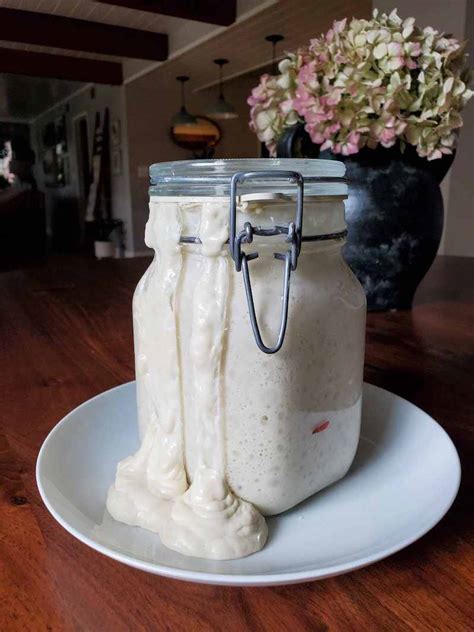
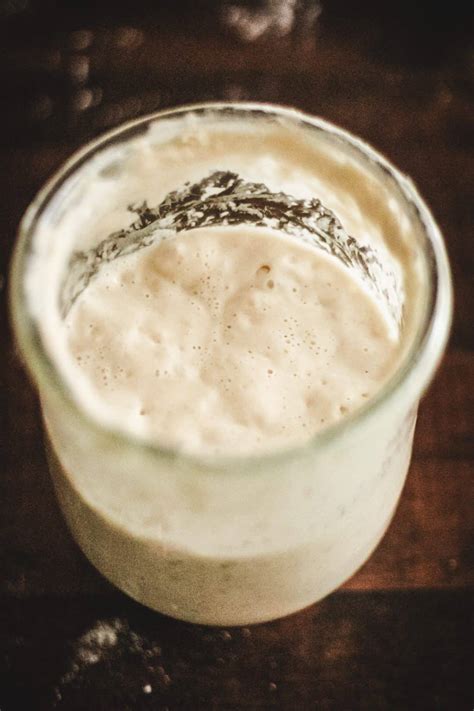
Continue to keep your starter in a warm spot. Watch for signs of activity: bubbles, a rise in volume, and a tangy, yeasty smell. It might take several days of consistent care to see significant improvement.
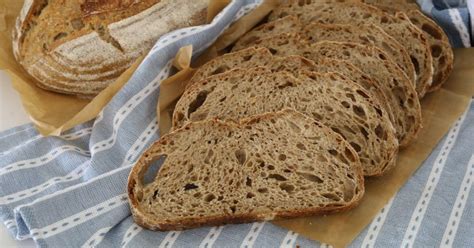
Tips for a Robust Country Loaf
Once your starter is active and reliably doubling in size within 4-6 hours after feeding, you’re ready to bake a spectacular country loaf. Here are the keys to a beautiful crumb and crust.
A Strong Starter is Non-Negotiable
Always use your starter at its peak – when it has risen significantly, is full of bubbles, and smells pleasantly tangy, usually 4-8 hours after its last feeding. A weak starter will lead to a dense, flat loaf.
The Autolyse Method
Combine your flour and water first and let it rest for 30 minutes to an hour before adding your starter and salt. This process, called autolyse, allows the flour to fully hydrate and gluten to begin developing without interference from salt or yeast, resulting in a more extensible and stronger dough.
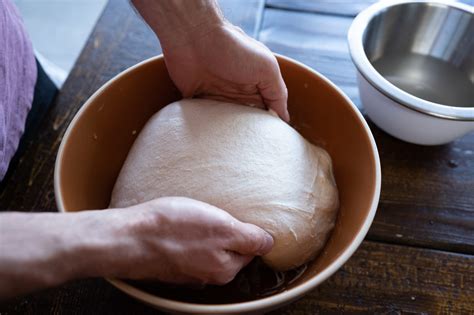
Gentle Handling: Stretch and Folds
Instead of aggressive kneading, many sourdough bakers opt for a series of gentle stretch and folds during the bulk fermentation. Typically, 3-5 sets of stretch and folds, spaced 30-45 minutes apart during the first 2-3 hours of bulk fermentation, will build excellent gluten structure without tearing the delicate strands. This helps create that coveted open, airy crumb.

Patience During Bulk Fermentation
Bulk fermentation (the first rise) is crucial. Let your dough rise until it has visibly increased in volume by 30-50% and feels light and airy. The exact time depends heavily on your kitchen temperature and starter strength. Don’t rush it; under-proofed dough leads to dense bread, while over-proofed dough can collapse.
Shaping and Cold Proofing
A good shaping technique creates surface tension, which helps the loaf hold its shape and rise vertically. After shaping, a cold proof (retarding in the refrigerator for 12-24 hours) develops flavor, makes the dough easier to score, and firms up the gluten structure. This long, slow fermentation also contributes to the distinctive sourdough tang.
Baking with Steam for a Perfect Crust
Bake your country loaf in a preheated Dutch oven or with plenty of steam in your oven for the first 20-25 minutes. The steam prevents the crust from setting too quickly, allowing the loaf to expand fully (oven spring) and develop that desirable thin, crackly crust. After this initial steamy phase, remove the lid (or reduce steam) to allow the crust to brown and crisp up.
With persistence and attention to these details, you’ll soon be enjoying magnificent, robust country loaves from your very own active and thriving sourdough starter. Happy baking!