Natural long-term storage for root vegetables without a traditional root cellar?
Keeping Your Harvest Fresh Without a Root Cellar
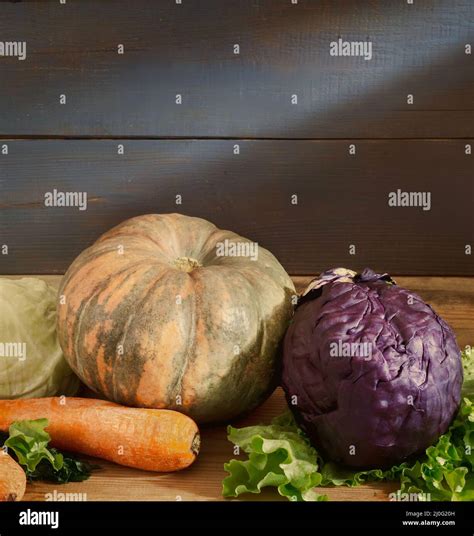
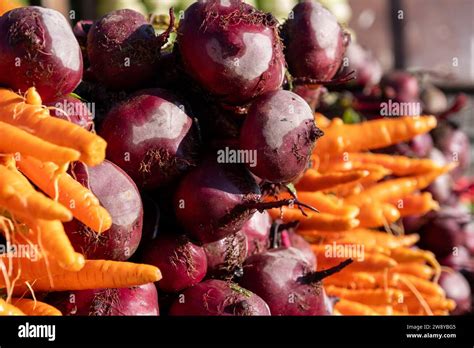
For many embracing the self-sufficient lifestyle, a bountiful harvest of root vegetables like carrots, potatoes, beets, and parsnips is a seasonal triumph. However, the joy of a full garden can quickly turn into a storage dilemma, especially if you lack the traditional luxury of a cool, dark, and humid root cellar. Fear not, fellow growers! There are numerous ingenious, natural methods to extend the life of your root crops, leveraging simple techniques and often materials found around the homestead.
Understanding Ideal Storage Conditions
Before diving into specific methods, it’s crucial to understand what root vegetables need to stay fresh: cool temperatures (just above freezing, 35-40°F or 1-4°C), high humidity (around 90-95%), darkness, and good air circulation. These conditions inhibit sprouting, rot, and moisture loss. The goal of any alternative storage method is to replicate these parameters as closely as possible.
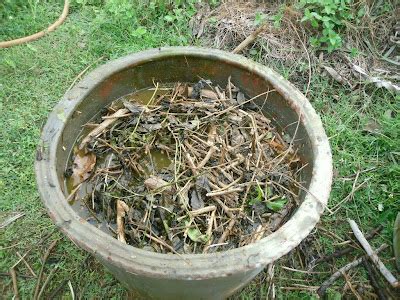
Method 1: Storing in Sand or Sawdust
This classic method is effective for carrots, parsnips, beets, and even turnips. The idea is to create an insulating and moisture-retaining barrier around the vegetables. Find a sturdy container – a wooden crate, plastic bin, or even a large cardboard box lined with a plastic bag – and layer your unwashed (brush off excess soil) root vegetables with moist (not wet!) sand or sawdust. Peat moss can also be used.
Start with an inch or two of your chosen medium, then place a single layer of vegetables, ensuring they don’t touch each other. Cover completely, then add another layer of vegetables and repeat. Store the container in the coolest, darkest spot you have available, such as an unheated basement corner, a cool garage, or even an insulated shed. Check periodically for any signs of spoilage and remove affected vegetables immediately.
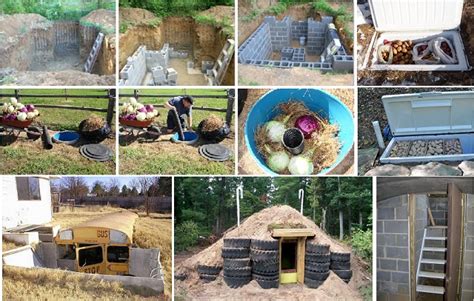
Method 2: Trench or Pit Storage
For those with a bit of yard space, a simple trench or pit can mimic a root cellar. This method is excellent for potatoes, carrots, beets, and cabbage. Choose a well-drained spot in your garden, ideally on a slight slope to prevent water accumulation. Dig a trench or pit about 1-2 feet deep and wide enough for your vegetables. Line the bottom with straw, leaves, or burlap.
Carefully place your root vegetables, ideally in a single layer or in small piles, ensuring good air circulation if possible. Cover them with another thick layer of straw or leaves, then mound soil over the top, creating a dome shape to shed rain. A piece of old plywood or corrugated metal on top can offer additional protection. Mark the spot clearly so you can find your buried treasures even under snow!
Method 3: In-Ground Storage (Winter Mulching)
Some root vegetables, particularly parsnips, carrots (certain varieties), and salsify, can be left directly in the ground over winter in milder climates. The ground itself acts as insulation. For this method, simply leave the vegetables where they grew and apply a very thick layer of mulch (straw, leaves, wood chips) over the entire bed just before the first hard freeze. The mulch prevents the ground from freezing solid, allowing you to dig them up as needed, even in winter.
Method 4: Outdoor Insulated Bins or Clamps
If you don’t want to bury your vegetables directly, a sturdy outdoor insulated bin or ‘clamp’ can be constructed. This can be as simple as an old chest freezer (unplugged and with the lid slightly propped for ventilation) buried mostly in the ground, or a custom-built wooden box insulated with straw bales, earth, or sawdust. Ensure proper drainage and a lid that offers both protection from elements and easy access. Ventilation is key here to prevent condensation and rot, so consider a small screened vent.
Method 5: Utilizing Unheated Basements, Garages, or Cold Frames
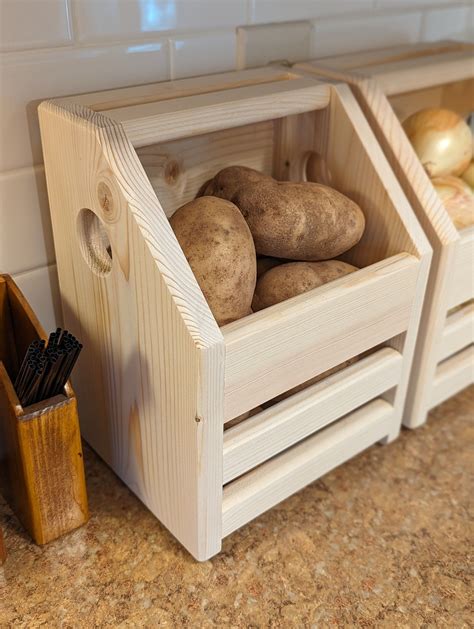
Even if you don’t have a dedicated root cellar, you might have an unheated space that comes close. An unheated corner of a basement, a garage that stays cool but doesn’t freeze, or even a protected cold frame can work. The key is to monitor temperatures and humidity. In these spaces, using bins with sand, sawdust, or even just leaving potatoes in burlap sacks in a dark corner can be effective. Cold frames can be used for shorter-term storage or for very hardy greens alongside roots.
General Tips for Success
- Harvest Correctly: Dig, don’t pull, your root vegetables to avoid bruising. Handle them gently.
- Curing: Potatoes, sweet potatoes, and winter squash benefit from a short curing period (a week or two in a warm, humid spot) before long-term storage to toughen skins and heal any minor cuts. Most other root veggies can go straight to storage.
- Do Not Wash: Leave a thin layer of soil on your vegetables; washing removes their natural protective coating and can introduce moisture leading to rot. Just brush off large clumps.
- Remove Damaged Produce: Only store perfect, unblemished vegetables. One bad apple (or carrot!) can spoil the whole bunch.
- Check Periodically: Even with the best methods, it’s wise to check your stored produce every few weeks and remove anything showing signs of spoilage.
With a little planning and effort, you can enjoy your homegrown root vegetables long after the first frost, even without the traditional root cellar. These natural methods connect you more deeply to the cycles of the earth and the satisfaction of true self-sufficiency.