


Practical DIY root cellar construction for food storage?
Unlock Long-Term Food Storage with a DIY Root Cellar
For centuries, root cellars have been a cornerstone of food preservation, offering a natural, energy-free solution for storing harvested fruits and vegetables. In an age of increasing interest in self-sufficiency and sustainable living, building your own root cellar is a rewarding and highly practical DIY project. This guide will walk you through the essential steps and considerations for constructing a functional root cellar, transforming your backyard or basement into a natural pantry.
Why Build a Root Cellar?
The primary benefit of a root cellar is its ability to maintain a consistently cool temperature (typically 35-50°F / 2-10°C) and high humidity (85-95% RH) without electricity. These conditions are ideal for preventing spoilage, maintaining freshness, and preserving the nutritional value of a wide range of produce, including potatoes, carrots, apples, beets, and more. It reduces food waste, lowers your grocery bill, and provides a reliable backup food supply, enhancing your food security.
Choosing Your Root Cellar Type and Location
The type of root cellar you build will largely depend on your existing property and climate. Common DIY options include:
- Underground/Buried Cellar: Often built into a hillside or excavated directly into the ground, these offer the most stable temperatures. Ideal for larger capacities.
- Buried Container Cellar: Utilizing a large plastic barrel, IBC tote, or galvanized culvert pipe buried horizontally or vertically. A simpler approach for smaller needs.
- Basement Root Cellar: Converting a section of an existing basement by adding an insulated wall and separate ventilation. Convenient if you have a suitable basement.
- Mound Cellar: A smaller, above-ground structure covered with soil for insulation. Less temperature stable but easier to construct.
Site selection for an underground or buried cellar is critical. Look for a location with good drainage to prevent water accumulation, ideally on a north-facing slope or shaded area to minimize solar gain. Consider accessibility for hauling produce and materials.
Key Design Considerations
Regardless of the type, several design principles are universal for a successful root cellar:
- Insulation: Earth itself provides excellent insulation. For constructed walls, consider concrete, stone, or treated wood with additional insulation.
- Ventilation: This is paramount for air circulation, preventing stale air, and regulating temperature and humidity. An intake vent near the floor and an exhaust vent near the ceiling (creating a chimney effect) is crucial. Both should be screened to keep pests out.
- Humidity Control: The goal is high humidity. A dirt floor helps maintain this; otherwise, regularly misting the floor or using containers of damp sand can supplement.
- Pest Control: Ensure all openings are sealed and screened. Consider using hardware cloth on vents and a secure, tightly fitting door.
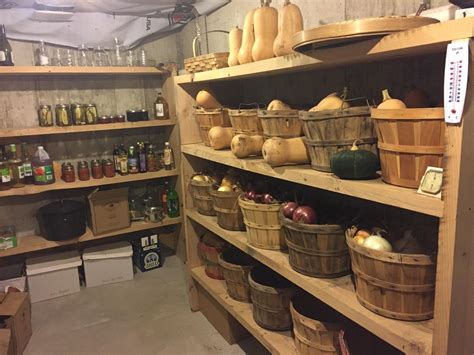
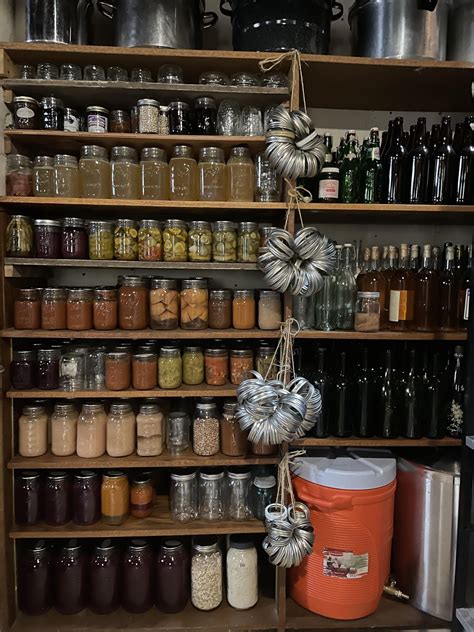
- Shelving and Storage: Design sturdy, easily cleanable shelving or bins that allow for good air circulation around stored items.
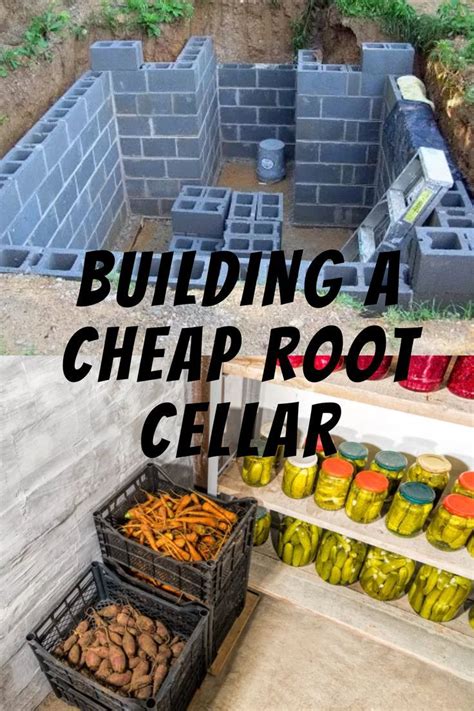
Basic Construction Steps (for a simple buried cellar)
- Excavation: Dig a hole to your desired dimensions, ensuring it’s deep enough to get below the frost line in your area. Consider adding a small vestibule or entry tunnel for easier access and temperature stability.
- Foundation/Floor: A packed dirt floor is often ideal for humidity. For more permanent structures, a gravel base with a concrete slab or gravel drainage can work, depending on your water table.
- Walls and Roof: For a simple barrel cellar, the container itself forms the structure. For a larger dug-out cellar, you might use concrete blocks, treated lumber, or stone for the walls, ensuring proper bracing. The roof can be heavy treated timbers, corrugated metal, or concrete, covered by a significant layer of earth for insulation.
- Ventilation System: Install your intake and exhaust pipes. PVC or metal ducts work well. Position the intake low and the exhaust high, extending above the ground level and topping them with caps to prevent rain entry.
- Door and Entrance: Construct a sturdy, insulated door that seals tightly. An access shaft or stairs might be needed, depending on the depth.
- Interior Finishing: Install your shelving, ensuring it’s robust enough to hold considerable weight. Clean and prepare the space for storage.
Maintenance and Usage Tips
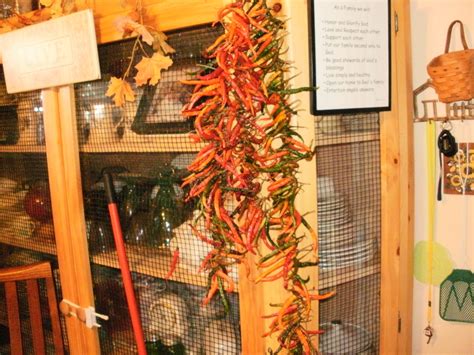
- Preparation: Only store unblemished, healthy produce. Cure certain items (like squash and potatoes) before storing.
- Monitoring: Use a thermometer/hygrometer to monitor temperature and humidity regularly. Adjust ventilation as needed.
- Organization: Keep similar items together. Label shelves if necessary.
- Inspection: Periodically check stored produce and remove any spoiled items immediately to prevent further contamination.
- Cleaning: Clean your root cellar thoroughly once a year, typically in spring, before the next harvest season.
A Sustainable Investment
Constructing a DIY root cellar is a significant project, but the rewards are substantial. It’s an investment in your food security, promotes sustainable living, and connects you more deeply with the rhythm of the seasons. With careful planning and execution, your practical root cellar will serve as a reliable, energy-efficient food storage solution for years to come, offering fresh produce long after harvest season has passed.


