


Practical DIY tips for building a sturdy, critter-proof chicken coop?
Laying a Strong Foundation: Design & Materials
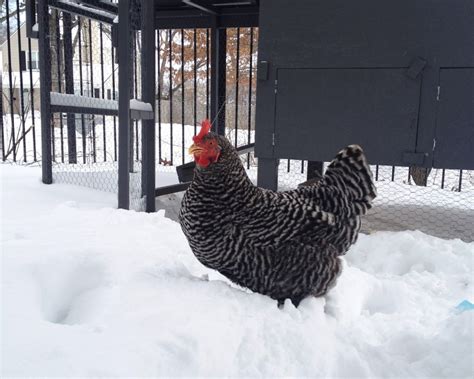
Building a chicken coop is a rewarding DIY project that provides a safe haven for your flock. The key to a successful coop lies in its sturdiness and its ability to withstand determined predators. Begin by thoroughly planning your coop’s design, considering factors like the number of chickens you’ll house, local weather conditions, and the available space. A good design will incorporate proper ventilation, easy access for cleaning and egg collection, and a robust structure.
Selecting the right materials is paramount. Opt for pressure-treated lumber for the base frame, especially where it might come into contact with the ground, to resist rot and insects. For the main structure, untreated lumber is fine, but ensure it’s sturdy. Plywood, T1-11 siding, or even reclaimed pallet wood can be used for walls, as long as they are structurally sound and can be sealed effectively. Roofing materials like asphalt shingles, metal sheeting, or even a sturdy tarp system are viable, chosen for their durability and weather resistance.

Building for Durability: Framing and Structure
A sturdy coop starts with a solid frame. If possible, elevate your coop slightly off the ground on concrete blocks, skids, or even pour small concrete footings. This not only prevents moisture damage to the base but also adds a layer of defense against digging predators. Use strong, appropriately sized lumber (e.g., 2x4s or 2x6s) for the framing, ensuring all connections are secure with screws rather than just nails.
When constructing the walls, ensure they are plumb and square. Cross-bracing or plywood sheathing will significantly increase the structural integrity and prevent racking. The roof should have a slight pitch to allow for water run-off and prevent pooling, which can lead to leaks and structural wear over time. Reinforce areas around doors and windows to maintain the structural integrity of these high-traffic points.
Fortifying Against Predators: The Critter-Proofing Arsenal
Hardware Cloth vs. Chicken Wire
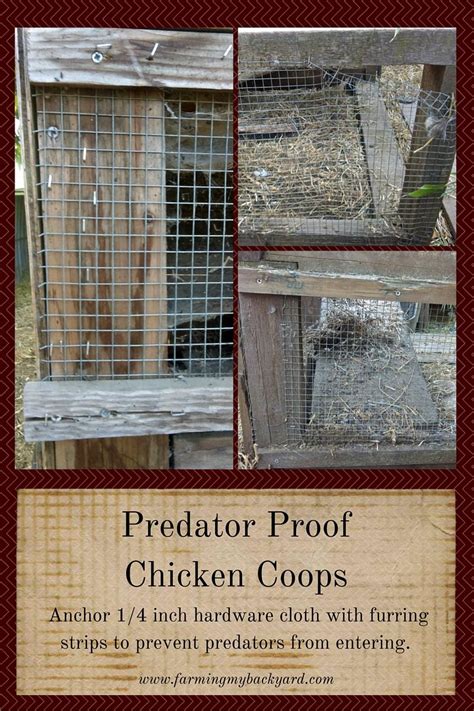
This is arguably the most crucial aspect of critter-proofing. Do NOT use chicken wire for predator protection. Chicken wire is designed to keep chickens in, not predators out. Raccoons, foxes, and even determined dogs can tear through or chew through chicken wire with ease. Instead, invest in galvanized 1/2-inch or 1/4-inch hardware cloth. This welded wire mesh is far more robust and resistant to chewing and bending, making it a formidable barrier against most common predators.
Secure Ground Perimeter
Predators like foxes, coyotes, and even dogs are notorious diggers. To prevent them from tunneling under your coop, create a buried hardware cloth apron. Extend the hardware cloth from the base of your coop outwards by at least 12-18 inches, and then bury it 6-12 inches deep. Alternatively, you can bend the hardware cloth at a 90-degree angle, extending it outwards parallel to the ground, and secure it with heavy rocks or landscaping pins before covering with dirt. This creates a barrier that predators encounter when they try to dig down.
Walls, Roof, and Access Points
Beyond the ground, ensure your coop’s walls and roof are impenetrable. All openings, including windows, vents, and the run area, should be covered with hardware cloth securely fastened to the frame with screws and washers, or heavy-duty staples every few inches. Pay close attention to any gaps or cracks in the siding or around the roofline; even a small hole can be an invitation for weasels or rats. Seal these with wood filler, caulk, or small pieces of wood.
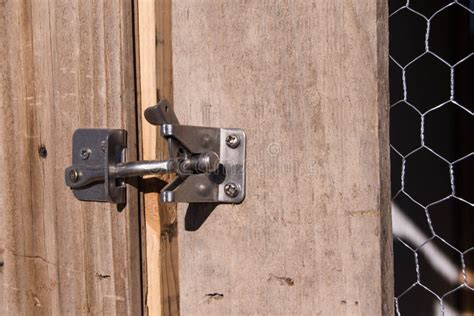
Doors and latches are common weak points. Install heavy-duty, predator-resistant latches on all access doors, including the main entry, nesting box access, and any pop doors for the chickens. Spring-loaded or padlock-compatible latches are ideal. Consider adding a secondary latch or a carabiner for extra security. Ensure doors fit snugly within their frames, leaving no gaps where a paw or snout could pry them open.
Essential Internal Features & Ventilation
While external security is vital, a good coop also needs practical internal features. Install roosting bars for your chickens to sleep on, elevated from the ground. Provide comfortable nesting boxes in a dark, quiet area for egg-laying. Adequate ventilation is crucial for chicken health, preventing respiratory issues and regulating temperature. Create cross-ventilation with screened openings near the top of the coop, ensuring they are covered with hardware cloth to prevent entry.
For colder climates, consider how to provide some insulation without compromising ventilation. Removable plexiglass panels over windows can offer light and warmth while still allowing for air circulation when needed. Ensure easy access for cleaning out bedding and changing waterers and feeders.
Maintenance for Longevity
Even the sturdiest coop needs regular maintenance to remain critter-proof and functional. Periodically inspect your coop for any signs of wear and tear: loose boards, deteriorating hardware cloth, rusty latches, or compromised seals. Check for any new holes or gaps that may have appeared due to weather, pests, or general use. Repair or replace damaged components promptly.
Regular cleaning not only promotes chicken health but also allows you to spot potential vulnerabilities early. Reapply paint or sealant to exterior wood as needed to protect it from the elements. By taking a proactive approach to maintenance, you can ensure your DIY chicken coop remains a safe, sturdy, and comfortable home for your feathered friends for many years.


