

Preserving summer bounty: Best old-fashioned canning recipe tips?
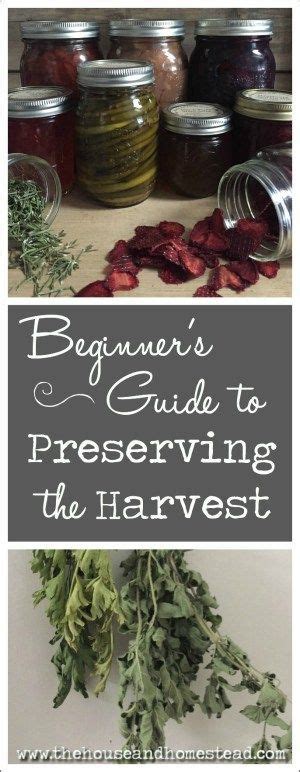
Rediscovering the Art of Old-Fashioned Canning
The fleeting abundance of summer produce calls for methods to extend its joy. Old-fashioned canning is a beloved tradition that allows us to capture the peak flavors of fruits and vegetables, ensuring homemade goodness long after the harvest season ends. It’s more than just preservation; it’s a connection to our culinary heritage and a satisfying way to fill your pantry with nutritious, delicious food.
This timeless practice dates back centuries, long before freezers and industrial-scale food production. Old-fashioned canning emphasizes simple ingredients, traditional methods, and a hands-on approach. It’s about taking raw, fresh produce and transforming it into shelf-stable jars of jams, jellies, pickles, and sauces, locking in vitamins, flavors, and memories.
Beyond the practical benefits, there’s immense satisfaction in seeing rows of brightly colored jars in your pantry, each one a testament to your efforts and a promise of future delicious meals. It’s also a fantastic way to control ingredients, avoiding the additives and high sugar content often found in store-bought alternatives.
Essential Equipment for a Successful Canning Journey
Before you dive into the delicious world of preserves, ensuring you have the right tools is crucial for both safety and success. You don’t need a huge array of specialized gadgets, but a few key items are non-negotiable:
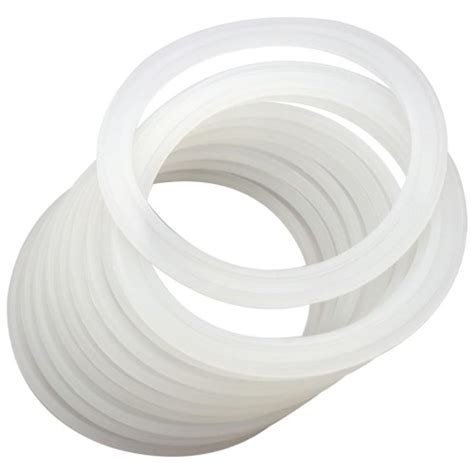
- Canning Jars: Mason jars are the standard, designed to withstand the heat and create a secure seal. Always use new lids, though rings can be reused.
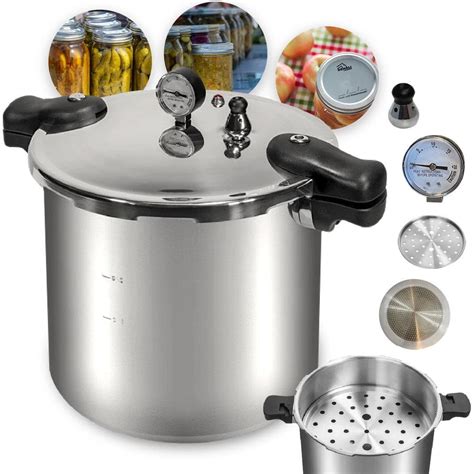
- Canner: For high-acid foods (fruits, pickles, jams), a large water bath canner is sufficient. For low-acid foods (vegetables, meats), a pressure canner is absolutely essential for safety.
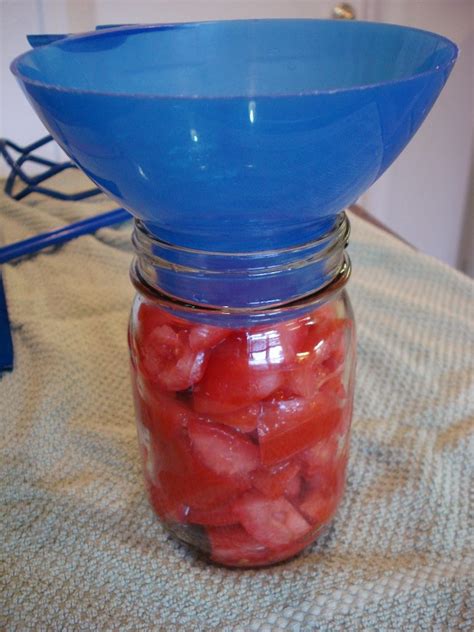
- Basic Tools: A jar lifter (to safely remove hot jars), a canning funnel (to keep jar rims clean), headspace tools, and a bubble remover are incredibly helpful.
Mastering Key Old-Fashioned Canning Techniques
Understanding the two primary methods is fundamental:
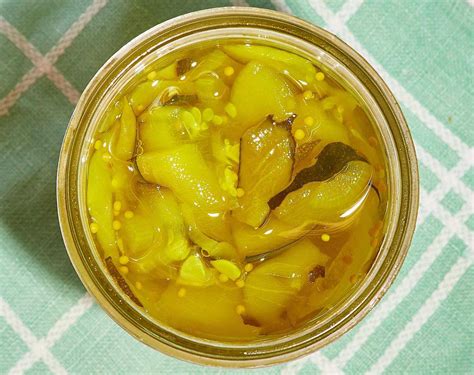
- Water Bath Canning: This method is suitable for high-acid foods. Jars are submerged in boiling water for a specified time, which kills spoilage microorganisms and creates a vacuum seal. Think fruit jams, jellies, pickles, tomatoes (often acidified), and relishes.
- Pressure Canning: Required for low-acid foods (most vegetables, meats, poultry, seafood, and mixed recipes) to reach temperatures high enough to destroy Clostridium botulinum spores. This method uses steam under pressure to achieve temperatures above boiling point. Never attempt to water bath can low-acid foods.
Raw Pack vs. Hot Pack:
- Raw Pack: Uncooked food is placed directly into jars, then covered with hot liquid. This method is quicker but can result in more “floating” food and less liquid in the jar after processing.
- Hot Pack: Food is first heated to boiling (or near boiling) and then packed hot into jars. This helps remove air, shrink food, and allows for a fuller pack, often leading to better quality and less floating.
Classic Recipes to Begin Your Canning Journey
Start with tried-and-true recipes that have stood the test of time:
- Strawberry Jam: A quintessential summer preserve. Use ripe, fresh berries, sugar, and pectin (or lemon juice for natural pectin) for a vibrant, sweet spread.
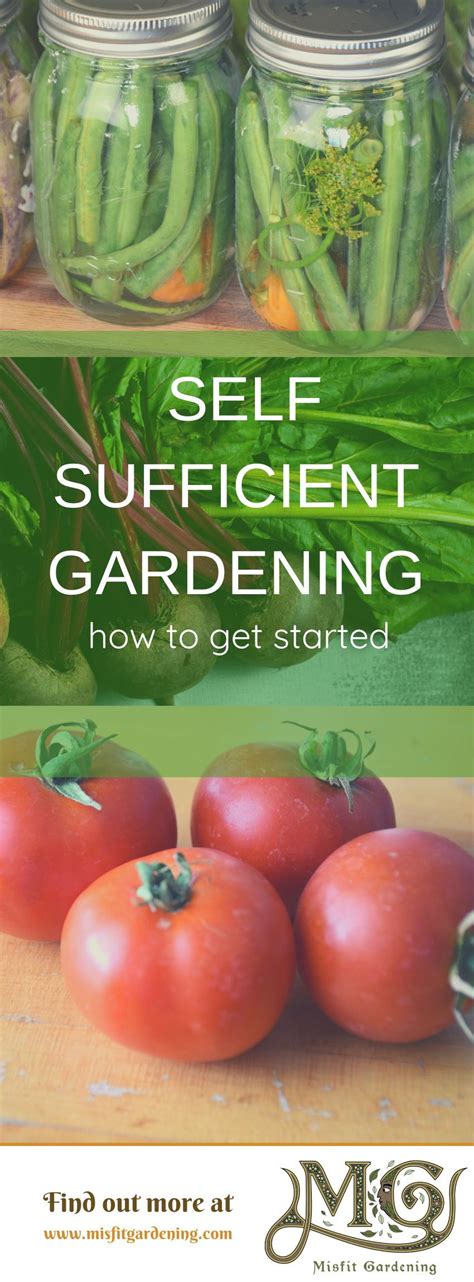
- Dill Pickles: Crisp cucumbers, vinegar, water, dill, garlic, and pickling spices create tangy, crunchy pickles perfect for sandwiches or snacking.
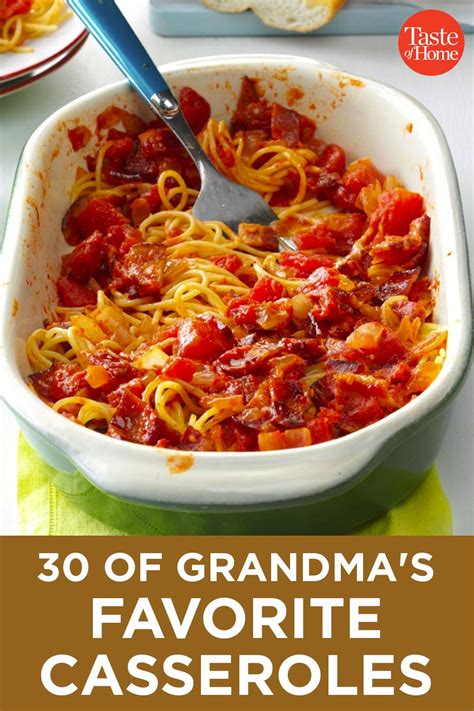
- Canned Tomatoes: Whether whole, diced, or crushed, preserving tomatoes allows you to capture their peak summer flavor for sauces, soups, and stews all year. Ensure proper acidification with lemon juice or citric acid for water bath canning.

Safety First: Crucial Canning Tips
Canning is a science as much as an art, and safety cannot be overlooked.
- Follow Tested Recipes: Always use up-to-date, tested recipes from reliable sources (e.g., USDA, university extensions). Do not invent your own recipes, especially for low-acid foods, as this can be dangerous.
- Sterilize Jars (Often Optional): While some recipes recommend sterilizing jars, if you are processing for 10 minutes or more in a boiling water bath, or using a pressure canner, sterilization is often incorporated into the processing step itself. However, always wash jars thoroughly.
- Proper Headspace: Leave the recommended amount of space between the food and the top of the jar (headspace). Too little can lead to siphoning; too much can prevent a proper seal.
- Check Seals: After jars have cooled for 12-24 hours, check the seals. The lid should be concave and not flex when pressed. If a jar hasn’t sealed, refrigerate and consume promptly.
Conclusion
Embracing old-fashioned canning is a rewarding way to connect with your food, reduce waste, and ensure a pantry stocked with delicious, homemade goodness. With a little practice, the right equipment, and a commitment to safety, you can preserve the vibrant tastes of summer and enjoy them throughout the year, sharing the bounty with family and friends. Happy canning!