


Prevent watery homemade jams & jellies? Country canning tips!
The Frustration of Watery Jams: A Common Canning Conundrum
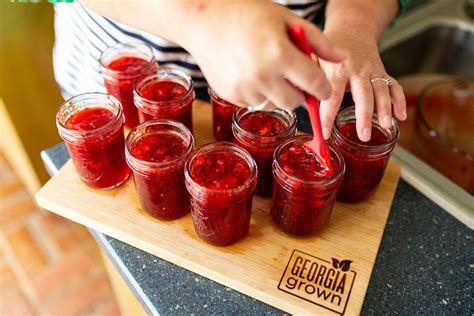
There’s nothing quite like the pride of a perfectly set homemade jam or jelly, its vibrant color shimmering in a glass jar, promising a burst of fresh fruit flavor. But often, the dream turns into a soupy reality. Many home canners face the disheartening experience of opening a jar only to find their creation is more syrup than spread. This common challenge can deter even enthusiastic cooks, but fear not! With a few time-tested country canning tips, you can banish watery woes and achieve that coveted firm, spoonable consistency every time.
Understanding Why Jams and Jellies Go Watery
Before we dive into solutions, it’s crucial to understand the science behind a good set. Jams and jellies rely on a delicate balance of four key elements: fruit, pectin, acid, and sugar. When this balance is off, the result is often a runny product. Common culprits include:
- Under-ripe or Overripe Fruit: Fruit’s natural pectin levels fluctuate with ripeness. Too green, and there isn’t enough; too ripe, and pectin begins to break down.
- Insufficient Pectin: Some fruits are naturally low in pectin, requiring added commercial pectin to set properly.
- Incorrect Cooking Time: Not cooking long enough means the pectin hasn’t activated or concentrated sufficiently. Cooking too long, however, can destroy the pectin’s gelling ability.
- Wrong Sugar Ratio: Sugar is essential not just for sweetness but also for helping pectin molecules bond and for preservation. Too little sugar can prevent a proper set.
- Improper Acid Balance: Acid helps pectin form its gel structure. Without enough acid, even adequate pectin might not set.
Country Secrets for Perfect Pectin, Sugar, and Acid Balance
1. Embrace Pectin Wisdom
Pectin is the star of the show when it comes to gelling. High-pectin fruits include apples (especially green ones), cranberries, citrus rinds, currants, and some plums. Low-pectin fruits like strawberries, peaches, and blueberries often require commercial pectin or a blend with high-pectin fruits. When using commercial pectin, always follow the package directions precisely. There are different types (liquid, powdered, low-sugar), and they are not interchangeable.
2. The Role of Sugar
Sugar does more than sweeten; it acts as a preserving agent and facilitates pectin’s gelling action by drawing water out of the fruit. Resist the urge to drastically reduce sugar unless you’re using a specific low-sugar pectin formulation, as this will almost certainly result in a runny product. Measure accurately; don’t eyeball it.
3. Don’t Forget the Acid
Acid is the unsung hero, helping pectin molecules bond together and also brightening the fruit’s flavor. Fruits naturally high in acid include citrus fruits, tart apples, and cranberries. For lower-acid fruits, a touch of lemon juice (freshly squeezed is best) is often added to ensure a good set and enhance flavor. This is a common and vital step in many traditional recipes.
Preparation and Process: Mastering the Art
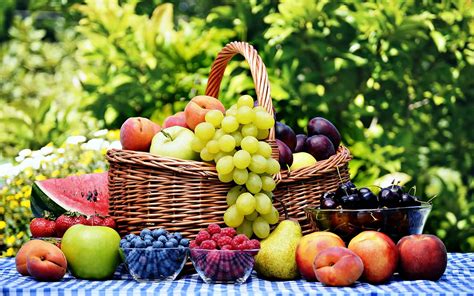
Fruit Selection and Preparation
Choose ripe, healthy fruit. Avoid bruised or overripe fruit as it can have compromised pectin levels. Wash fruit thoroughly and prepare according to your recipe – chopping, crushing, or pureeing. For fruits like apples, often the cores and peels (which are high in pectin) are simmered to extract pectin before straining and adding to the fruit pulp.
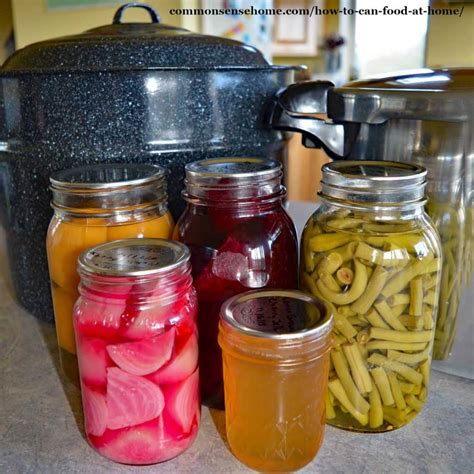
Sterilizing Jars and Accurate Measurements
Always sterilize your jars and lids. This isn’t just for safety, but also ensures proper sealing which contributes to the longevity and quality of your preserves. Use accurate measuring cups and spoons for both fruit and sugar. Precision is key in canning; guesswork leads to inconsistent results.
The Crucial Cooking Stage: Boiling and Testing
Bringing your mixture to a rolling boil is essential to activate the pectin. The “setting point” is typically reached when the mixture reaches a specific temperature (around 220°F / 104°C at sea level) or passes a gel test. Country canners often use these traditional tests:
- The Spoon Test: Dip a cold metal spoon into the boiling jam, lift it out, and turn it sideways. If two drops run together and “sheet” off the spoon, forming a single drop, it’s ready.
- The Plate Test: Place a small dollop of hot jam onto a chilled plate. Wait 30 seconds, then push it with your finger. If it wrinkles, it’s set.
Avoid overcooking, as prolonged boiling can destroy pectin, leading to a runny jam despite hitting the right temperature. Cook just until the gel test is passed, then remove from heat.

Troubleshooting Watery Jams: A Second Chance
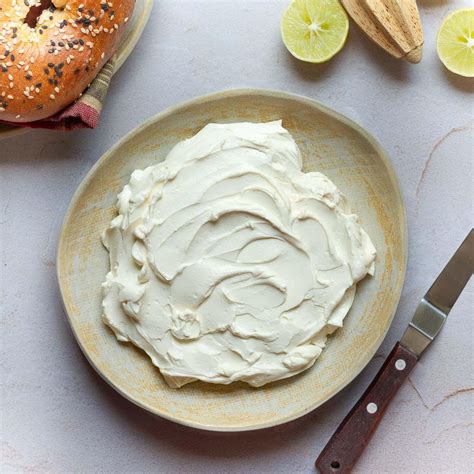
Even with the best intentions, sometimes a batch doesn’t set. Don’t despair! If your jam or jelly is still runny after 24-48 hours, you have options. You can re-cook it, often by adding more pectin or lemon juice, and bringing it back to a rolling boil until it passes the gel test again. Be careful not to overcook the second time around. Alternatively, accept it as a delicious fruit syrup for pancakes, ice cream, or yogurt. It might not be what you intended, but it’s still a homemade treat!

Embrace the Art of Canning
Making homemade jams and jellies is a rewarding culinary art that connects us to generations of home preservers. By understanding the science behind the set and applying these country canning tips – from careful fruit selection and precise measurements to mastering the gel test – you can consistently produce beautifully firm, flavorful preserves. Say goodbye to watery disappointment and hello to shelves stocked with perfectly set, homemade goodness!


