Safely canning homegrown tomatoes for winter pantry?

There’s nothing quite like the taste of a homegrown tomato, bursting with summer flavor. While fresh enjoyment is fleeting, safely canning your surplus means you can savor that vibrant taste all winter long. Preserving your own tomatoes is a rewarding process that fills your pantry with wholesome goodness, but it requires adherence to specific safety guidelines to prevent spoilage and foodborne illness.
Why Can Your Tomatoes?
Canning tomatoes is an excellent way to extend the harvest of your garden, reducing food waste and providing you with nutrient-rich ingredients for soups, sauces, and stews throughout the colder months. Beyond the economic benefits, home-canned tomatoes often surpass store-bought varieties in flavor and quality, free from unwanted additives.
However, the primary concern when canning any low-acid food, including tomatoes, is the risk of botulism, a serious foodborne illness. Understanding and following scientifically tested canning procedures is paramount to ensure the safety of your preserved goods.

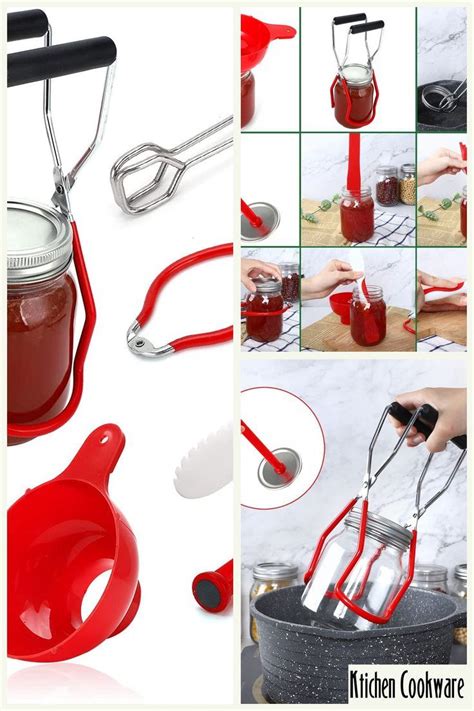
Essential Equipment for Safe Canning
Before you begin, gather all the necessary tools. A large water bath canner with a rack is crucial for high-acid foods like tomatoes. You’ll also need canning jars (Mason jars) with new lids and bands, a jar lifter, a canning funnel, a bubble remover/headspace tool, and a ladle. Ensure all your equipment is clean and in good condition.
Choosing the Right Tomatoes
For canning, select firm, ripe, unblemished tomatoes. Overly ripe or bruised tomatoes can affect the acidity and quality of the final product. Paste tomatoes like Roma or San Marzano are often preferred due to their meaty texture and lower water content, making for thicker sauces, but any flavorful variety can be canned.
Step-by-Step Tomato Preparation
Washing and Coring
Thoroughly wash your tomatoes under cool running water. Remove the core and any green parts or blemishes. You can quarter or halve them depending on your intended use (whole, crushed, or diced).
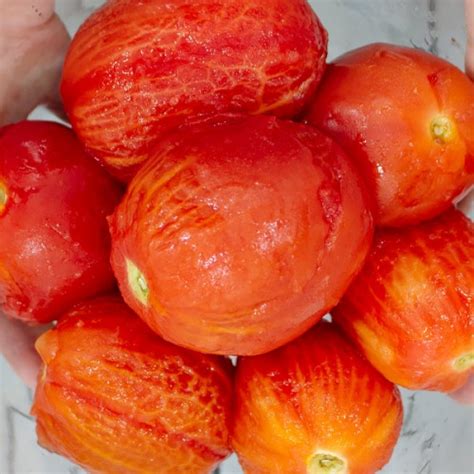
Blanching and Peeling
To easily remove the skins, blanch the tomatoes. Cut a small ‘X’ on the bottom of each tomato. Dip them in boiling water for 30-60 seconds, then immediately transfer to an ice bath. The skins should slip off easily. Peeling is important for texture and preventing bacterial growth under loose skins.
Acidification is Key
Tomatoes are considered a borderline low-acid food, meaning their natural acidity can vary significantly. To ensure safety and prevent the growth of Clostridium botulinum, you MUST add acid. For pint jars, add 1 tablespoon of bottled lemon juice or ¼ teaspoon of citric acid. For quart jars, use 2 tablespoons of bottled lemon juice or ½ teaspoon of citric acid. Do not substitute fresh lemon juice as its acidity can vary. Salt can be added for flavor (up to 1 teaspoon per quart) but is not a safety requirement.
Packing and Processing Methods
Raw Pack vs. Hot Pack
Raw Pack: Place prepared, unheated tomatoes directly into hot jars, pressing to fill spaces. Fill with boiling water or tomato juice, leaving 1/2-inch headspace. This method works well for whole or halved tomatoes.
Hot Pack: Heat prepared tomatoes in a large pot until boiling, stirring constantly. Pack hot tomatoes and their juice into hot jars, leaving 1/2-inch headspace. This method is often preferred as it results in less floating of solids and better color retention.
Filling Jars Correctly
After adding acid and packing the tomatoes, gently tap jars to remove air bubbles. Adjust headspace if necessary. Wipe jar rims clean with a damp cloth, place new, hot lids on top, and secure with bands to fingertip tight.
Water Bath Canning Process
Place filled jars on the rack in your water bath canner, ensuring jars are covered by at least 1-2 inches of water. Bring the water to a rolling boil. Process pint jars for 35 minutes and quart jars for 45 minutes, adjusting for altitude as specified by tested recipes (e.g., USDA or Ball Blue Book). Start timing once the water reaches a full boil.

Checking Seals and Storage
Once processing is complete, turn off the heat and let the jars rest in the canner for 5 minutes before carefully removing them with a jar lifter. Place jars on a towel-lined surface, ensuring they are not touching, and let them cool undisturbed for 12-24 hours. Do not tighten bands during this period.
After cooling, check for proper seals. Lids should be concave (curved inward) and not flex when pressed. Remove bands, wipe jars clean, label with contents and date, and store in a cool, dark, dry place. Properly canned tomatoes can last for up to 18 months.
Important Safety Reminders
- Always use scientifically tested recipes and processing times.
- Never skip the acidification step for tomatoes.
- Do not reuse old canning lids; bands can be reused if not rusted.
- If a jar doesn’t seal, reprocess within 24 hours with a new lid, or refrigerate and consume promptly.
- If you ever see signs of spoilage (leaking, bulging lids, mold, off-odor), DO NOT TASTE. Discard the contents immediately.

Conclusion
Canning your homegrown tomatoes is a rewarding tradition that brings the essence of summer to your winter table. By understanding the science behind safe canning and meticulously following each step, you can confidently stock your pantry with delicious, healthy, and safe tomato products, ready to be enjoyed any time of the year.