


Safely pressure canning homegrown green beans: Beginner tips?
Embracing the Harvest: Why Pressure Can Green Beans?
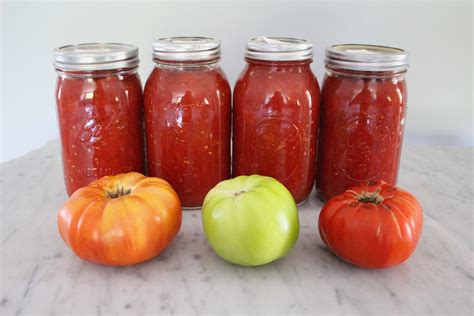
There’s immense satisfaction in harvesting your own green beans, but enjoying that fresh flavor year-round requires proper preservation. For low-acid foods like green beans, pressure canning isn’t just a recommendation—it’s a critical safety measure. Unlike high-acid foods that can be preserved in a boiling water bath, green beans require the higher temperatures achieved only by a pressure canner to destroy harmful bacteria, particularly Clostridium botulinum, which can cause botulism, a serious foodborne illness. Don’t be intimidated; with the right knowledge and equipment, pressure canning is an accessible and rewarding skill for any country living enthusiast.
Getting Started: Essential Equipment for Beginner Pressure Canners
Before you even snap your first bean, ensure you have the necessary tools for a smooth and safe canning experience. Here’s your beginner checklist:
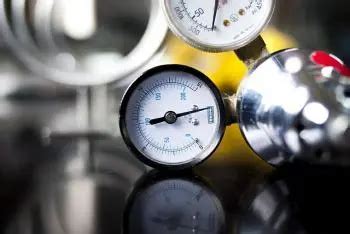
- Pressure Canner: This is non-negotiable. Choose one that meets safety standards, ideally with both a dial gauge and a weighted gauge for accuracy. Follow the manufacturer’s instructions diligently.
- Canning Jars: Use only canning-specific glass jars (e.g., Ball, Kerr) designed to withstand high temperatures. Inspect for chips or cracks.
- New Lids and Bands: Always use new lids for each canning session to ensure a proper seal. Bands can be reused if they are rust-free and not bent.
- Basic Canning Tools: A jar lifter (essential for safely moving hot jars), a canning funnel (keeps jar rims clean), a bubble remover/headspace tool, and a damp cloth for wiping rims.
- Large Pot for Hot Pack (Optional): If you choose the hot pack method, you’ll need a large pot to blanch your beans.

Preparing Your Homegrown Green Beans for Canning
The quality of your canned beans starts with the quality of your fresh produce. Select young, tender green beans that are free from blemishes or disease. Wash them thoroughly under cool running water. Snap off the ends and, if desired, cut them into 1-inch pieces or leave them whole, depending on your preference and jar size. You’ll typically need about 2 pounds of beans per quart jar.
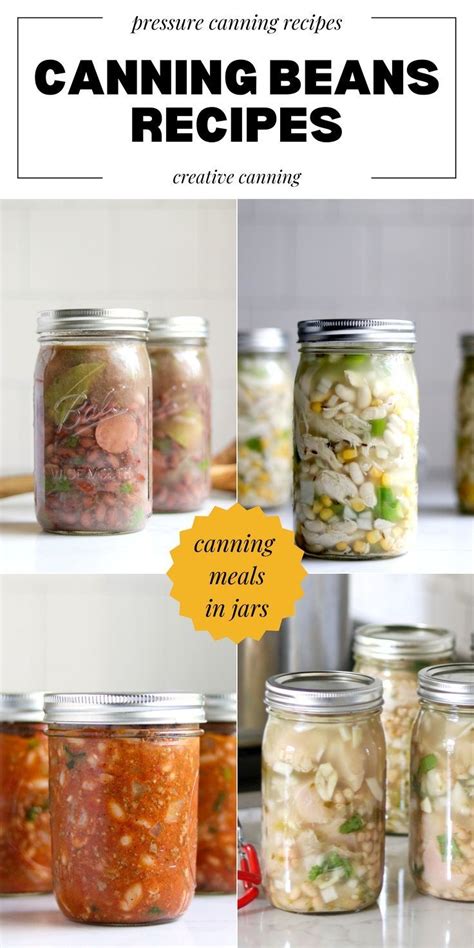
The Canning Process: Hot Pack vs. Raw Pack
For beginners, the “raw pack” method is often simpler, but “hot pack” can result in a more desirable texture and less floating in the jar. We’ll focus on a safe and straightforward approach.
Raw Pack Method:
- Wash and trim beans.
- Pack raw beans tightly into hot, sterilized canning jars, leaving 1-inch headspace.
- Pour boiling water over the beans, maintaining 1-inch headspace.
Hot Pack Method (Recommended for Beginners for Better Results):
- Wash and trim beans.
- Blanch beans in boiling water for 3-5 minutes, then drain.
- Pack hot beans loosely into hot, sterilized canning jars, leaving 1-inch headspace.
- Pour the hot cooking liquid (or fresh boiling water) over the beans, maintaining 1-inch headspace.
Step-by-Step Pressure Canning Instructions
Once your jars are packed, follow these critical steps carefully:
- Remove Air Bubbles: Insert a non-metallic utensil (like a plastic spatula) down the sides of the jar to release trapped air bubbles. Add more liquid if necessary to maintain headspace.
- Clean Rims: Wipe the jar rims thoroughly with a clean, damp cloth to remove any food particles. This is crucial for a good seal.
- Apply Lids and Bands: Center a new, pre-warmed lid on each jar, then screw on a band fingertip tight (just until resistance is met, no overtightening).
- Load Canner: Place the jars on the rack inside your pressure canner. Add the recommended amount of hot water to the canner (usually 2-3 inches, check your canner’s manual).
- Vent the Canner: Secure the canner lid. Turn the heat to high and allow steam to escape steadily from the vent pipe for a full 10 minutes. This purges air, ensuring accurate pressure.
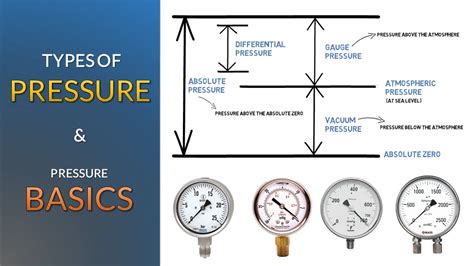
- Process: Place the weighted gauge on the vent pipe or close the petcock/vent according to your dial gauge canner’s instructions. Bring the canner to the specified pressure (e.g., 10 or 11 pounds for most altitudes) and start your timer. Adjust heat to maintain constant pressure. Do NOT begin timing until the correct pressure is reached.
- Cool Down: Once processing time is complete, turn off the heat and let the canner cool naturally until the pressure gauge reads zero. Do not rush this process by opening the vent or cooling with water.
- Remove Jars and Check Seals: Wait 5-10 minutes after pressure drops to zero, then carefully remove the canner lid. Let jars cool on a towel-lined surface, undisturbed, for 12-24 hours. Check seals by pressing the center of the lid; it should be concave and not flex.
Safety First: Crucial Beginner Tips for Success
- Altitude Adjustment: Always adjust your processing pressure or time based on your elevation. Higher altitudes require higher pressure. Consult reliable canning guides (e.g., USDA Complete Guide to Home Canning).
- Accurate Gauges: If using a dial gauge canner, have it tested annually by your local extension office.
- Follow Tested Recipes: Never deviate from scientifically tested canning recipes. Guesswork is dangerous in pressure canning.
- Don’t Force Cool: Rapid cooling can cause jars to break or seals to fail.
- Label and Store: Once jars are sealed and cool, remove bands, label with contents and date, and store in a cool, dark, dry place.
Enjoying Your Homegrown Bounty
Canning your own green beans provides a year-round supply of healthy, delicious vegetables straight from your garden. It’s a sustainable practice that connects you more deeply with your food source. With these beginner tips and a commitment to safety, you’ll soon be confidently stocking your pantry with jar after jar of perfectly preserved green beans, ready for any meal.


