


Safest homemade canning methods for preserving garden surplus?
As your garden bursts with abundance, the thought of letting any precious harvest go to waste can be disheartening. Fortunately, homemade canning offers a time-honored, rewarding, and delicious way to preserve your surplus. However, safety is paramount. Understanding and strictly following approved methods is crucial to prevent foodborne illnesses and ensure your canned goods are safe to enjoy.
Why Can Your Garden Surplus?
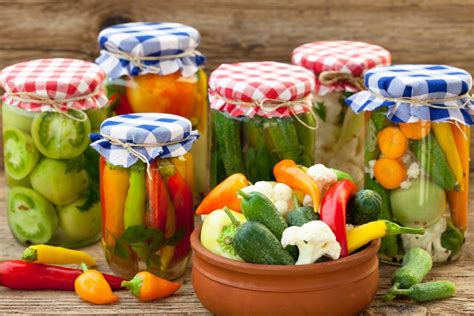
Canning allows you to lock in the peak flavor and nutrients of your fresh produce, extending its usability far beyond the growing season. Imagine savoring homemade salsa made with summer tomatoes in the dead of winter, or enjoying pickled green beans months after harvest. It’s a sustainable practice that reduces waste, saves money, and provides healthy, homemade alternatives to store-bought options. But to truly reap these benefits, we must focus on the safest techniques.
The Two Pillars of Safe Canning
The method you choose depends entirely on the acidity of the food you wish to preserve. Incorrectly canning low-acid foods can lead to botulism, a rare but deadly form of food poisoning. Always consult up-to-date, research-backed guidelines, such as those provided by the USDA (United States Department of Agriculture) or Cooperative Extension Services.
Water Bath Canning: For High-Acid Foods
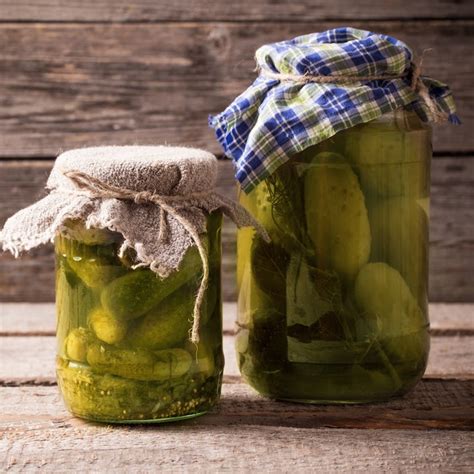
Water bath canning is suitable for high-acid foods, which naturally inhibit the growth of harmful bacteria. This includes most fruits (like berries, peaches, apples), fruit juices, jellies, jams, pickles, salsa, and tomatoes (often with added acid like lemon juice or citric acid). In this method, filled and sealed jars are submerged in boiling water for a specific period, creating a vacuum seal as they cool.
The boiling water temperature (212°F or 100°C at sea level) is sufficient to destroy spoilage organisms, yeasts, and molds in high-acid environments. Proper preparation of jars, lids, and following tested recipes are key to success.
Pressure Canning: The Only Way for Low-Acid Foods
For low-acid foods, pressure canning is not just recommended, it’s essential. Low-acid foods include most vegetables (like green beans, corn, peas, potatoes, carrots), meats, poultry, fish, and mixed soups. These foods have a pH level above 4.6, which allows for the growth of Clostridium botulinum, the bacteria that produces the deadly botulinum toxin, if not processed correctly.
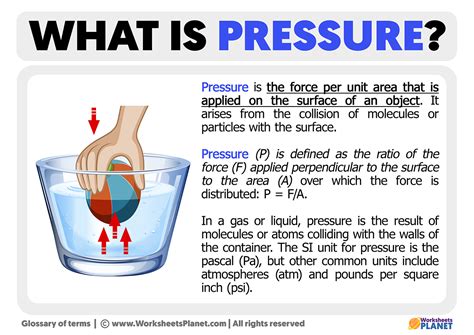
Pressure canners operate at temperatures much higher than boiling water (240°F to 250°F or 116°C to 121°C), which is the only way to destroy botulinum spores. This high heat is achieved by creating steam under pressure. It’s crucial to use a dial-gauge or weighted-gauge pressure canner and to follow all instructions for venting, processing time, and pressure carefully.
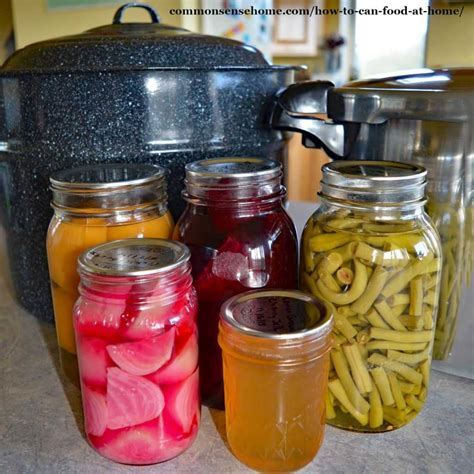
Essential Equipment for Safe Canning
Having the right tools is critical for safety and efficiency, regardless of the method:
- Canning Jars: Use only standard canning jars (Mason jars) in good condition, free of chips or cracks.
- Two-Piece Lids: New flat lids for each batch are essential for a proper seal. Rings can be reused if they aren’t rusted or bent.
- Canner: A large water bath canner with a rack, or a pressure canner (weighted or dial-gauge).
- Basic Tools: Jar lifter, canning funnel, headspace tool, bubble remover, clean towels.
- Gloves and Aprons: For personal protection and hygiene.
Critical Safety Tips for Home Canners
Beyond choosing the correct method, several universal safety practices must be adhered to:
- Use Tested Recipes Only: Never improvise canning recipes. Rely on current USDA, National Center for Home Food Preservation (NCHFP), or Cooperative Extension recipes.
- Inspect Jars and Lids: Always use new lids and inspect jars for damage.
- Proper Headspace: Leaving the correct amount of empty space between the food and the jar lid is vital for creating a strong vacuum seal.
- Cleanliness is Key: Sanitize jars, lids, and all equipment thoroughly. Wash hands often.
- Adjust for Altitude: Processing times and pressure levels must be adjusted for higher altitudes, as water boils at a lower temperature.
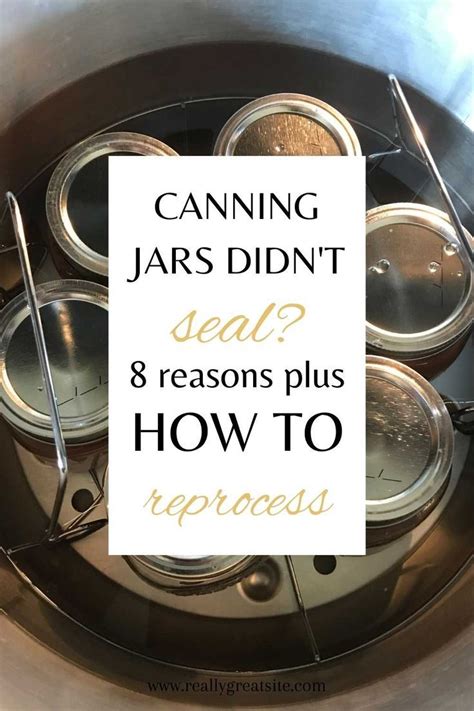
- Check Seals: After cooling for 12-24 hours, check jar seals. The lid should be concave and not flex when pressed.
Common Canning Mistakes to Avoid
To ensure safety and quality, avoid these common pitfalls:
- Ignoring Altitude Adjustments: This is a frequent cause of processing failures.
- Using Unsafe Jars or Lids: Don’t reuse old commercial food jars (like mayonnaise jars) for canning.
- Overfilling or Underfilling Jars: Leads to poor seals or food spoilage.
- Not Venting Pressure Canners: Crucial for expelling air and achieving the correct internal temperature.
- Cooling Pressure Canners Too Quickly: Can cause liquid loss and seal failure.
- Processing Too Short or Too Long: Always follow tested times precisely.
Getting Started with Confidence
While canning requires attention to detail, it is a very rewarding skill. Start small, perhaps with a simple water bath recipe like jam or pickles, and gradually move to more complex tasks or pressure canning as your confidence grows. Invest in reliable equipment and, most importantly, educate yourself with current, research-based information.
By adhering to these safe canning methods, you can confidently transform your garden’s bounty into a pantry full of delicious, nutritious, and safe homemade preserves, enjoying the taste of summer all year long.

