


Secret to a flaky pie crust for homemade berry pies?

There’s nothing quite like a homemade berry pie, bursting with juicy fruit and vibrant flavor. But what truly elevates a good pie to an unforgettable one is the crust – golden, tender, and shatteringly flaky. For many home bakers, achieving that elusive flaky texture can feel like a culinary quest. Fear not, for the secret lies in understanding a few fundamental principles that, once mastered, will transform your pie-making game.
The Essential Ingredients: Cold is Key
The foundation of a truly flaky pie crust starts with your ingredients, and the keyword here is COLD. Every component, especially your fat, needs to be as chilled as possible to prevent it from fully emulsifying with the flour. This separation is crucial for creating those distinct pockets of steam during baking, which in turn lead to the desired layers of flakiness.
- High-Quality Flour: All-purpose flour is generally best. While some advocate for pastry flour, a good unbleached all-purpose works wonderfully.
- Unsalted Butter (and/or Lard/Shortening): This is the star. Cut cold butter into small cubes (½ inch or smaller) and even pop them back into the freezer for 10-15 minutes before use. Some bakers swear by a combination of butter for flavor and lard or shortening for maximum flakiness.
- Ice Water: This is non-negotiable. Fill a glass with water and ice cubes, then use only the ice-cold water for your dough. The cold water keeps the butter from melting and prevents gluten from overdeveloping.
- Salt: Essential for flavor balance.

The Technique: Gentle Hands, Quick Work
Once you have your cold ingredients, the technique is paramount. The goal is to incorporate the fat into the flour while keeping it in distinct pieces, not fully blended. This is what creates those layers.
1. Cutting in the Fat:
Combine your flour and salt in a large bowl. Add the cold butter cubes. Using a pastry blender, two knives, or even your fingertips, quickly cut the butter into the flour. You want a mixture that resembles coarse meal with some pea-sized pieces of butter still visible. Avoid overworking it, as the warmth of your hands can melt the butter.
2. Adding Ice Water:
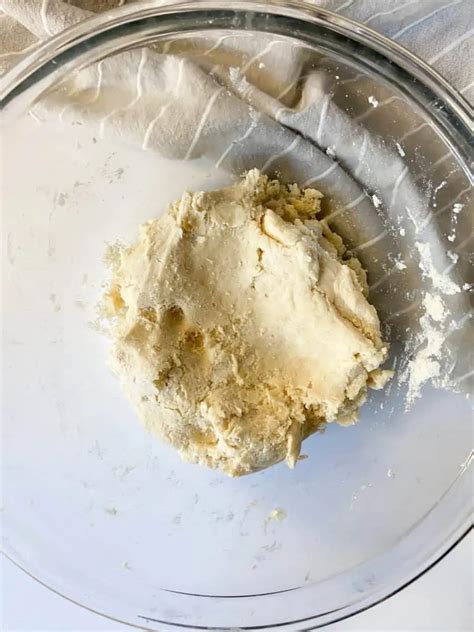
Gradually add the ice water, one tablespoon at a time, sprinkling it over the flour mixture. Use a fork to gently mix the dough until it just starts to come together. You might not need all the water. The dough should be moist enough to hold together when squeezed but not sticky. Stop adding water as soon as it forms a shaggy ball.
The Chill Factor: Patience is a Virtue
This step is often overlooked but is absolutely critical for a flaky crust. Once your dough is formed into a disk (or two, if making a double-crust pie), wrap it tightly in plastic wrap and refrigerate for at least 30 minutes, but preferably 2 hours or even overnight.
- Hydration: Chilling allows the flour to fully hydrate, which leads to a more tender crust.
- Gluten Relaxation: It relaxes the gluten developed during mixing, making the dough easier to roll out without shrinking.
- Firming the Fat: Most importantly, it re-chills the butter, ensuring it remains solid for those crucial steam pockets.

Rolling and Baking for Perfection
When you’re ready to roll, remove the dough from the fridge and let it sit at room temperature for just 5-10 minutes if it’s too hard. Lightly flour your work surface and rolling pin. Roll the dough from the center outwards, rotating it frequently to prevent sticking and ensure even thickness. Aim for about an 1/8-inch thickness, larger than your pie plate.
Carefully transfer the rolled dough to your pie plate. Trim the edges, leaving about an inch of overhang, then crimp or flute as desired. For berry pies, which are often very juicy, consider blind baking your crust (baking it partially or fully before adding the filling) to prevent a soggy bottom. Prick the bottom with a fork, line with parchment paper, and fill with pie weights or dried beans before baking.

Beyond the Basics: Troubleshooting and Tips
- Don’t Overwork: The more you handle the dough, the more gluten develops, leading to a tough crust. Work quickly and minimally.
- Avoid Soggy Bottoms: Blind baking, as mentioned, is key. Also, adding a thin layer of breadcrumbs or crushed cereal to the bottom of the crust before adding your berry filling can absorb excess moisture.
- Patching is Fine: If your dough cracks while rolling, don’t fret! Just use a small piece of excess dough, moisten the edges slightly, and press to patch it up.
- Egg Wash for Shine: For a beautiful golden finish, brush the top crust with an egg wash (egg yolk mixed with a little water or milk) before baking.

Conclusion
Crafting a truly flaky pie crust for your homemade berry pies isn’t about magic; it’s about precision, patience, and understanding the science behind the ingredients. By keeping everything cold, working the dough minimally, and allowing it ample time to chill, you’ll consistently achieve a crust that is tender, buttery, and beautifully layered – the perfect complement to your vibrant berry filling. So go ahead, embrace the cold, and bake a pie that will impress every time!


