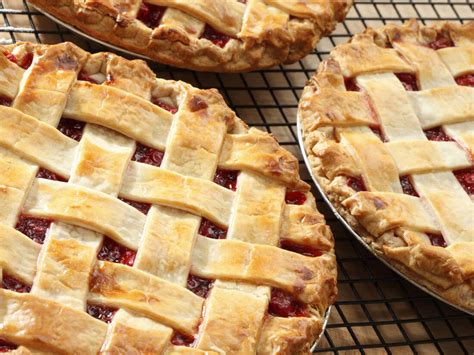
Secret to flaky, homemade pie crust using real butter?
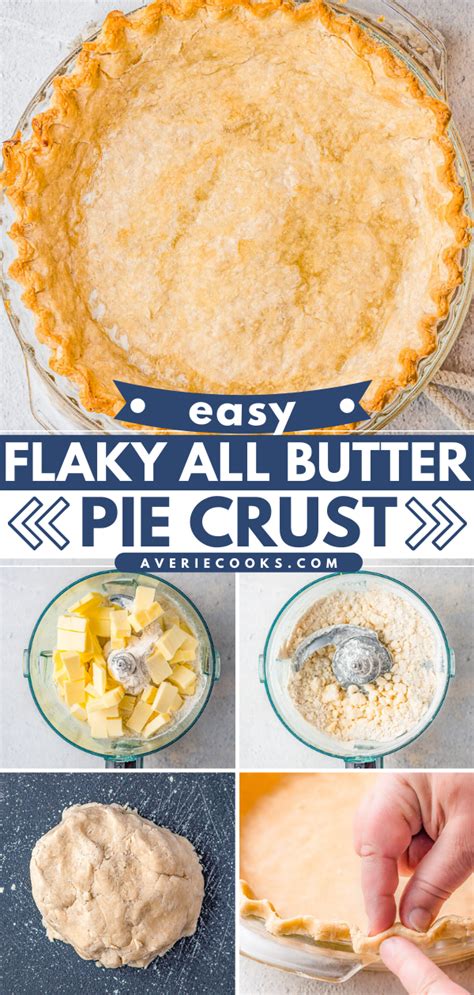
A truly exceptional pie begins with an extraordinary crust – one that’s golden, tender, and shatters into a thousand flaky layers with every bite. While many recipes exist, the secret to achieving this culinary dream using real butter lies in understanding a few fundamental principles. Forget the store-bought versions; creating a masterpiece at home is within your reach. Let’s dive into the science and art behind the perfect butter-based pie crust.
The Unsung Hero: Real Butter and Its Cold Nature
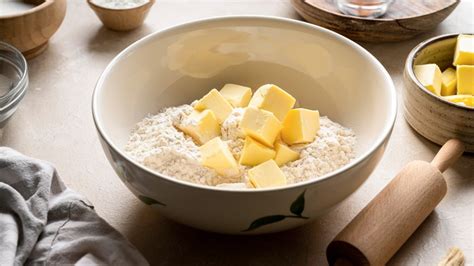
Real butter isn’t just for flavor; it’s the structural genius behind the flakiness. Unlike shortening, butter contains water. When cold butter pieces are encased in flour and then baked, the water turns to steam, creating pockets that puff up and separate the layers of dough. This steam is what gives butter crusts their signature lift and delicate texture.
The absolute most critical rule for a flaky crust is that your butter, and ideally all your ingredients (flour, water), must be *ice cold*. Cold butter doesn’t melt into the flour too quickly, preserving those crucial pockets for steam. Cube your butter and pop it in the freezer for 10-15 minutes before you start, and use ice water for mixing.

Mastering the Cut-In Technique
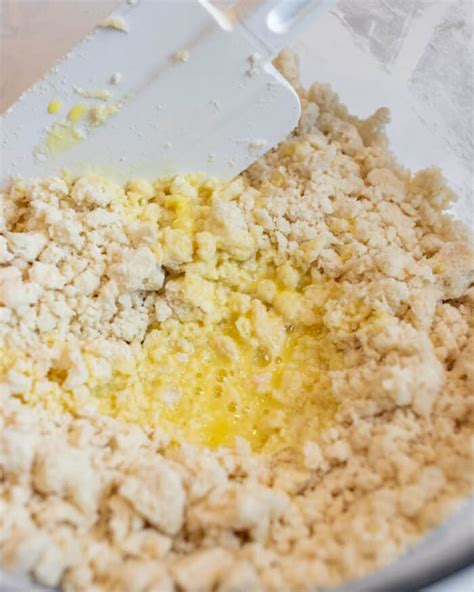
The method you use to incorporate butter into flour dictates the crust’s texture. You want pea-sized (or slightly larger) pieces of butter distributed throughout the flour, not fully blended. These distinct pieces are what create the flaky layers.
Tools of the Trade:
- Pastry Blender: The classic tool, allowing you to cut butter into flour efficiently without overworking the dough with your warm hands.
- Fingertips: If using your hands, work quickly and use just your fingertips to rub the butter into the flour.
- Food Processor: For speed, pulse cold butter and flour together in a food processor until the mixture resembles coarse meal with some larger pea-sized butter pieces remaining. Be careful not to over-process.
Remember, some larger chunks are good! They will create bigger, more dramatic flakes.
The Art of Hydration: Ice Water is Non-Negotiable
Once your butter is cut into the flour, it’s time to add the liquid. Always use ice water. The coldness keeps the butter from warming up and helps maintain its structure. Add the water a tablespoon at a time, gently tossing the mixture with a fork or your fingertips until the dough just barely comes together when pressed. The dough should be shaggy, not wet or sticky.
Over-hydrating is a common mistake that leads to a tough crust. It’s better to have a slightly dry dough that you gently coax together than one that’s too wet and develops excess gluten. You might not need all the water a recipe calls for, so trust your judgment and the feel of the dough.
The Gentle Touch: Minimizing Gluten Development
Gluten, while important for structure in bread, is the enemy of a flaky pie crust. When dough is overworked, gluten strands develop, making the crust tough and chewy. Handle your dough as little as possible. Once the water is added, quickly gather the dough into a disc, wrap it tightly in plastic, and move it to the refrigerator.
Chill Out: Essential Resting Periods
The Initial Chill:
This step is non-negotiable. Chilling the dough for at least 30 minutes (preferably 1-2 hours, or even overnight) allows the butter to firm up again and the gluten to relax. This makes the dough easier to roll out and prevents shrinking during baking, contributing significantly to flakiness.
The Final Chill:
After rolling out your crust and fitting it into the pie plate, chill it again for another 15-30 minutes before baking. This final chill ensures the butter is still cold when it hits the hot oven, maximizing steam production and preventing the crust from slumping.
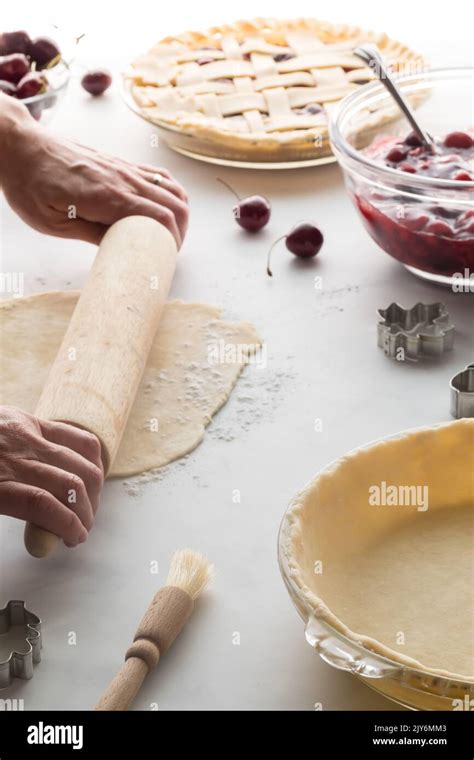
Rolling with Confidence: Technique for Flakiness
When it’s time to roll, work on a lightly floured surface with a lightly floured rolling pin. Start from the center and roll outwards, rotating the dough frequently to ensure an even thickness and prevent sticking. If the dough starts to crack, gently press it back together. If it gets too warm, pop it back into the fridge for a few minutes. Consistent thickness is key for even baking.
Conclusion
Crafting a flaky, buttery homemade pie crust is a rewarding experience that elevates any pie. By focusing on cold ingredients, mastering the cut-in technique, adding just enough ice water, handling the dough minimally, and utilizing crucial chilling periods, you’ll unlock the secret to a crust that’s not just good, but truly unforgettable. Practice makes perfect, so don’t be afraid to experiment and find your rhythm. Happy baking!