


Secret to getting crispy skin on farm-raised chicken, not rubbery?

The Quest for Crispy Perfection
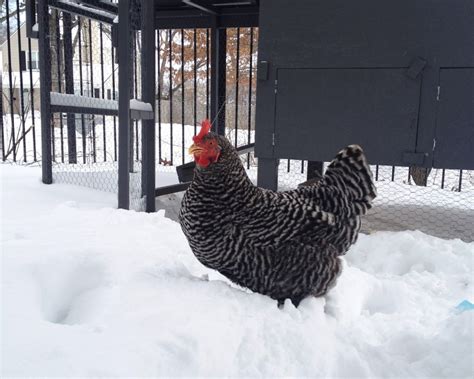
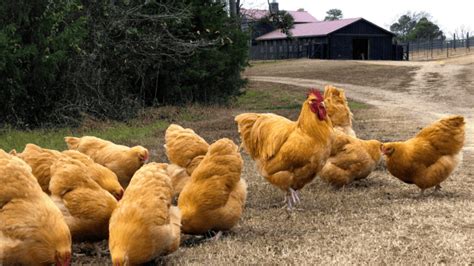
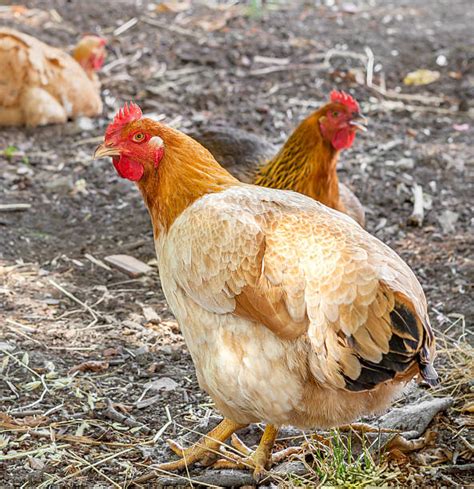
Farm-raised chicken, prized for its flavor and ethical origins, often presents a unique challenge: achieving that coveted crispy skin. Many home cooks find themselves with delicious, juicy meat but disappointingly rubbery skin. Fear not, for the secret lies in understanding a few fundamental principles and applying simple, effective techniques.
Why Farm-Raised Chicken Skin Behaves Differently
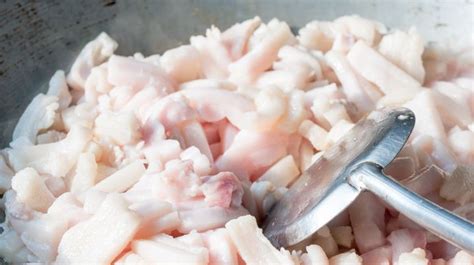
Unlike some conventionally raised poultry, farm-raised chickens often have slightly different fat compositions and skin thickness. Their active lifestyle can result in a leaner bird, but the skin still holds a significant amount of moisture and fat that needs to be properly rendered and dried out to achieve crispiness. The key is controlling these elements precisely.
Step 1: The Absolute Importance of Drying
This is arguably the most crucial step. Moisture is the enemy of crispiness. Before any cooking begins, ensure the chicken skin is as dry as possible. Patting it thoroughly with paper towels is a good start, but for truly superior results, consider air-drying:
- Refrigerate Uncovered: Place the chicken, uncovered, on a wire rack set over a baking sheet in the refrigerator for at least 8-12 hours, or even overnight. The cold, circulating air will significantly dry out the skin.
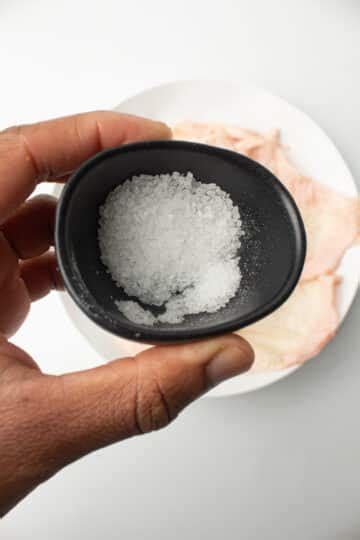
- Salt Application: A dry brine (salting the chicken liberally and letting it sit in the fridge) not only seasons the meat but also draws moisture out of the skin, which then evaporates.
Step 2: Optimal Seasoning and Fat Rendering
Once the skin is dry, season it generously with salt and any other desired spices. For rendering the fat, a slow and steady approach is best before cranking up the heat:
- Low Heat Start: Begin roasting or pan-searing the chicken at a moderate temperature (e.g., 325-350°F or 160-175°C) skin-side up. This allows the fat under the skin to slowly render out without burning the skin.
- Increase Heat: After the fat has begun to render (you’ll see it bubbling and releasing liquid, usually after 30-45 minutes), increase the oven temperature to a higher setting (e.g., 400-425°F or 200-220°C) to crisp up the skin.
Step 3: Even Heat and Finishing Touches
Even heat distribution is vital for uniform crispiness. A roasting rack helps lift the chicken, allowing air to circulate all around it.
- Roasting Rack: Always cook chicken on a wire rack set over a baking sheet. This prevents the bottom of the chicken from sitting in rendered fat, which can make it soggy.
- Broiler Finish (Use with Caution): If the skin isn’t quite crisp enough at the end of cooking, you can finish it under a preheated broiler for a few minutes. Watch it very closely, as skin can go from perfectly golden to burnt in seconds.
- Resting: While not directly for crispiness, resting the chicken (covered loosely with foil for 10-15 minutes) allows the juices to redistribute, ensuring moist meat. The skin usually retains its crispness during this short rest.
Troubleshooting Common Issues
If you’re still struggling, double-check your drying process. Any residual moisture will impede crisping. Also, ensure your oven temperature is accurate; an underheated oven won’t render fat efficiently or crisp the skin effectively. For pan-seared chicken, avoid overcrowding the pan, as this lowers the temperature and steams the skin instead of browning it.

Mastering the Crispy Skin
Achieving truly crispy skin on farm-raised chicken is a culinary triumph that elevates any meal. By meticulously drying the skin, intelligently rendering the fat, and utilizing proper heat management, you can transform that potentially rubbery exterior into a shatteringly crisp, golden delight. Experiment with these techniques, and you’ll soon be enjoying farm-to-table chicken with skin that’s as perfect as the meat beneath it.


