


Secret to perfectly fluffy homemade biscuits, not dry?
The Quest for Biscuit Perfection: Fluffy, Not Dry
Ah, the homemade biscuit. A culinary masterpiece of Southern comfort, breakfast staple, and perfect accompaniment to any meal. Yet, many home bakers find themselves frustrated, producing hockey pucks instead of light, airy layers. The secret to a perfectly fluffy, melt-in-your-mouth biscuit that isn’t dry or crumbly lies in understanding a few fundamental principles. Let’s unlock the mystery.
The Foundation: Cold Ingredients Are Key
This is perhaps the most crucial rule: everything must be cold. We’re talking about your butter, your buttermilk, and even your hands if you can manage it. Why? Cold butter, when it hits a hot oven, creates steam pockets as it melts. These steam pockets are what push apart the layers of dough, giving you that coveted rise and flaky texture. If your butter is warm, it will integrate too smoothly into the flour, resulting in a dense, cake-like biscuit.
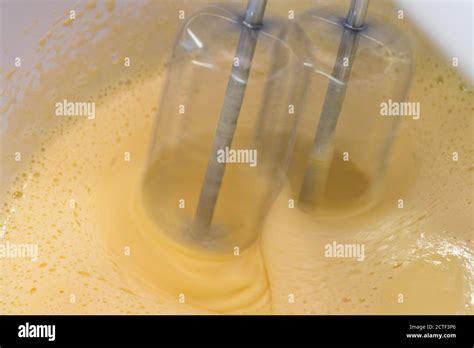
Buttermilk (or a DIY substitute like milk with a splash of lemon juice or vinegar) is also vital. Its acidity tenderizes the gluten in the flour, contributing to a softer crumb. And, like the butter, keeping it cold ensures the fat remains solid until baking.
Flour Power and Gentle Handling
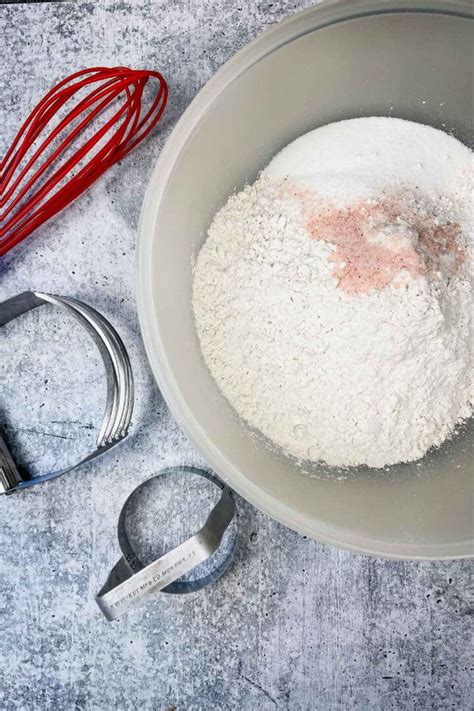
While all-purpose flour works well, some bakers swear by a lower-protein flour like White Lily, especially popular in the South, for an even tenderer crumb. Regardless of your flour choice, the cardinal rule for mixing biscuit dough is to not overmix. Overworking the dough develops gluten, which is great for chewy bread but disastrous for tender biscuits. Instead of light layers, you’ll get tough, dense results.
Mix just until the ingredients are combined and the dough barely comes together. It should still look a little shaggy and rough, not smooth and uniform.
Mastering the Mix and Fold
Incorporating the butter properly is critical. Many techniques work: grating frozen butter, cutting it in with a pastry blender, or using your fingertips to rub it into pea-sized pieces. The goal is to distribute small chunks of cold butter throughout the flour mixture. These butter pieces will be your flaky layers.
Once the liquid is added, resist the urge to knead extensively. Instead, gently fold the dough a few times. Some bakers opt for a “laminating” technique, gently patting the dough into a rectangle, folding it into thirds (like a letter), and repeating a couple of times. This helps create distinct layers without overworking the gluten, ensuring maximum flakiness.
The Cut and Bake
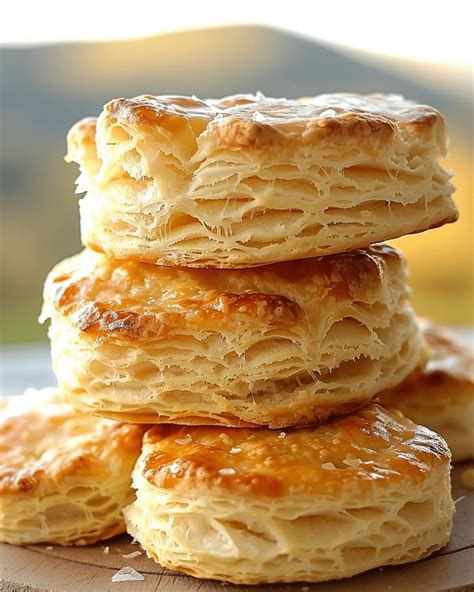
When it comes to cutting your biscuits, always use a sharp biscuit cutter and press straight down. Do not twist the cutter! Twisting seals the edges of the biscuit, preventing it from rising to its full potential. For extra fluffy biscuits, place them close together on the baking sheet so they can help each other rise.
Finally, bake in a very hot oven (typically 425-450°F / 220-230°C). The high heat is essential for that initial burst of steam from the cold butter, which is responsible for the dramatic rise and flaky texture. A hot oven also helps create a beautiful golden-brown crust without drying out the interior.
Common Pitfalls to Avoid
- Warm Ingredients: Leads to flat, dense biscuits.
- Overmixing Dough: Develops gluten, resulting in tough biscuits.
- Twisting the Cutter: Seals edges, inhibiting rise.
- Not Enough Fat: Biscuits will be dry and crumbly.
- Oven Temperature Too Low: Prevents proper rise and browning.

The Final Touch for Perfection
For an even richer, golden top, you can brush the biscuits with a little melted butter or extra buttermilk before baking. And remember, biscuits are best enjoyed warm, straight from the oven, slathered with butter, jam, or gravy. With these secrets in your baking arsenal, you’re well on your way to creating consistently fluffy, never-dry homemade biscuits that will impress every time.


