Secrets for consistently flaky, golden homemade pie crusts?

Mastering the Art of Perfect Pie Crusts
A truly exceptional pie starts with an exceptional crust. Forget the store-bought varieties; a homemade pie crust, with its characteristic flakiness and rich, golden hue, elevates any pie from good to unforgettable. While it might seem daunting, achieving this perfection consistently is entirely within reach with a few key techniques and secrets.
The Foundation: Cold Ingredients are Non-Negotiable
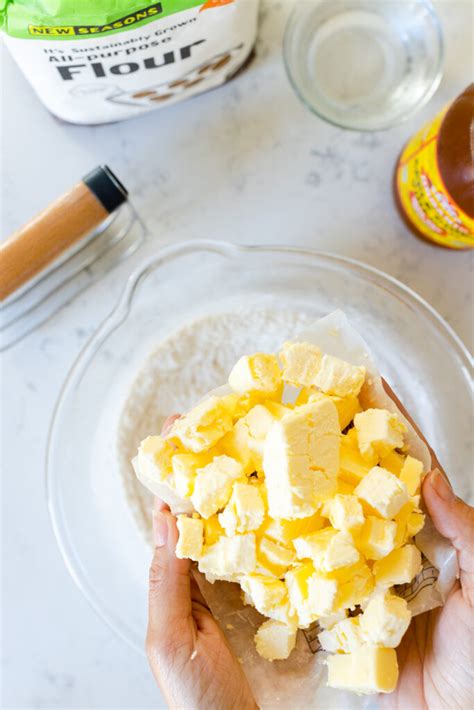
The cardinal rule for a flaky crust is to keep everything, especially your fat and water, as cold as possible. Cold butter (or shortening) creates tiny pockets of steam during baking, which separate the layers of dough, resulting in that coveted flakiness. Use ice-cold water, and consider chilling your flour and even your mixing bowl if your kitchen is warm.
- Fat Choice: While all-butter crusts offer superior flavor, a blend of butter and shortening can provide even greater flakiness and easier handling.
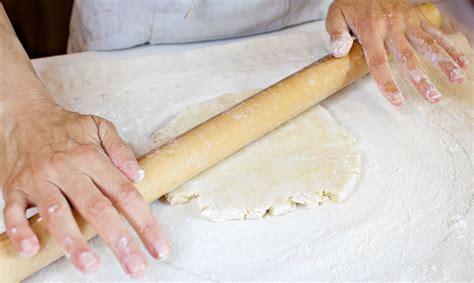
- Cutting in Fat: Whether you use a pastry blender, a food processor, or your fingertips, work quickly. The goal is pea-sized pieces of fat dispersed throughout the flour, not fully incorporated. Large pieces yield flakier results, while too-small pieces can make the crust tough.
The Gentle Touch: Don’t Overwork Your Dough
Overworking the dough develops the gluten in the flour, leading to a tough, chewy crust instead of a tender one. Mix just until the ingredients come together. The dough should still look a bit shaggy, not smooth. When adding water, do so a tablespoon at a time, mixing lightly until the dough just barely holds together when pressed.
Once formed, resist the urge to knead. Gently gather the dough into a disk, wrap it tightly in plastic wrap, and refrigerate it. This chilling step is crucial for two reasons: it allows the gluten to relax, and it firms up the fat, making the dough much easier to roll out.
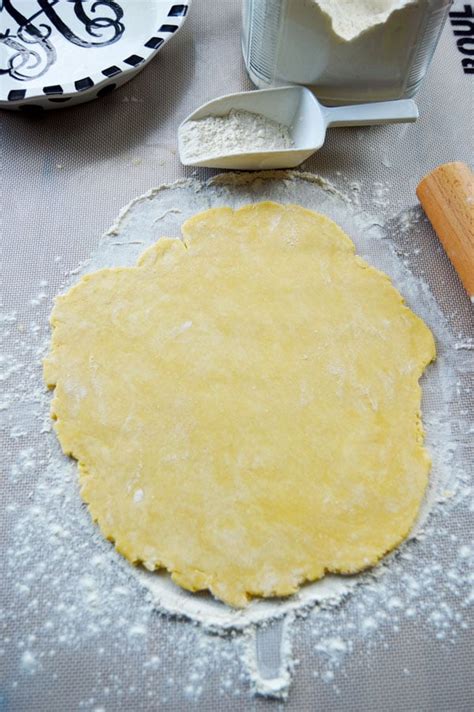
Chilling and Rolling: Patience is a Virtue
A minimum of 30 minutes in the refrigerator (preferably an hour or more) is essential. Cold dough is less sticky and less likely to tear. When rolling, work on a lightly floured surface, turning the dough frequently to prevent sticking. Roll from the center outwards, applying even pressure. If the dough starts to feel warm or sticky, pop it back into the fridge for 10-15 minutes.

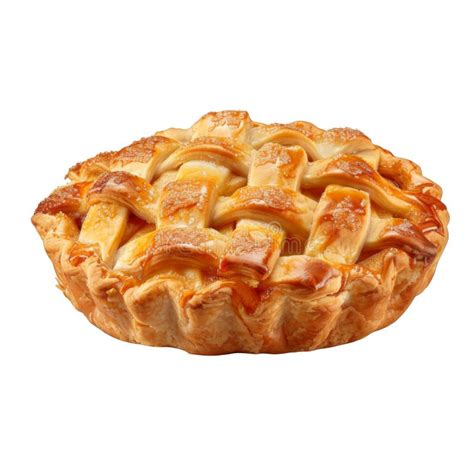
Achieving that Golden Hue and Perfect Bake
For that beautiful golden color, a little attention during baking goes a long way. Many recipes call for an egg wash (one egg whisked with a tablespoon of water or milk) brushed over the top crust before baking. This not only adds color but also a slight sheen. Additionally, ensure your oven is preheated to the correct temperature. A common starting temperature is 400-425°F (200-220°C) for the first 15-20 minutes to help the crust set quickly and achieve flakiness, then reducing it to finish baking.
Troubleshooting Common Pie Crust Woes
- Shrinking Crust: Often caused by overworking the dough or not chilling it sufficiently. Give the gluten time to relax in the fridge.
- Soggy Bottom: Prevent this by pre-baking (blind baking) your crust, especially for custard or fruit pies with high moisture content. Also, baking on a hot baking sheet can help.
- Cracked Edges: Too little water, overworking, or not chilling enough can make dough brittle. Patch cracks with a little cold water and extra dough if needed.
With these secrets in your baking arsenal, you’re well on your way to creating consistently flaky, tender, and golden homemade pie crusts that will impress everyone who takes a bite. Happy baking!