Secrets to a rich, clear homemade bone broth for country cooking?

The Foundation of Flavor: Why Bone Broth Matters
In country cooking, flavor is king, and a truly rich, clear bone broth is the crown jewel. It’s the secret ingredient that transforms soups, stews, gravies, and sauces from good to unforgettable. Far more than just stock, a well-made bone broth offers unparalleled depth, body, and a comforting warmth that store-bought versions simply can’t replicate. Achieving that coveted clarity and gelatinous richness, however, requires more than just tossing bones in water. It’s an art, and we’re about to unlock its secrets.
1. Start with the Right Bones and Ingredients
The quality of your broth begins with your base. For maximum flavor and gelatin, opt for a variety of bones: knuckles, marrow bones, joint bones, and even meaty bones like oxtail or short ribs. Beef bones are classic for country cooking, but chicken or pork can also be used. Always source bones from grass-fed, pasture-raised animals if possible, as this significantly impacts the flavor and nutrient profile.
Beyond bones, you’ll need aromatics. A classic mirepoix (carrots, celery, onion) is essential. Add herbs like bay leaves, thyme, and parsley stems. A splash of apple cider vinegar (about 1-2 tablespoons) helps draw minerals from the bones, but don’t overdo it, or your broth might taste too acidic.
2. The Roasting Revolution: Deepening Flavor and Color
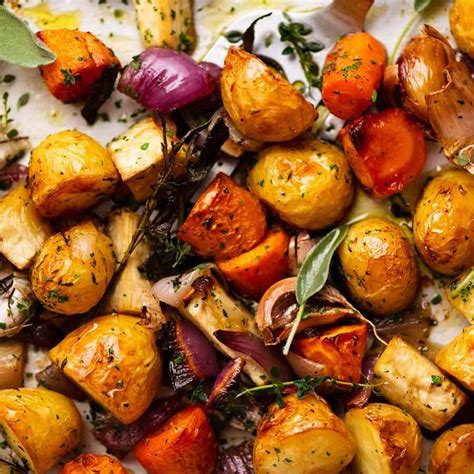
This step is non-negotiable for a truly rich, dark broth. Roasting your bones and even your mirepoix before simmering adds a profound layer of flavor and a beautiful golden-brown color. Spread your bones on a baking sheet and roast at 400°F (200°C) for 30-45 minutes, or until deeply browned. You can add your vegetables to the pan for the last 15-20 minutes of roasting. Don’t forget to deglaze the roasting pan with a bit of water or vinegar to capture all those flavorful browned bits – that’s pure gold for your broth!
3. The Pre-Soak and Scum Removal for Clarity
For crystal-clear broth, initial preparation is key. After roasting, place your bones in a large pot and cover with cold water. Let them soak for 20-30 minutes before heating. As the water slowly comes to a bare simmer, you’ll see a grayish foam (scum) rise to the surface. This contains impurities that can cloud your broth. Skim it off meticulously with a fine-mesh spoon. Patience here pays off immensely in the final clarity of your broth. Continue skimming until the surface is relatively clear.
4. Low and Slow: The Simmering Sweet Spot
This is arguably the most critical secret. Bone broth should never boil vigorously. A rolling boil emulsifies fats and breaks down proteins, leading to a cloudy broth. Instead, maintain a gentle, consistent simmer – just a few tiny bubbles breaking the surface, barely perceptible movement. The ideal simmering time for beef or pork bones is 12-24 hours, and for chicken, 6-12 hours. The longer, gentler simmer extracts more collagen and minerals, resulting in a more gelatinous and nutritious broth.

5. Minimal Agitation and Final Straining
Once your broth is simmering, resist the urge to stir it frequently. Constant stirring can also cloud your broth. Let it do its magic undisturbed. When it’s done, carefully remove the bones and large vegetables with tongs or a slotted spoon. Then, for ultimate clarity, strain the broth multiple times. First, through a colander to catch larger pieces. Second, through a fine-mesh sieve. For absolute perfection, line the fine-mesh sieve with cheesecloth or a clean kitchen towel and strain again. This removes even the tiniest particulates.
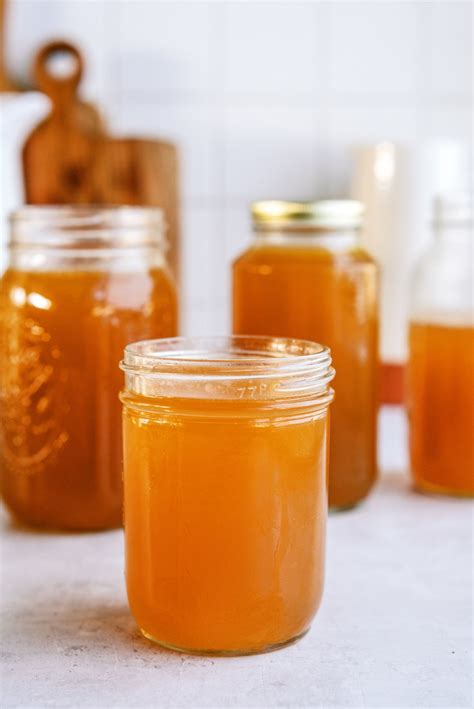
6. The Cooling and Storage Strategy
Rapid cooling is vital for food safety and to help achieve that beautiful gelatinous texture. Once strained, transfer the broth to shallow containers and place them in an ice bath or refrigerate immediately uncovered until cool, then cover. As it cools in the refrigerator, a layer of fat will rise to the top and solidify. This fat cap acts as a natural seal, preserving the broth for longer in the fridge. Scrape it off before reheating if you prefer a leaner broth, or leave it for extra richness. Properly cooled broth will be gelatinous, a testament to its collagen content. It can be stored in the refrigerator for 5-7 days or frozen for several months.
Elevate Your Country Cooking
Mastering these techniques will transform your homemade bone broth into a culinary powerhouse. The rich flavor and incredible clarity you achieve will be a game-changer for all your country cooking endeavors, adding depth and nourishment that elevate every dish. Patience and attention to detail are your best friends on this journey to broth perfection.