


Simple canning steps for preserving garden bounty without special tools?

Embrace the Art of Simple Home Canning
As your garden flourishes and bountiful harvests start rolling in, the thought of preserving that freshness for months to come often crosses a gardener’s mind. While the idea of canning can seem daunting, conjuring images of intricate equipment and complicated procedures, the truth is that much of your garden’s produce can be safely preserved using simple water bath canning methods and tools you likely already own. Forget expensive canners or specialty gadgets; with a large pot and a few common kitchen items, you can transform your harvest into pantry staples.
The Essential “Tools” You Already Possess
For successful water bath canning, you don’t need a dedicated canning kit. Here’s what you’ll use from your kitchen:
- A Large Pot with a Lid: This is your “canner.” It needs to be tall enough for jars to be submerged by at least an inch of water, with space for boiling.
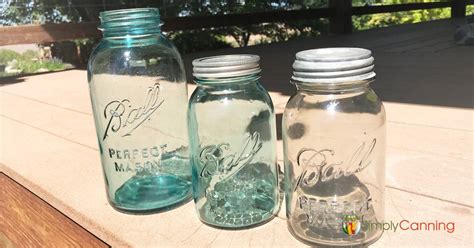
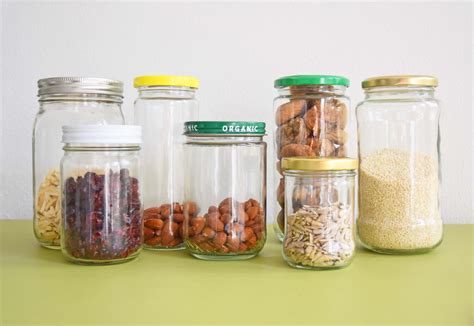
- Jars, Lids, and Bands: Standard Mason jars are essential. New lids are crucial for a proper seal, while bands can be reused.
- A Rack for the Pot: To prevent jars from touching the bottom of the pot (which can cause breakage), use a metal rack, canning rack, or even a few metal canning bands tied together. A clean dishcloth folded at the bottom works in a pinch but ensure it’s thick enough.
- Jar Lifter (or Tongs): While a dedicated jar lifter is handy, sturdy kitchen tongs can carefully lift hot jars if you’re gentle.
- Wide-Mouth Funnel (Optional but Helpful): To keep jar rims clean when filling. A large ladle or measuring cup works too.
- Bubble Remover (or Spatula): A plastic or wooden chopstick or a thin rubber spatula can remove air bubbles from filled jars.
- Clean Cloths: For wiping jar rims and general clean-up.

Step-by-Step Water Bath Canning: A Simple Guide
Water bath canning is suitable for high-acid foods like fruits, jams, jellies, pickles, and tomatoes (often with added acid). Always use tested recipes from reliable sources.
1. Prepare Your Produce and Jars
Wash your chosen fruits or vegetables thoroughly. Prepare them according to your recipe (peeling, chopping, blanching, etc.). Meanwhile, wash your canning jars and screw bands in hot, soapy water. Rinse well. Sterilize jars by simmering them in hot water for 10 minutes, or running them through a dishwasher’s sanitize cycle. Keep jars hot until ready to fill. Place new lids in a separate small saucepan and simmer (do not boil) according to manufacturer directions to soften the sealing compound.
2. Fill Jars and Prepare for Processing
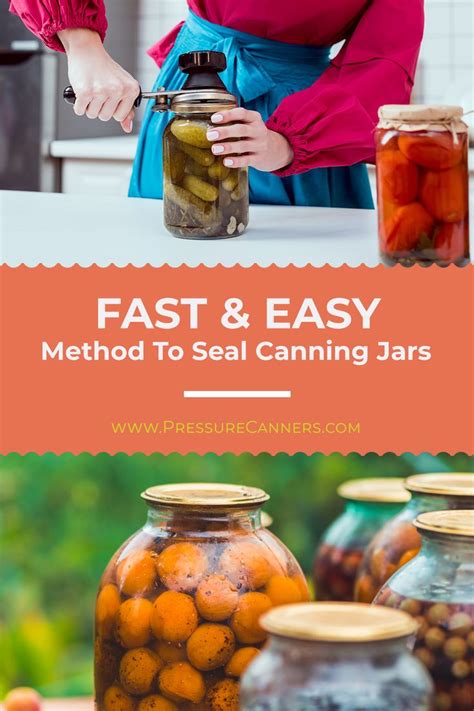
Carefully remove one hot jar at a time and fill it with your prepared food, leaving the headspace specified in your recipe (usually 1/4 to 1/2 inch). Use a bubble remover (or chopstick) to gently release any trapped air bubbles. Wipe the jar rim clean with a damp cloth – any food residue can prevent a proper seal. Center a hot lid on the jar, then screw on a band finger-tight (just until resistance is met, no overtightening).
3. Process Jars in the Water Bath
Place your filled jars onto the rack in your large pot. Add enough hot water to cover the jars by at least 1-2 inches. Cover the pot with its lid and bring the water to a full rolling boil. Once boiling, begin timing according to your recipe. Adjust for altitude if necessary. Maintain a steady boil throughout the processing time.
4. Cool and Check Seals
Once the processing time is complete, turn off the heat and carefully remove the pot lid. Let the jars sit in the hot water for 5 minutes before carefully lifting them out with your jar lifter or tongs. Place the hot jars on a clean towel or cooling rack, ensuring they are not touching each other, and allow them to cool undisturbed for 12-24 hours. You’ll often hear a satisfying “ping!” sound as the seals form.
After cooling, check each jar for a proper seal. The center of the lid should be concave (curved inward) and not flex when pressed. If a jar hasn’t sealed, refrigerate it immediately and consume its contents within a few days, or reprocess with a new lid within 24 hours. Remove bands from sealed jars, wipe jars clean, label with contents and date, and store in a cool, dark place.
Safety First: Important Considerations
While simple, canning requires strict adherence to safety guidelines. Always use current, tested recipes from reputable sources like university extension services or trusted canning guides. Never alter ingredients or processing times. Only high-acid foods are safe for water bath canning; low-acid foods (like most vegetables, meats, and poultry) require a pressure canner to prevent botulism. When in doubt, err on the side of caution. With a little practice, simple canning can become a rewarding and economical way to enjoy your garden’s bounty all year long.


