


Simple DIY composting system for kitchen scraps?
Transforming kitchen scraps into nutrient-rich soil is not only a rewarding experience but also a fantastic way to reduce waste and enrich your garden. You don’t need a sprawling backyard or complex equipment to start; a simple DIY composting system can be set up right in your kitchen, making eco-friendly living accessible to everyone.
Why Go DIY with Your Kitchen Composter?
Many people are intimidated by composting, imagining large, smelly piles of decaying matter. However, a small-scale DIY system for kitchen scraps is incredibly manageable, odor-free if done correctly, and immensely beneficial. It’s a cost-effective way to produce your own organic fertilizer, diverting food waste from landfills where it produces harmful methane gas. Plus, it gives you a tangible connection to the cycle of life and sustainability.
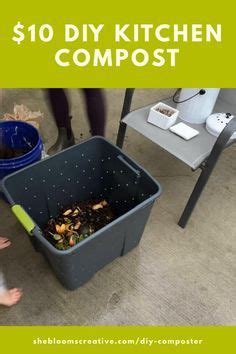
The Easiest System: A Simple Bucket Composter
For beginners or those with limited space, a basic bucket composting system is ideal. It requires minimal materials and can be kept indoors or on a small balcony.
Materials You’ll Need:
- Two 5-gallon buckets (one with a lid).
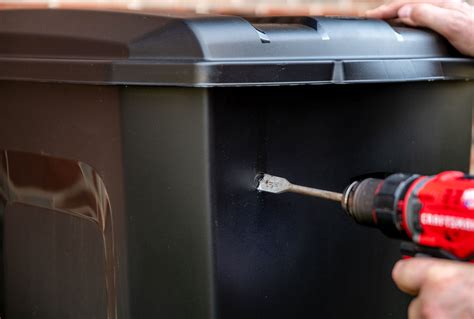
- Drill with a 1/4-inch bit.
- Newspaper or cardboard (shredded).
- Garden soil or finished compost (a small amount to start).
Step-by-Step Setup:
- Prepare the Drainage Bucket: Take one bucket and drill about 10-15 holes in the bottom. This will be your drainage bucket.
- Prepare the Collection Bucket: Take the second bucket and drill several holes around the sides, about 2-3 inches from the bottom. These holes will provide aeration. Drill a few holes in the lid too for air circulation.
- Stack the Buckets: Place the collection bucket inside the drainage bucket. The holes in the bottom of the collection bucket should align with the air gap created by the drainage bucket.
- Add a Base Layer: Line the bottom of the top (collection) bucket with a few inches of shredded newspaper or cardboard. This absorbs excess moisture.
- Introduce Starters: Add a handful of garden soil or finished compost to introduce beneficial microbes. This will kickstart the decomposition process.
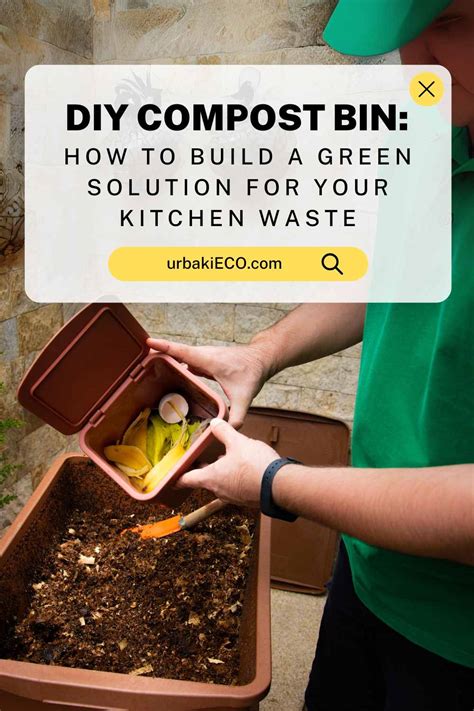
What to Add (and What to Avoid)
Successful composting hinges on balancing “greens” (nitrogen-rich) and “browns” (carbon-rich). A good rule of thumb is roughly equal parts by volume.
Compost-Friendly Scraps (Greens):
- Fruit and vegetable peels/scraps
- Coffee grounds and filters
- Tea bags
- Crushed eggshells
Compost-Friendly Materials (Browns):
- Shredded newspaper and cardboard
- Dry leaves
- Sawdust (untreated wood only)
Avoid Adding These:
- Meat, bones, and dairy products (attract pests, can smell bad)
- Oils and greasy foods
- Pet waste (can contain pathogens)
- Diseased plants

Maintaining Your Indoor Composter
Once your system is set up, maintenance is straightforward:
- Add Scraps Regularly: Layer your kitchen scraps with “browns” like shredded paper. This helps maintain a good carbon-to-nitrogen ratio and prevents odors.
- Keep it Moist: The compost should feel like a wrung-out sponge – damp but not soggy. If it’s too dry, add a little water; too wet, add more browns.
- Aerate Often: Every few days, use a trowel or stick to turn and mix the contents. This introduces oxygen, which is crucial for aerobic decomposition and prevents foul odors.
- Harvesting: Depending on the volume and type of scraps, it can take 2-3 months for your compost to be ready. You’ll know it’s done when it’s dark brown, crumbly, and smells like fresh earth. You can scoop out finished compost from the bottom or empty the bucket when full and let it finish curing.

Benefits Beyond the Bin
Beyond reducing waste, your homemade compost provides incredible benefits for your plants and garden. It improves soil structure, enhances water retention, and slowly releases essential nutrients, leading to healthier, more vibrant plants. It’s a testament to the power of closed-loop systems, transforming what was once waste into a valuable resource.

Conclusion
Starting a simple DIY composting system for your kitchen scraps is an accessible and impactful step towards a more sustainable lifestyle. It’s a small change that yields big results, offering a practical solution for waste reduction and providing your plants with the best possible nourishment. Get started today and watch your kitchen waste transform into garden gold!
