


Simple DIY drying rack for herbs from the garden?

There’s nothing quite like the flavor and aroma of fresh herbs straight from the garden. But what happens when you have an abundance, or when the growing season comes to an end? Drying your own herbs is a fantastic way to preserve their essence, ensuring you have a supply of your favorite flavors all year round. Not only does it help reduce food waste, but it also allows you to enjoy pesticide-free, organic herbs at a fraction of the cost of store-bought alternatives. Creating your own drying rack is a simple, satisfying DIY project that requires minimal materials and effort.
Why Dry Your Own Herbs?
Drying herbs concentrates their flavors and extends their shelf life significantly. It’s an ancient preservation method that requires no electricity and preserves many of the beneficial compounds found in fresh herbs. Imagine sprinkling your own home-dried oregano on pizza in winter or infusing homemade tea with your dried mint. It’s rewarding, economical, and connects you more deeply with your garden’s bounty.

Simple Materials You’ll Need
The beauty of this project lies in its simplicity. You likely have many of these items around your house already:
- Wood dowels or thin branches: About 1/2 to 1 inch in diameter, varying lengths.
- String, twine, or thin rope: Natural fibers like cotton or jute work best.
- Scissors: For cutting string.
- Hooks (optional): Screw-in hooks or S-hooks for hanging branches.
- Clothesline clips or rubber bands (optional): For securing herbs.
- Drill (optional): If you plan to create a more permanent frame.
- Measuring tape: To ensure even cuts and spacing.

Step-by-Step Guide to Building Your Rack
Method 1: The Hanging Branch Method (Easiest)
- Select Your Branches: Choose sturdy, relatively straight branches or dowels. If using garden branches, ensure they are clean and dry.
- Cut Your String: Cut several lengths of string, long enough to hang the branch from a ceiling hook or beam, plus extra for tying.
- Tie the Branches: Attach a piece of string to each end of your chosen branch, creating a loop for hanging. Ensure the knot is secure.
- Find Your Spot: Locate a warm, dry, well-ventilated area away from direct sunlight. A pantry, a corner of a kitchen, or a spare room are ideal.
- Hang the Branch: Use a ceiling hook, an existing beam, or even a sturdy clothes rack to suspend your branch.
- Prepare Your Herbs: Harvest your herbs in the morning after the dew has dried but before the sun is too strong. Gently rinse them if needed and pat them dry. Remove any damaged leaves or lower leaves that would be submerged in water if you were to keep them fresh.
- Bunch and Hang: Gather small bunches of 5-10 stems of the same herb. Tie them together securely at the base of the stems with string or a rubber band. Leave a loop of string for hanging.
- Hang on the Rack: Hang your herb bunches from the suspended branch, ensuring there’s enough space between each bunch for good air circulation.
Method 2: Simple Frame Rack (Slightly More Involved)
For a more permanent or multi-tiered solution, you can create a basic frame:
- Build a Frame: Using four short dowels/sticks for legs and four longer ones for the top perimeter, you can assemble a simple square or rectangular frame. You can drill holes and thread string through, or simply lash them together with twine.
- Create Tiers (Optional): For multiple layers, create several identical frames and stack them, or suspend smaller dowels within a larger frame.
- String Across: Once your frame is built, run parallel lines of string or thin twine across the frame, creating a grid. This is where you’ll lay individual herbs or small bunches.
- Hang or Stand: This type of rack can be hung from a ceiling or placed on a flat surface, depending on its design and your space.
- Place Herbs: Lay single herb stems or small, loose bunches directly onto the string grid. This method is great for herbs with smaller leaves or individual leaves you want to dry.

Tips for Successful Herb Drying
- Choose the Right Herbs: Herbs with lower moisture content (like rosemary, thyme, oregano, marjoram, sage, bay leaves) dry beautifully. High-moisture herbs (like basil, mint, cilantro, parsley) can be trickier; ensure excellent air circulation or consider a dehydrator for them.
- Optimal Environment: A dark, warm (68-80°F / 20-27°C), well-ventilated area is crucial. Humidity is the enemy of drying and can lead to mold.
- Avoid Direct Sunlight: Direct sun can bleach herbs, causing them to lose color and flavor.
- Patience is Key: Drying can take anywhere from a few days to a few weeks, depending on the herb, humidity, and temperature.
- Test for Dryness: Herbs are fully dry when they are brittle and easily crumble between your fingers. Stems should snap, not bend.
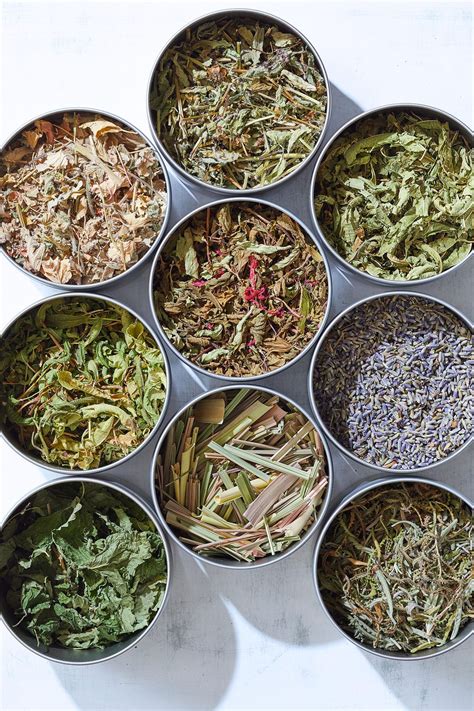
- Storage: Once completely dry, remove leaves from stems and store them whole or lightly crumbled in airtight containers (glass jars are ideal) in a cool, dark place. Whole leaves retain flavor longer.

Enjoy Your Home-Dried Harvest
Creating a simple DIY drying rack is a rewarding project that extends the life of your garden’s bounty and enriches your culinary adventures. With a minimal investment of time and materials, you’ll soon have a cupboard full of fragrant, flavorful herbs, ready to elevate your cooking and add a touch of homemade goodness to every meal. Happy drying!


