


Simple DIY root cellar designs for year-round produce storage?
Unlock Year-Round Freshness with a DIY Root Cellar
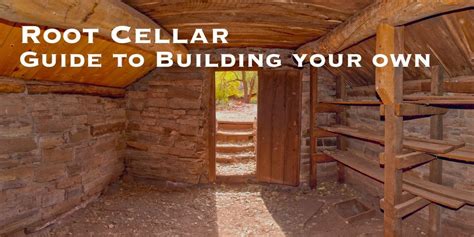
Imagine extending the life of your garden’s bounty, enjoying crisp apples and firm carrots months after harvest. A root cellar makes this possible, offering a natural, energy-free solution for preserving produce. While the term might evoke images of large, underground chambers, many simple and effective DIY designs can be built with basic materials and minimal construction skills, perfect for any backyard or homestead.
The Timeless Appeal of Root Cellars
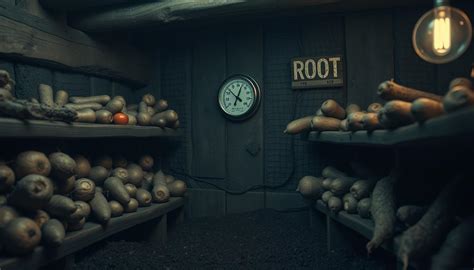
A root cellar works by mimicking the stable, cool, and humid conditions found naturally underground. This environment slows down the ripening and decay process of fruits and vegetables, preventing sprouting, wilting, and spoilage. The benefits are numerous: reduced food waste, enhanced food security, less reliance on refrigeration, and the satisfaction of enjoying homegrown produce long after the growing season has ended.
Key Principles for Effective Root Cellar Design
Regardless of the design you choose, a successful root cellar adheres to a few core principles:
- Cool Temperature: Ideally between 35-50°F (2-10°C). Consistency is key to prevent spoilage.
- High Humidity: Around 85-95% humidity prevents produce from drying out and shriveling.
- Ventilation: Proper airflow helps regulate temperature and humidity, preventing the buildup of ethylene gas (which can accelerate ripening) and odors.
- Darkness: Absence of light inhibits sprouting and preserves quality.
Simple DIY Root Cellar Designs You Can Build
1. The Buried Container Method (Trash Can or Barrel)
One of the easiest methods involves burying a durable, food-grade container. Dig a hole in a well-drained, shaded spot deep enough to accommodate most of the container. Drill drainage holes in the bottom and a few ventilation holes near the top rim. Place a layer of gravel for drainage, then sand or straw for insulation. Fill with produce, cover with an insulated lid (e.g., wood and straw), and then add a mound of soil over the lid for extra insulation. Access is by simply uncovering the lid.
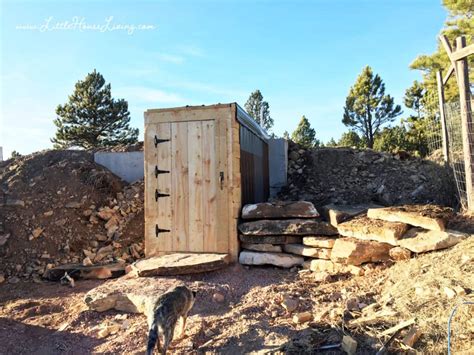
2. The Earth Mound Cellar
This design creates an insulated mound above ground. You can start with a wooden crate or an old refrigerator shell (ensure it’s clean and sealable). Place it on a well-drained site, then cover it thickly with layers of straw, leaves, and soil. Ensure there’s a small, accessible entrance (a simple door or lid) and incorporate a ventilation pipe at the top. This method offers excellent insulation from temperature fluctuations.
3. The Modified Cooler or Storage Bin
For smaller quantities or temporary storage, a large, insulated cooler or storage bin can be modified. Bury the cooler partially or fully in the ground, ensuring good drainage. Add a small vent pipe to one side and use the cooler’s lid for access. This works especially well for overwintering smaller root crops or for urban gardeners with limited space.
4. The Simple Trench or Pit Cellar
This is arguably the most basic design. Dig a trench or pit about 2-3 feet deep in a well-drained area. Line the bottom with straw or leaves. Place your produce (e.g., carrots, potatoes) in layers, separating them with more straw or sand. Cover the top with a thick layer of straw, then a tarp, and finally a mound of soil. Mark the location well for easy retrieval. This is a great temporary solution for winter storage.
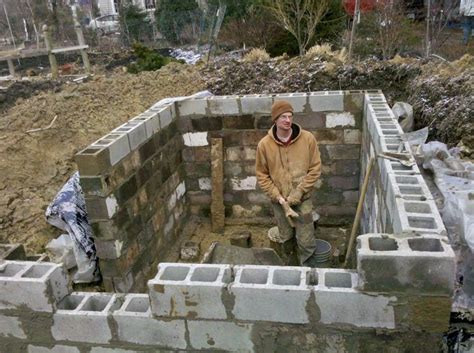
General Steps for Building a Basic Root Cellar
- Site Selection: Choose a well-drained area, preferably shaded, and away from tree roots.
- Excavation: Dig your hole to the desired depth and width, considering insulation and access.
- Drainage & Structure: Lay a gravel base. Install your chosen container or build a simple wooden frame.
- Ventilation: Install inlet and outlet pipes (PVC or similar) for cross-ventilation. Screen openings to keep pests out.
- Insulation & Cover: Pack straw, leaves, or sawdust around your structure. Cover with soil, ensuring a thick insulating layer over the top and sides.
- Access: Create an insulated lid or door that seals tightly.
Tips for Successful Produce Storage
- Harvest Carefully: Avoid bruising produce, as this creates entry points for decay.
- Cure Certain Crops: Potatoes and squash benefit from a curing period (warm, humid conditions) before going into the cellar.
- Store Separately: Some fruits (like apples) release ethylene gas, which can accelerate ripening in other produce. Store them away from ethylene-sensitive vegetables.
- Monitor Conditions: Periodically check your cellar’s temperature, humidity, and the condition of your produce. Remove any spoiled items immediately.
Building a simple DIY root cellar is a rewarding project that offers immense benefits for preserving your harvest. With a little effort, you can enjoy the taste of your garden’s bounty all year long, reducing waste and enhancing your food independence.
