Simple homemade sourdough starter tips for real food, country kitchens?

Embracing the rhythm of a country kitchen often means a return to time-honored traditions, and few traditions are as satisfying as baking with a homemade sourdough starter. More than just a leavening agent, a sourdough starter is a living testament to patience, natural fermentation, and the pursuit of truly real food. If you’ve been yearning to bring the tangy aroma of fresh sourdough bread into your home, but feel intimidated, fear not! We’re here to demystify the process with simple, country-kitchen-friendly tips.
Why Sourdough Belongs in Your Country Kitchen
For generations, sourdough was the primary way to bake bread, long before commercial yeast. It’s not just about nostalgia; there are compelling reasons to adopt this method. Sourdough bread is often easier to digest due to the long fermentation breaking down gluten, and it boasts a richer flavor profile. It aligns perfectly with a ‘real food’ philosophy, using only flour, water, and time to create something truly magical. Plus, a healthy starter can last indefinitely, becoming a cherished heirloom in your kitchen.
Gathering Your Simple Ingredients & Tools
Starting a sourdough culture requires minimal fuss and even fewer ingredients. You’ll need:
- Flour: Unbleached all-purpose flour, bread flour, or even whole wheat flour works wonderfully. Organic is preferred for real food benefits.
- Water: Unchlorinated water is crucial. Tap water left out overnight can often suffice, or use filtered/bottled water. Chlorine can hinder fermentation.
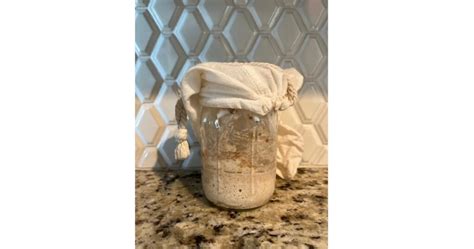
- Jar: A clean, wide-mouth glass jar (like a canning jar) with a loose-fitting lid or cloth cover.
- Spoon/Spatula: Non-metal is often recommended, though metal is generally fine for mixing.
- Scale (Optional but Recommended): For precise measurements, which help with consistency.
The First Mix: Bringing Your Starter to Life
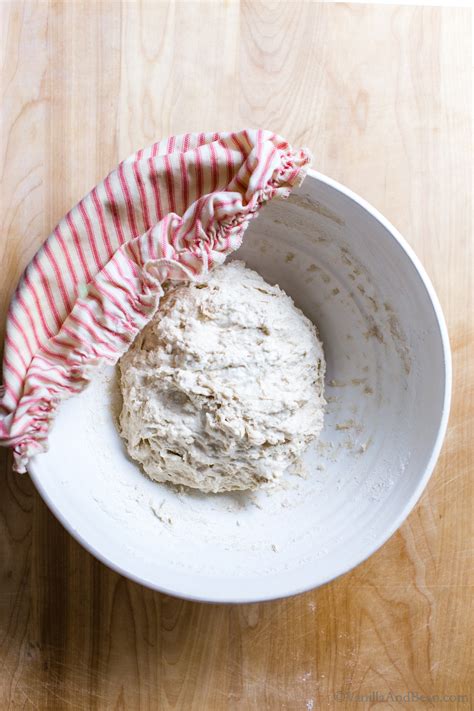
Day 1 is simple. In your clean jar, combine equal parts by weight of flour and water. For example, 50 grams of flour and 50 grams of water. Mix thoroughly until there are no dry spots. The consistency should be like a thick pancake batter. Cover loosely and leave it at room temperature (ideally 70-75°F / 21-24°C) for 24 hours.
Don’t expect much activity on the first day. This initial mix is about introducing wild yeasts and bacteria from the flour and air to the water, giving them a chance to wake up. Patience is key in these early stages.
Daily Feeding: Nurturing Your Active Starter
For the next 5-7 days (or longer, depending on your environment), you’ll feed your starter daily. This is where the ‘discard’ comes in. Each day, remove a portion of your starter (usually all but 50-100 grams) and then feed the remaining starter with fresh flour and water. A common feeding ratio is 1:1:1 (starter:flour:water). So, if you keep 50g of starter, feed it 50g of flour and 50g of water.
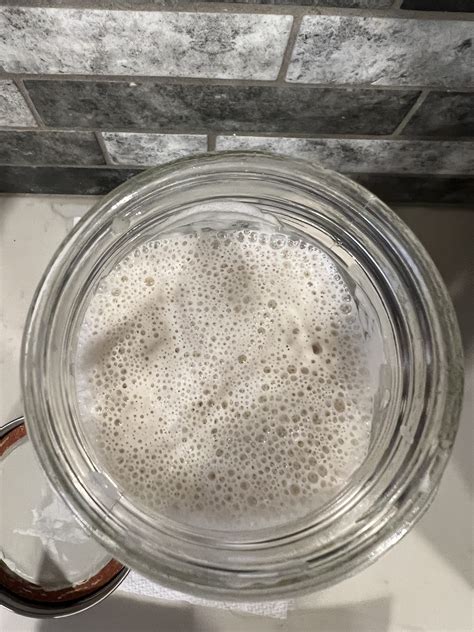
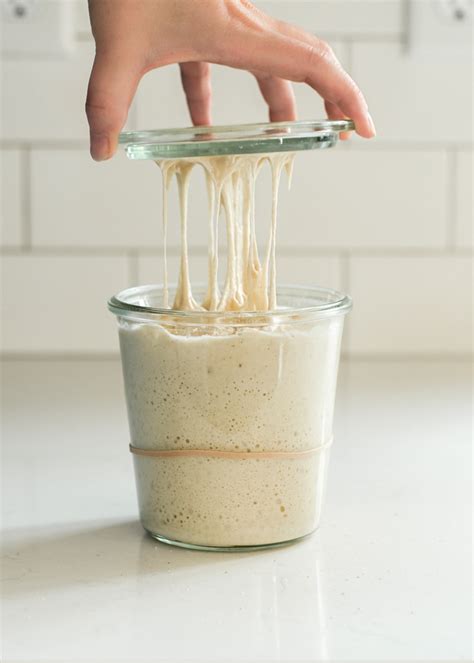
Mix well, cover loosely, and return to its warm spot. You’ll begin to notice bubbles forming, a tangy smell developing, and the starter rising and falling between feedings. These are all signs of a healthy, active culture. Once it’s consistently doubling in size within 4-8 hours after feeding, it’s ready for baking!
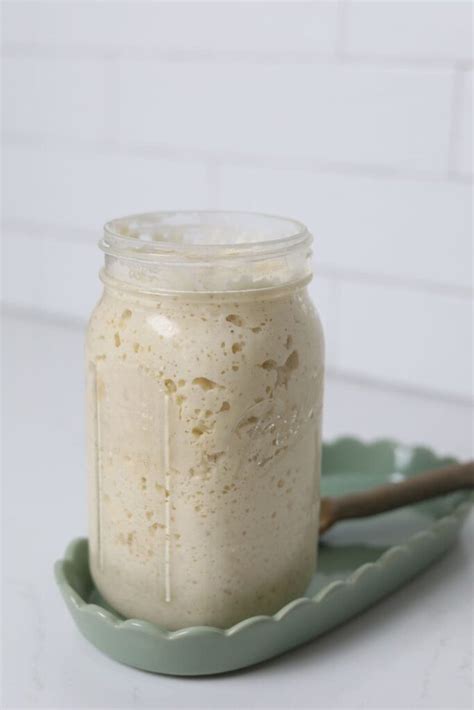
Reading Your Starter: Signs of Health
A thriving sourdough starter will exhibit several characteristics:
- Bubbles: Small and large bubbles throughout, especially after feeding.
- Rise and Fall: It will visibly rise after feeding (often doubling or tripling) and then slowly fall back down as it runs out of food.
- Smell: A pleasant, tangy, slightly yeasty aroma. Not foul or overly acidic.
- Texture: A light, airy, somewhat elastic texture when stirred.
Troubleshooting Common Sourdough Issues
Don’t be discouraged if your starter isn’t perfect immediately. It’s a living thing!
- Hooch: A dark liquid on top is called hooch. It indicates your starter is hungry. Stir it in, discard more, and feed it. If it’s pink or orange, it’s mold and you should discard the whole starter.
- No Activity: Ensure your water is unchlorinated and your room temperature is warm enough. Give it time. Sometimes it can take longer than a week to become active.
- Mold: This is the only sign that means your starter is truly spoiled. It will look fuzzy and often colorful. Discard and start over.
Storing and Maintaining Your Sourdough Companion
Once your starter is active, you don’t need to feed it daily if you’re not baking. For infrequent bakers, store your starter in the refrigerator. Feed it once a week: take it out, let it come to room temp for an hour, discard, feed, let it sit at room temp for 2-4 hours to show some activity, then return it to the fridge. Remember to feed it 1-2 times over 24 hours at room temperature before you plan to bake with it.
A well-maintained starter can live for decades, even centuries, passed down through generations. It’s a testament to real food, patience, and the satisfying rewards of the country kitchen.
Conclusion: The Reward of Real Food Baking
Cultivating your own sourdough starter is more than just a culinary skill; it’s a journey into the heart of real food and traditional living. It connects you to a timeless baking practice that yields delicious, wholesome bread with unparalleled flavor and texture. With these simple tips, your country kitchen will soon be filled with the wonderful aroma of homemade sourdough, a testament to your dedication to natural, nourishing food. Happy baking!