Simple real food canning recipes for preserving your garden’s bounty?
Unlock the Flavors of Your Garden Year-Round with Simple Canning
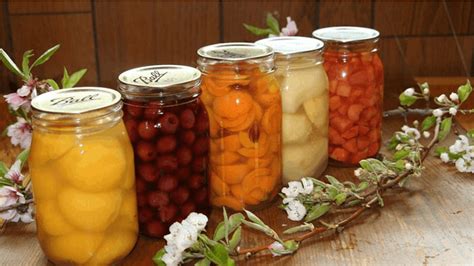
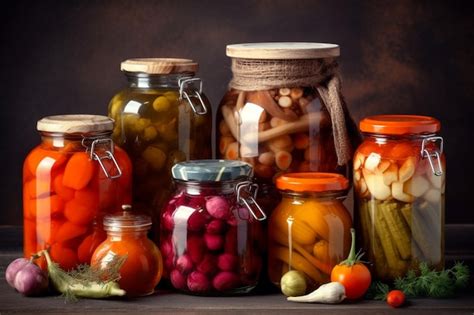
There’s nothing quite like the taste of fresh, homegrown produce. But what happens when your garden overflows with a bounty you can’t possibly consume all at once? The answer lies in the age-old art of canning. Far from being a daunting task, simple real food canning allows you to capture the vibrant flavors and nutritional goodness of your harvest, extending its enjoyment through the colder months. Imagine savoring homemade tomato sauce in January or fresh peach slices in February – it’s all possible with a few basic tools and easy-to-follow recipes.
Getting Started: Essential Canning Basics
Before diving into recipes, a quick understanding of canning fundamentals is key. For most high-acid foods like fruits, pickles, and tomatoes (with added acid), a water bath canner is all you need. Low-acid foods require a pressure canner. Always use clean, sterilized jars, new lids, and follow tested recipes carefully to ensure food safety. Gather your equipment: a large pot with a rack (for water bath), jar lifter, funnel, headspace tool, and plenty of clean jars and lids.
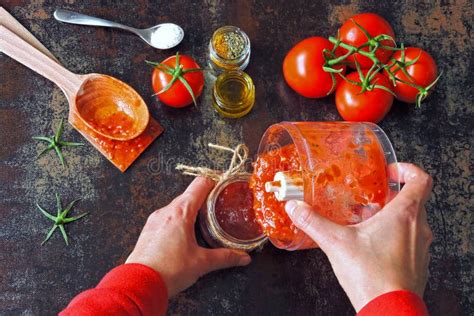
Recipe 1: Quick & Easy Homemade Tomato Sauce
Ingredients:
- 5 lbs ripe tomatoes (Roma or paste tomatoes work best)
- 1 tbsp lemon juice or 1/4 tsp citric acid per pint jar
- Salt to taste (optional)
Instructions:
- Wash tomatoes and score an ‘X’ on the bottom of each. Blanch in boiling water for 30-60 seconds, then transfer to an ice bath. Peel and core the tomatoes.
- Chop tomatoes and simmer in a large pot for 20-30 minutes, crushing them as they cook, until desired consistency is reached.
- Add salt if desired. For each pint jar, add 1 tbsp lemon juice or 1/4 tsp citric acid.
- Ladle hot sauce into hot, sterilized jars, leaving 1/2 inch headspace. Remove air bubbles.
- Wipe rims, center lids, and apply bands fingertip tight.
- Process pint jars in a boiling water canner for 35 minutes (adjust for altitude). Turn off heat, remove lid, and let stand 5 minutes before removing jars.
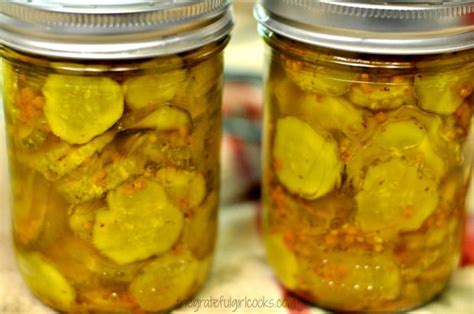
Recipe 2: Zesty Bread & Butter Pickles
These sweet and tangy pickles are a classic way to enjoy your cucumber harvest.
Ingredients:
- 4 lbs pickling cucumbers, thinly sliced
- 2 large onions, thinly sliced
- 1/4 cup pickling salt
- 3 cups white vinegar
- 2 cups granulated sugar
- 1 tbsp mustard seeds
- 1 tsp celery seeds
- 1/2 tsp ground turmeric
Instructions:
- In a large bowl, combine cucumber and onion slices with pickling salt. Cover with cold water and let stand for 2 hours. Drain thoroughly and rinse.
- In a large non-reactive pot, combine vinegar, sugar, mustard seeds, celery seeds, and turmeric. Bring to a boil, stirring until sugar dissolves.
- Add drained cucumbers and onions to the boiling brine. Return to a boil.
- Pack hot pickles into hot, sterilized pint jars, leaving 1/2 inch headspace. Ladle hot brine over pickles, ensuring they are covered. Remove air bubbles.
- Wipe rims, center lids, and apply bands fingertip tight.
- Process pint jars in a boiling water canner for 10 minutes (adjust for altitude). Turn off heat, remove lid, and let stand 5 minutes before removing jars.
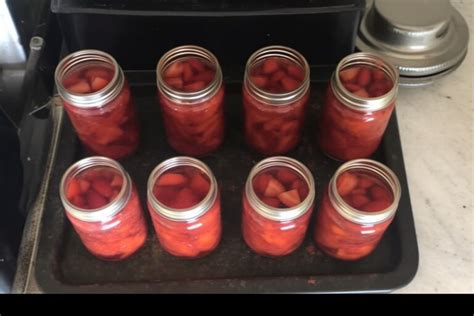
Recipe 3: Delightful Berry Jam
Preserve the sweetness of summer berries with this simple jam recipe. Use strawberries, raspberries, blueberries, or a mix!
Ingredients:
- 4 cups crushed berries (about 2 quarts fresh)
- 4 cups granulated sugar
- 1/4 cup lemon juice
Instructions:
- Combine crushed berries and lemon juice in a large, heavy-bottomed pot. Bring to a boil over medium-high heat, stirring constantly.
- Add sugar and stir until dissolved. Bring the mixture to a rolling boil that cannot be stirred down. Boil rapidly for 5-10 minutes, stirring frequently, until the jam reaches its setting point (use a cold plate test or thermometer).
- Remove from heat. Skim off any foam.
- Ladle hot jam into hot, sterilized half-pint or pint jars, leaving 1/4 inch headspace. Remove air bubbles.
- Wipe rims, center lids, and apply bands fingertip tight.
- Process half-pint or pint jars in a boiling water canner for 10 minutes (adjust for altitude). Turn off heat, remove lid, and let stand 5 minutes before removing jars.

Tips for Canning Success & Safety
- Always Use Tested Recipes: Do not experiment with canning recipes, especially for processing times and acidity levels. Use reliable sources like university extension services.
- Check Your Seals: After jars cool for 12-24 hours, check seals by pressing the center of the lid. If it doesn’t flex, the jar is sealed. Unsealed jars must be refrigerated and consumed within a few days.
- Proper Headspace: Leaving the correct amount of space between the food and the lid is crucial for a good seal.
- Cleanliness is Key: Sterilize jars and keep all equipment clean to prevent contamination.
- Choose Fresh Produce: Use high-quality, unblemished, and perfectly ripe produce for the best flavor and safest results.
Enjoy Your Preserved Bounty!
Canning your garden’s harvest is a rewarding endeavor that connects you more deeply with your food. These simple recipes are just a starting point for a fulfilling journey into home preservation. With a little practice, you’ll soon be enjoying the taste of summer sunshine on even the dreariest winter days, knowing exactly what’s in every jar. Happy canning!