Simple steps for composting kitchen scraps into rich garden soil at home?

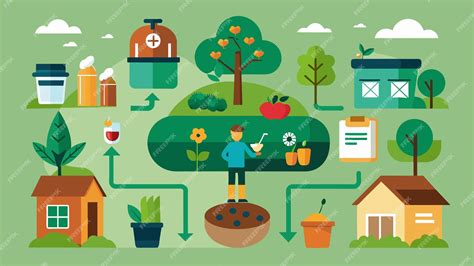
Transforming kitchen scraps into nutrient-rich garden soil is a rewarding and eco-friendly practice that benefits both your plants and the planet. Home composting reduces waste sent to landfills, enriches your soil, and can even save you money on store-bought fertilizers. It might sound complex, but with a few simple steps, you can start your own composting journey today.
Why Compost Your Kitchen Scraps?
Composting is nature’s way of recycling. It’s the controlled decomposition of organic materials, turning them into a dark, crumbly, earthy-smelling substance known as humus or “black gold.” This finished compost:
- Enriches Soil: Improves soil structure, aeration, and drainage.
- Provides Nutrients: Slowly releases essential nutrients for healthy plant growth.
- Retains Moisture: Helps soil hold water, reducing the need for frequent watering.
- Reduces Waste: Diverts food scraps and yard waste from landfills, lowering greenhouse gas emissions.
Getting Started: What You’ll Need
You don’t need much to begin composting. The essentials include:
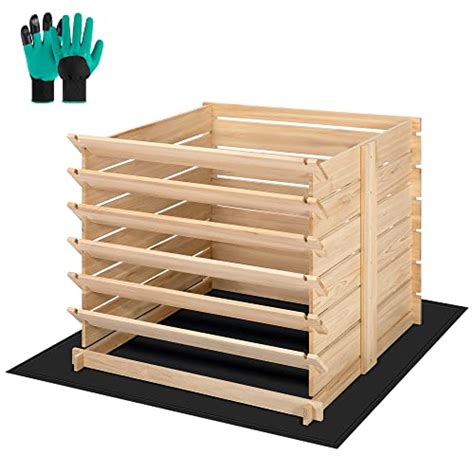
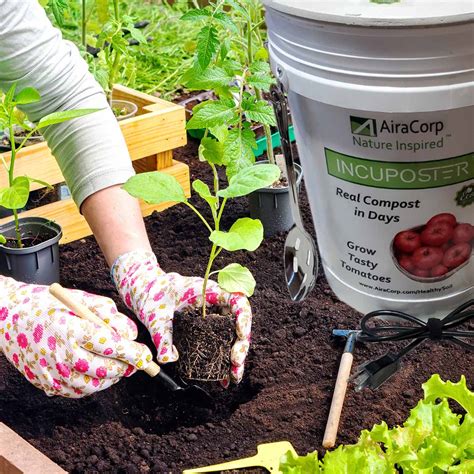
- A Composting Bin or Area: This could be a manufactured bin, a simple wire mesh enclosure, a designated corner in your yard, or even a worm bin indoors.
- “Green” Materials: Nitrogen-rich items like fruit and vegetable scraps, coffee grounds, tea bags, and fresh grass clippings.
- “Brown” Materials: Carbon-rich items such as dry leaves, shredded newspaper, cardboard, wood chips, and straw.
- Water: To keep the pile moist.
- A Pitchfork or Shovel: For turning the compost pile (optional for some methods).
What to Compost (and What to Avoid)
The “Yes” List (Green & Brown Materials):
- Green (Nitrogen-rich):
- Fruit and vegetable peels, cores, and scraps
- Coffee grounds and filters, tea bags
- Eggshells (crushed)
- Grass clippings (in moderation)
- Spent flowers and garden plant trimmings (disease-free)
- Brown (Carbon-rich):
- Dry leaves, straw
- Shredded newspaper, cardboard (unwaxed)
- Sawdust (from untreated wood)
- Wood chips, small twigs
The “No” List (Avoid These):
- Meat, bones, fish, dairy products (attract pests, create odors)
- Oils, greases, fats (attract pests)
- Pet waste (may contain pathogens)
- Diseased plants (can spread disease)
- Weeds with seeds (will sprout in your garden)
- Chemically treated wood or sawdust
Simple Steps to Active Composting
Step 1: Choose Your Composting Method
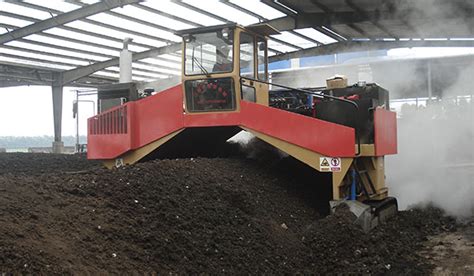
Outdoor Bin/Pile: Ideal for larger volumes. Can be an open pile, a contained bin, or a tumbler. Tumblers speed up the process by making turning easy.
Worm Composting (Vermicomposting): Excellent for small spaces or apartments. Uses special composting worms (red wigglers) to break down food scraps quickly, producing nutrient-rich worm castings.
Step 2: Layer Your Materials
The key to good compost is a balanced mix of “greens” and “browns.” Aim for roughly two parts brown to one part green by volume. Start with a layer of coarse brown material (twigs, straw) at the bottom for drainage and airflow.
- Add your kitchen scraps (greens).
- Cover with a layer of brown materials (leaves, shredded paper). This helps prevent odors and deters pests.
- If your pile seems dry, lightly moisten it. It should feel like a damp sponge.
Step 3: Maintain Your Pile
For active composting, focus on three things: moisture, aeration, and balance.
- Moisture: Keep the pile consistently moist, but not soggy. If it’s too dry, decomposition slows. If too wet, it can become anaerobic and smelly.
- Aeration (Turning): Turn your compost pile every week or two with a pitchfork or by rotating a tumbler. This introduces oxygen, which is crucial for aerobic bacteria that do the decomposing. Turning also mixes the materials and helps regulate temperature.
- Balance: Continue adding a good mix of greens and browns. Chop larger pieces into smaller ones to speed up decomposition.
Harvesting Your “Black Gold”
Your compost is ready when it’s dark brown, crumbly, and has an earthy smell, with no recognizable food scraps. This usually takes anywhere from two months to a year, depending on your method and maintenance.
- Remove finished compost from the bottom or sides of the pile.
- Sift it if you want a finer product, returning any unfinished material to the active pile.
Use your finished compost as a soil amendment, top dressing for plants, or mix it into potting soil for containers. Your garden will thank you!
Tips for Composting Success
- Chop it up: Smaller pieces break down faster.
- Don’t overload with greens: Too much nitrogen can lead to a slimy, smelly mess. Always balance with browns.
- Keep it moist: Like a wrung-out sponge.
- Turn regularly: Especially for faster composting.
- Be patient: Composting is a natural process that takes time.
Embrace the journey of composting your kitchen scraps. It’s a simple, sustainable habit that transforms waste into a valuable resource, nurturing your garden and contributing to a healthier environment.