


Simple steps for preserving summer berry harvest using a water bath canner?

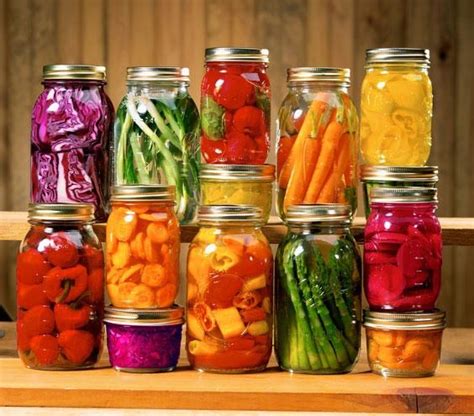
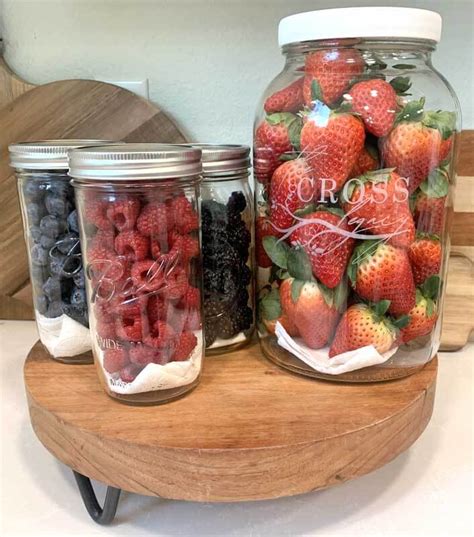
Summer brings an abundance of delicious berries, from luscious strawberries and raspberries to tart blueberries and blackberries. While enjoying them fresh is a delight, preserving your harvest means you can savor that taste of summer long after the season ends. Water bath canning is a fantastic and safe method for preserving high-acid foods like berries, allowing you to stock your pantry with jams, jellies, or whole berries in syrup.
Why Water Bath Canning for Berries?
Water bath canning is ideal for fruits because of their natural acidity. The process involves submerging sealed jars in boiling water for a specific period, which creates a vacuum seal and destroys spoilage microorganisms. This method is relatively straightforward and requires minimal specialized equipment, making it perfect for home canners, even beginners.

Essential Equipment You’ll Need
Before you begin, gather your tools. Having everything ready streamlines the process and ensures safety.
- Water Bath Canner with Rack: A large pot with a lid and a rack to keep jars off the bottom.
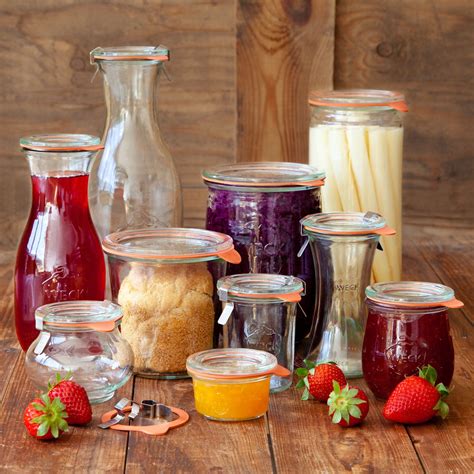
- Canning Jars: Mason-style jars (pint or quart) with new lids and bands.
- Jar Lifter: For safely placing and removing hot jars.
- Funnel: To prevent spills when filling jars.
- Ladle: For transferring berries and liquid.
- Non-metallic Spatula or Bubble Remover: To remove air bubbles from jars.
- Large Pot for Berries: For cooking berries or making syrup.
- Timer: For precise processing times.
- Clean Towels: For wiping jar rims and general cleanup.
Step-by-Step Guide to Preserving Berries
1. Prepare Your Berries
Wash berries thoroughly under cool, running water. Gently remove stems, hulls, or any bruised berries. Depending on your preference, you can can whole berries packed in water, juice, or light syrup, or prepare them as jam or jelly. For whole berries, a light syrup (1 part sugar to 2 parts water) helps retain shape and flavor.
2. Prepare Jars and Lids
Wash canning jars in hot, soapy water and rinse well. Keep them hot (in simmering water or a warm dishwasher) until ready to fill to prevent thermal shock. Place new lids in a small saucepan of simmering (not boiling) water to soften the sealing compound. Bands do not need to be sterilized.
3. Fill Jars with Berries
Carefully pack the hot berries into hot jars, leaving 1/2 inch of headspace (the space between the top of the food and the rim of the jar). If using syrup or juice, pour it over the berries, ensuring they are fully submerged while maintaining the 1/2-inch headspace. Use a non-metallic spatula to remove any air bubbles. Wipe jar rims thoroughly with a clean, damp cloth to ensure a good seal. Center a hot lid on each jar and screw on the band fingertip-tight (just until resistance is met).
4. Process in the Water Bath
Place filled jars onto the rack in your water bath canner. Ensure the water level covers the jars by at least 1-2 inches. Bring the water to a rolling boil. Once boiling, start your timer. Processing times vary by berry type and altitude, so consult a reliable canning guide (like the USDA Complete Guide to Home Canning) for exact times. For most berries, processing times range from 10-20 minutes after the water reaches a full boil.
5. Cool and Store
Once the processing time is complete, turn off the heat and carefully remove the canner lid. Let the jars sit in the hot water for 5 minutes before carefully lifting them out with a jar lifter. Place the hot jars on a clean towel or cooling rack, ensuring they are not touching each other, and allow them to cool undisturbed for 12-24 hours. You should hear a ‘pop’ sound as the lids seal. After cooling, check seals by pressing the center of the lid; it should not flex. Remove bands, wipe down jars, label them with contents and date, and store in a cool, dark place for up to 1 year.
Safety Tips for Successful Canning
- Always use tested recipes from reputable sources (e.g., USDA, university extensions).
- Never reuse old canning lids; always use new ones for each batch.
- Do not adjust processing times or methods unless specifically indicated by a tested recipe for altitude adjustments.
- Inspect jars for cracks or chips before use.
- Ensure adequate headspace to allow for proper sealing.
- If a jar does not seal, refrigerate contents and consume within a few days, or reprocess within 24 hours using a new lid.

Preserving your summer berry harvest with a water bath canner is a rewarding experience that extends the season’s bounty. With a little preparation and adherence to safe canning practices, you’ll enjoy homemade berry goodness all year long, ready to be added to breakfasts, desserts, or enjoyed straight from the jar.


