


Simple steps for starting heirloom vegetable seeds successfully indoors?
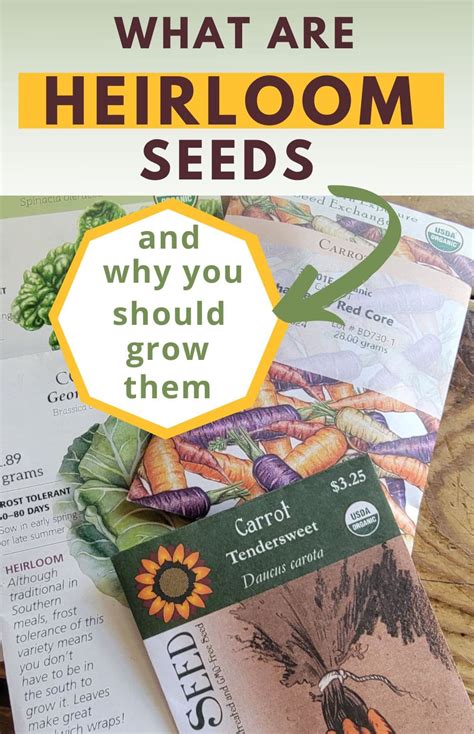
Starting heirloom vegetable seeds indoors is a deeply rewarding endeavor that offers numerous benefits, from extending your growing season to cultivating unique, flavorful varieties often unavailable in garden centers. It gives your plants a head start, protecting tender seedlings from unpredictable early spring weather and ensuring a stronger foundation for growth. With a few simple steps and a little patience, you can transform your indoor space into a thriving nursery.
Gathering Your Essentials
Before you begin, ensure you have all the necessary supplies. Choosing the right tools can make all the difference in your success. You’ll need high-quality heirloom seeds from a reputable source, seed-starting trays or pots with good drainage, and a sterile, fine-textured seed-starting mix. Adequate light is crucial, so invest in grow lights, as windowsill light is rarely sufficient. A heating mat can significantly improve germination rates for many varieties, and a spray bottle, labels, and a permanent marker will complete your kit.
Timing is Crucial
One of the most important factors for success is timing. Consult your seed packets for specific recommendations on when to start indoors and the ‘days to maturity.’ A general rule of thumb is to work backward from your region’s last average frost date. Most heirloom vegetables benefit from being started indoors 6-8 weeks before they are ready to be transplanted outdoors. Staggering your plantings can also help ensure a continuous harvest throughout the season, rather than a single flush of produce.
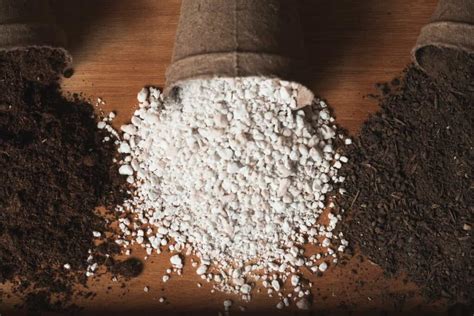
Preparing Your Seed-Starting Mix
Using the correct medium is vital for healthy seedling development. Always opt for a high-quality, sterile seed-starting mix rather than regular garden soil, which can be too heavy and contain pathogens or weed seeds. Before filling your trays, thoroughly moisten the mix until it is damp but not waterlogged – think of the consistency of a wrung-out sponge. Fill your chosen containers, gently firming the mix to remove large air pockets without compacting it excessively, which could hinder root growth.
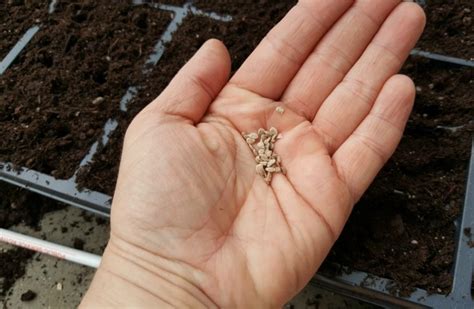
Sowing Your Precious Seeds
Carefully follow the specific planting depth and spacing instructions on each seed packet. As a general guideline, most seeds should be planted at a depth two to three times their width. Create small depressions in the moistened mix, place your seeds, and lightly cover them with more of the seed-starting mix. Immediately label each tray or pot with the variety and planting date to avoid confusion later on. Finish by gently misting the surface to settle the soil around the newly planted seeds.
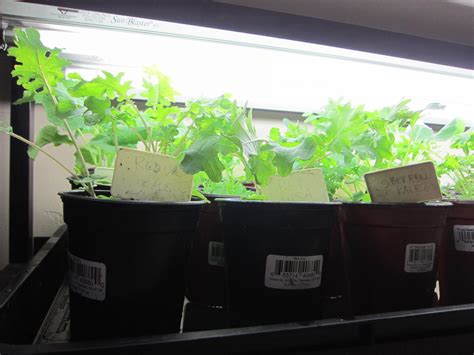
Providing the Ideal Growing Environment
Once planted, your seeds need optimal conditions to germinate and thrive. Most heirloom vegetables germinate best in soil temperatures between 65-75°F (18-24°C), which is where a heating mat becomes invaluable. As soon as seedlings emerge, provide strong, consistent light for 14-16 hours a day using grow lights positioned just a few inches above the plants. Keep the soil consistently moist but never soggy, using a bottom-watering method or a gentle misting to avoid disturbing delicate seedlings. Good air circulation, provided by a small fan, can also help strengthen stems and prevent common fungal diseases like damping-off.
Hardening Off Your Seedlings
About 7-10 days before you plan to transplant them into the garden, your seedlings will need to be ‘hardened off.’ This crucial step gradually acclimates them to outdoor conditions like direct sunlight, wind, and cooler temperatures, reducing transplant shock. Start by placing them outdoors in a sheltered, shady spot for a few hours each day, gradually increasing their exposure to direct sun and longer periods outdoors. Bring them indoors if overnight temperatures are expected to drop significantly.
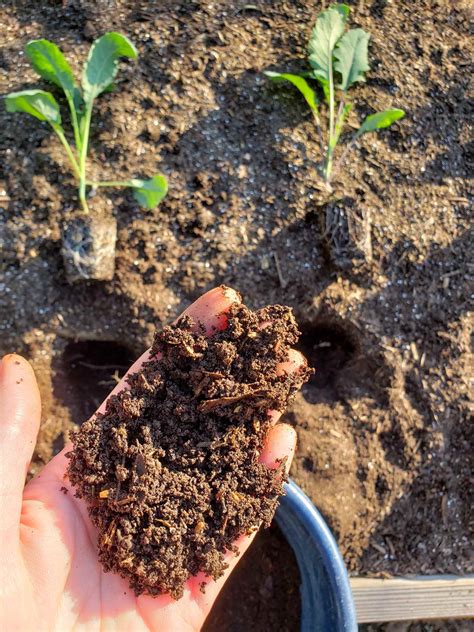
Transplanting to the Garden
Once all danger of frost has passed and your seedlings are fully hardened off, they are ready for their permanent home in the garden. Prepare your garden bed, digging holes large enough to comfortably accommodate the seedling’s root ball. Gently remove the seedlings from their containers, being careful to minimize root disturbance. Plant them at the same depth they were growing in their pots, or slightly deeper for some plants like tomatoes. Water thoroughly immediately after transplanting to help them settle into their new environment.
Starting heirloom vegetable seeds indoors is a deeply satisfying process that culminates in a garden full of unique, flavorful plants. By following these straightforward steps, you’ll cultivate healthy, robust seedlings, setting the stage for an abundant and diverse harvest that celebrates the rich heritage of heirloom varieties.


