


Simple steps to start heirloom vegetable seeds indoors for spring planting?

Why Start Heirloom Vegetable Seeds Indoors?
Beginning your heirloom vegetable seeds indoors offers numerous advantages, setting the stage for a thriving garden even before the last frost. It allows you to extend your growing season, cultivate unique and often rare varieties not found in local nurseries, and significantly save money compared to purchasing established seedlings. Furthermore, it gives you complete control over the growing conditions from day one, ensuring your plants get the healthiest possible start without exposure to unwanted pesticides or chemicals.
This method is particularly beneficial for plants with long growing seasons, like tomatoes, peppers, and eggplants, which need more time to mature before being transplanted outdoors. It also provides a gratifying hands-on experience, connecting you more deeply with the food you grow.
Essential Supplies for Indoor Seed Starting
Before you dive into sowing, gathering the right tools is crucial for a successful indoor seed-starting operation. Having these items ready will streamline the process and provide your tiny seedlings with the best environment to flourish.
- Heirloom Seeds: Choose varieties suitable for your climate and growing preferences.
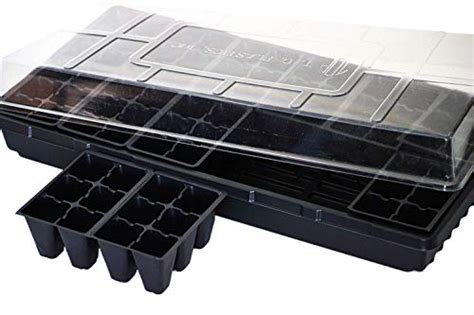
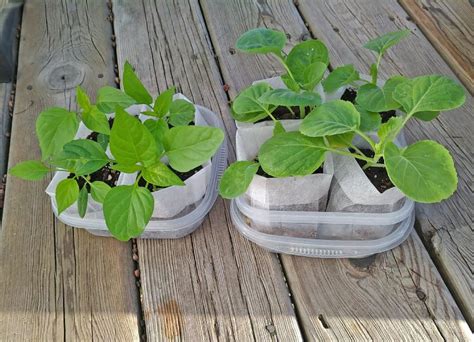
- Seed-Starting Trays or Pots: Flats with drainage holes, peat pots, or even repurposed containers.
- Seed-Starting Mix: A sterile, fine-textured, soilless medium designed for germination.
- Grow Lights: Fluorescent or LED grow lights are essential for preventing leggy seedlings.
- Heat Mat: Optional but highly recommended for consistent soil temperature, aiding germination.
- Humidity Domes: Clear plastic covers to maintain moisture until seeds sprout.
- Watering Can/Spray Bottle: For gentle and even watering.
- Plant Labels: To keep track of varieties and planting dates.
Step-by-Step Guide to Indoor Seed Starting
Step 1: Choose and Prepare Your Seeds Wisely
Begin by selecting high-quality heirloom seeds. Check the seed packets for specific germination requirements, such as light needs, optimal temperature, and planting depth. Some seeds benefit from pre-treatment like stratification or scarification, so be sure to consult the package instructions. Determine your planting schedule by counting back from your average last frost date, using the recommended indoor starting time on your seed packets.
Step 2: Prepare Your Growing Medium
Moisten your seed-starting mix thoroughly before filling your trays. It should be damp like a wrung-out sponge, not soaking wet. Fill your chosen trays or pots to within about half an inch of the rim, gently pressing the mix down to remove large air pockets without compacting it too much.
Step 3: Sow Your Seeds
Follow the instructions on your seed packets for planting depth and spacing. Generally, seeds are planted at a depth of two to three times their diameter. Create small depressions with your finger or a dibber, place the seeds, and gently cover them with the moistened seed-starting mix. For very fine seeds, you can simply sprinkle them on the surface and lightly press them in. Label each tray or pot immediately to avoid confusion.
Step 4: Provide Optimal Germination Conditions
Once planted, water gently again, ensuring the top layer remains moist. Place humidity domes over your trays to create a mini-greenhouse effect, retaining warmth and moisture. If using a heat mat, place the trays on top of it; this bottom warmth is critical for many seeds to sprout efficiently. Position your setup under grow lights immediately after planting, even before germination, to establish a routine. Most seeds don’t need light to germinate, but it’s good practice to have it ready for when they emerge.
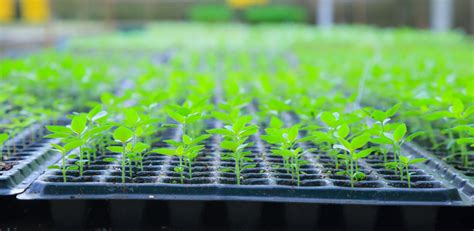
Step 5: Care for Emerging Seedlings
Once seeds germinate and you see tiny green shoots, remove the humidity dome to improve air circulation and prevent fungal diseases like damping-off. Keep your grow lights just a few inches above the tops of the seedlings, adjusting them as the plants grow. Provide 12-16 hours of light per day. Water from the bottom when possible, allowing the trays to soak up water, then drain excess. Thin your seedlings to the strongest plant per cell once they develop their first set of true leaves.
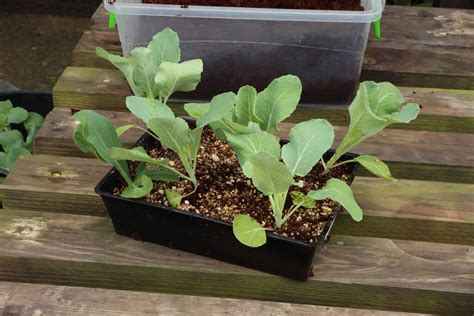
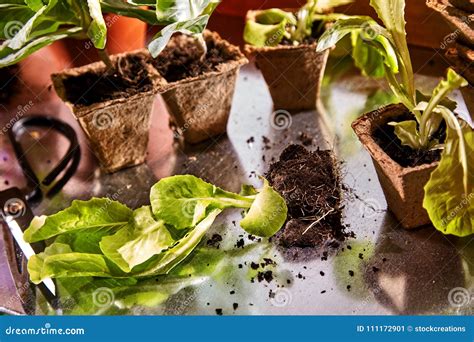
Step 6: Potting Up (Transplanting)
When seedlings develop their second set of true leaves and appear crowded, it’s time to transplant them into larger pots (3-4 inches) filled with a slightly richer potting mix. Handle seedlings gently by their leaves, not their delicate stems. Water thoroughly after potting up.
Step 7: Hardening Off
Approximately 7-14 days before your target outdoor planting date, begin the hardening-off process. This gradually acclimates your seedlings to outdoor conditions (sunlight, wind, cooler temperatures). Start by placing them outdoors in a sheltered, shady spot for a few hours, gradually increasing their exposure to sun and wind each day. Bring them indoors at night, especially if temperatures drop. This crucial step prevents transplant shock and ensures your heirloom plants thrive in their new outdoor home.
Conclusion
Starting heirloom vegetable seeds indoors is a rewarding journey that connects you deeply with the rhythm of the garden. By following these simple steps, you’ll successfully nurture robust seedlings ready for spring planting, ensuring a bountiful harvest of unique and delicious heirloom vegetables. Embrace the process, learn from each season, and enjoy the fruits of your labor!


