Tips for achieving a perfect flaky pie crust using real butter?
The Magic of Butter: Why It Makes the Best Crust
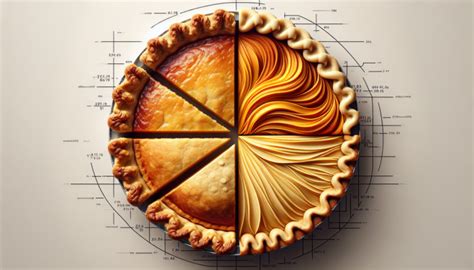
There’s nothing quite like a homemade pie, and at the heart of every great pie is a flaky, tender crust. While shortening can produce a wonderfully crisp pastry, real butter offers an unparalleled depth of flavor and a distinct flakiness that’s truly irresistible. The key lies in understanding butter’s unique properties and how to work with them. When butter melts during baking, it releases steam, creating pockets of air that result in those coveted flaky layers. But achieving this perfect texture requires precision and adherence to a few golden rules.

Ingredient Essentials: Quality Matters
1. High-Quality Unsalted Butter
Always opt for unsalted butter, as this allows you to control the salt content in your recipe. European-style butters, with their higher fat content and lower water content, can yield an even flakier result due to less moisture to steam out and more fat to create layers. Ensure your butter is incredibly cold, ideally straight from the freezer for 10-15 minutes before use, or at least firm from the fridge.
2. All-Purpose Flour
Standard all-purpose flour works wonderfully. Avoid using bread flour, which has a higher protein content and can lead to a tougher crust. Some bakers swear by a mix of all-purpose and pastry flour for a more tender crumb.
3. Ice-Cold Water (or Vodka!)
This is non-negotiable. The colder your water, the less likely your butter is to melt prematurely. Adding ice cubes to your water and letting it sit for a few minutes is a great trick. For an extra boost of tenderness and easier handling, some recipes recommend substituting half the water with ice-cold vodka. Alcohol inhibits gluten development and evaporates faster, contributing to a flakier, less tough crust.

Mastering the Technique: Cold is Key
1. Cut the Butter Correctly
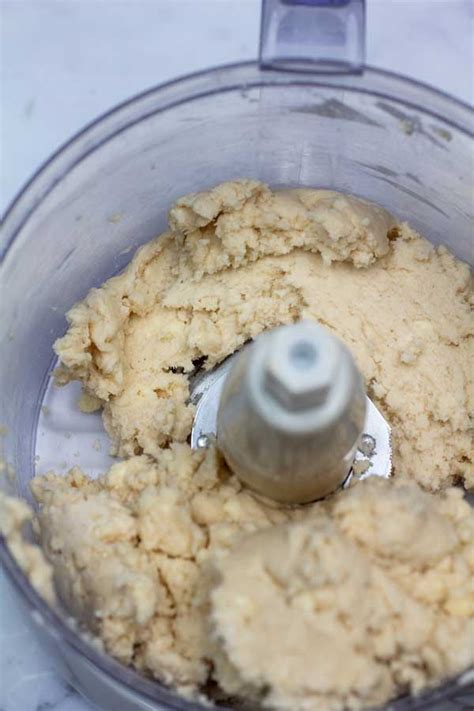
Whether you’re using a pastry blender, your fingertips, or a food processor, the goal is to break the cold butter into pea-sized (and some slightly larger, dime-sized) pieces. These varying sizes are crucial for creating those distinct flaky layers. Too small, and your crust will be tender but not flaky; too large, and you risk a greasy, crumbly texture.
2. Work Quickly and Keep Everything Cold
Butter melts quickly. Minimize contact with warm hands by using a pastry blender or the pulse setting on a food processor. If mixing by hand, periodically chill your bowl, flour mixture, and even your hands in the freezer for a few minutes. A cold environment prevents the butter from softening too much.
Hydration and Chilling: The Patience Payoff
1. Add Water Gradually
Add the ice water a tablespoon at a time, mixing until the dough just comes together. It should look shaggy and still have visible butter pieces. Squeeze a small handful – if it holds together without crumbling, it’s ready. Avoid adding too much water, which develops gluten and leads to a tough crust. Err on the side of slightly dry rather than too wet.
2. Chill, Chill, Chill
After forming the dough into a disc (or two, for a double-crust pie), wrap it tightly in plastic wrap and refrigerate for at least 30 minutes, or up to 2 days. This chilling period is vital: it allows the gluten to relax (preventing toughness), firms up the butter (essential for flakiness), and lets the flour fully hydrate. Do not skip this step!
Rolling and Baking for Perfection
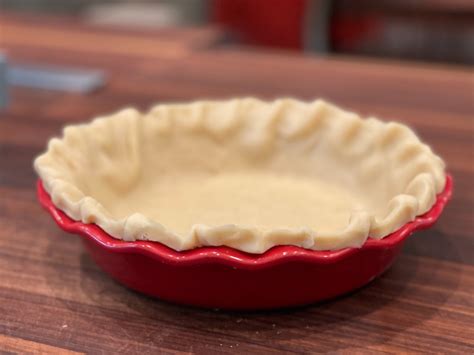
1. Roll on a Lightly Floured Surface
When ready to roll, remove the dough from the fridge and let it sit for just 5-10 minutes if it’s too hard, but still very cold. Roll evenly from the center outwards, rotating the dough frequently to prevent sticking and ensure a uniform thickness. Avoid overworking the dough, which can activate gluten and make it tough. Use minimal flour to prevent a dry crust.
2. Blind Bake When Necessary
For custard or fruit pies with a very wet filling, blind baking (or pre-baking) your crust is often recommended. This creates a crisp barrier between the filling and the dough, preventing a soggy bottom. Prick the bottom and sides with a fork, line with parchment paper, fill with pie weights, and bake until lightly golden.
Troubleshooting Common Pitfalls
- Tough Crust: Too much water, overworking the dough, not enough chilling time.
- Soggy Bottom: Not blind baking for wet fillings, dough too thin, oven not hot enough.
- Crumbly Dough: Not enough water, butter pieces too large, dough not chilled enough before rolling.
- No Flakes: Butter wasn’t cold enough, butter pieces too small, butter was overworked and incorporated too fully into the flour.
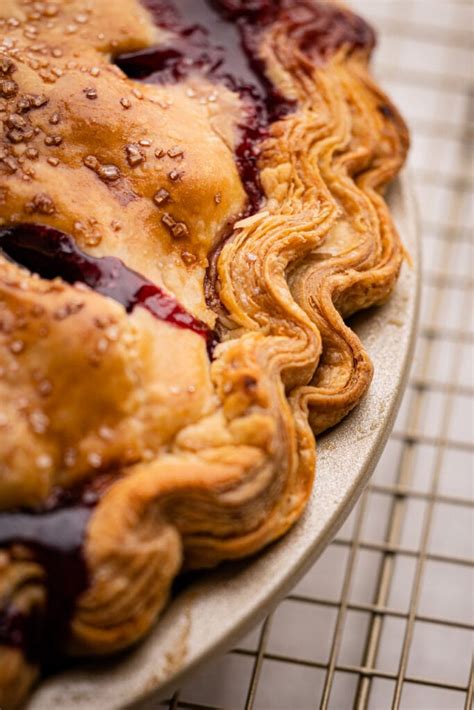
Achieving a perfect flaky pie crust with real butter is a rewarding culinary challenge. By focusing on quality ingredients, maintaining low temperatures, and practicing gentle technique, you’ll be well on your way to baking pies that are truly showstoppers. Patience and practice are your best friends in the quest for pie perfection!