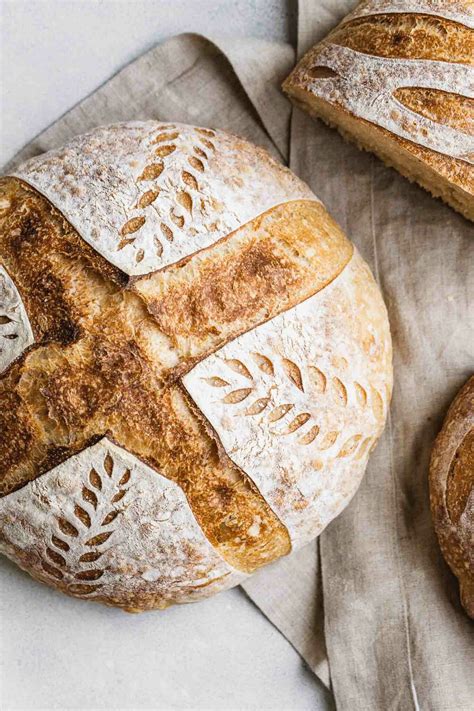
Tips for baking perfect, crusty homemade sourdough bread?
The Foundation: A Healthy Sourdough Starter
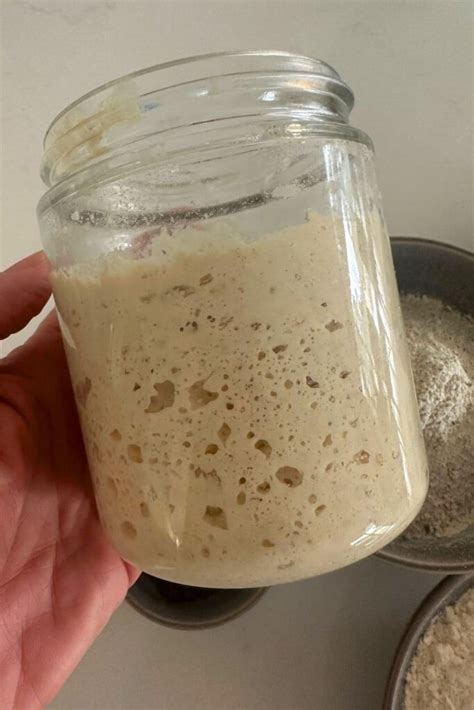
The journey to a perfect loaf of sourdough begins with a robust and active starter. A sleepy, underfed starter will struggle to leaven your dough, leading to a dense crumb and a less impressive crust. Ensure your starter is bubbly, active, and has at least doubled in size after its last feeding before you use it for baking. Feed it regularly and keep it at a consistent temperature for optimal performance.
Tip 1: Use an Active Starter. Look for signs of vigor: a network of bubbles, a pleasant sour aroma, and a predictable rise and fall. Using a starter at its peak (typically 4-6 hours after feeding at room temperature) is crucial for good oven spring and an open crumb structure.
Mastering Hydration and Dough Development
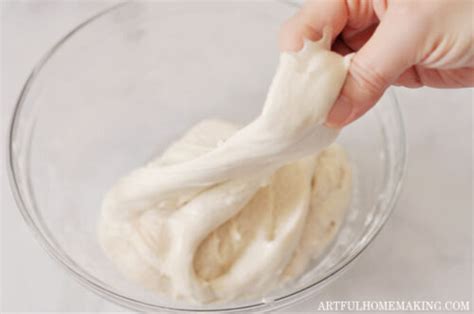
Sourdough bread often boasts a higher hydration level than traditional yeast breads, contributing to its open crumb and excellent crust. However, handling high-hydration dough can be intimidating. The key is proper gluten development.
Tip 2: Don’t Fear Hydration. Start with a hydration level you’re comfortable with (e.g., 70-75%) and gradually increase as you gain experience. Higher hydration usually means a crispier crust. Remember that flour absorbs water differently, so adjust slightly based on your flour’s characteristics.
Tip 3: Implement Autolyse and Stretch & Folds. An autolyse (mixing flour and water and letting it rest) allows the flour to fully hydrate and gluten to begin forming without active manipulation. Follow this with a series of gentle stretch and folds over the first couple of hours of bulk fermentation. This technique develops strength and elasticity in the dough without rough handling, crucial for trapping gasses and achieving that airy interior and sturdy crust.
Shaping and Proofing for Structure
Proper shaping creates surface tension, which helps the loaf hold its shape and provides a thin, taut skin that will eventually become the crust. The proofing stage then allows the dough to relax and develop flavor.
Tip 4: Develop Strong Surface Tension. After bulk fermentation, gently pre-shape your dough into a round and let it rest for 20-30 minutes. Then, perform a final shaping, ensuring you create enough surface tension to prevent the dough from spreading too much in the oven. This tension is vital for a good oven spring and a uniform crust.
Tip 5: Cold Fermentation is Your Friend. After shaping, proof your dough in a floured banneton (or a bowl lined with a floured cloth) in the refrigerator for 8-16 hours (or even up to 24 hours). Cold proofing slows down fermentation, enhancing flavor complexity and making the dough much easier to handle. It also allows the crust to develop a deeper color and crispier texture.
The Secret to a Superior Crust: Heat and Steam
The most critical factors for a truly crusty sourdough are high heat and steam during the initial baking phase. A Dutch oven is an indispensable tool for achieving this at home.
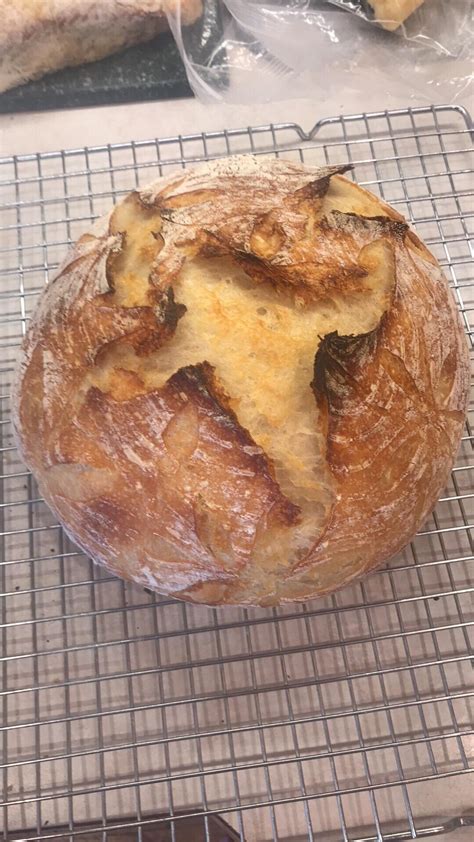
Tip 6: Preheat Your Baking Vessel Thoroughly. Place your Dutch oven (or baking stone with a pan for steam) in your oven and preheat to a high temperature (e.g., 475-500°F / 245-260°C) for at least 30-60 minutes. A super-hot surface provides an immediate burst of heat to the bottom of the dough, contributing to excellent oven spring and crust development.
Tip 7: Utilize Steam Effectively. When you bake sourdough in a lidded Dutch oven, the trapped moisture from the dough itself creates a steamy environment. This steam keeps the crust soft and pliable for the first 20-25 minutes, allowing the loaf to expand fully before the crust sets. After this initial period, remove the lid to allow the crust to dry out and crisp up, developing its signature golden-brown color and crunchy texture.
The Final Touch: Patience
Tip 8: Resist Cutting Too Soon. As tempting as it is, wait at least 1-2 hours (or even longer) after removing your bread from the oven before slicing into it. The internal structure of the bread is still setting, and steam is escaping. Cutting too early can result in a gummy crumb and compromise the final texture of your hard-earned crust.
Baking perfect, crusty homemade sourdough is a journey of continuous learning and refinement. By focusing on these key tips—from a vibrant starter to proper hydration, shaping, and precise baking techniques—you’ll be well on your way to consistently producing loaves that boast an irresistible, crackly crust and a beautifully open, flavorful interior. Happy baking!