Tips for making tough pie crust tender & flaky using homemade lard?
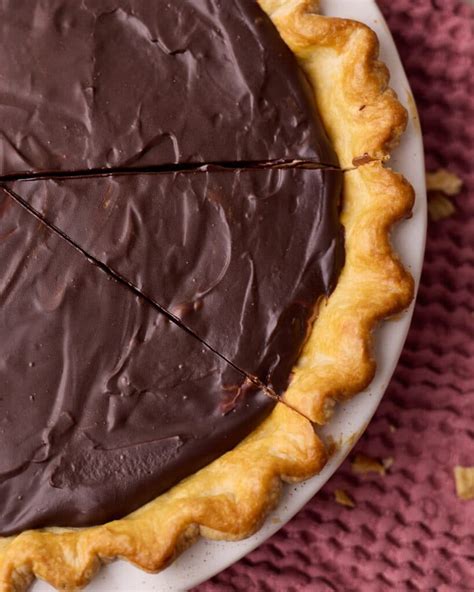
The Magic of Homemade Lard for Superior Pie Crust
Many home bakers struggle with achieving that elusive tender and flaky pie crust, often resulting in tough or crumbly textures. While butter is a popular choice, the secret weapon for an exceptionally delicate and flavorful crust often lies in homemade lard. Lard, especially rendered from good quality pork fat, has a unique crystalline structure and high melting point that creates incredible layers and a melt-in-your-mouth tenderness that other fats simply can’t replicate. It’s time to banish tough crusts from your kitchen forever!
Understanding the Role of Fat in Flakiness
The flakiness of a pie crust comes from layers of fat separating layers of flour. As the crust bakes, the water in the dough turns to steam, pushing the layers of fat apart. Lard’s ability to remain solid at room temperature and its high melting point means it creates larger pockets of fat within the dough, leading to more distinct layers when baked. Homemade lard, free from hydrogenated oils and additives, also offers a cleaner, richer flavor that enhances your pie without being overly greasy.
1. Keep Your Lard and Ingredients COLD
This is perhaps the most crucial tip. Cold lard is essential for creating those distinct layers. If the lard is too warm, it will blend too readily with the flour, resulting in a dense, tough crust. Cube your homemade lard and chill it thoroughly in the freezer for at least 30 minutes before you begin. Some bakers even grate frozen lard directly into the flour for even distribution and minimal handling.
- Chill everything: Not just the lard, but also your flour (pop it in the fridge), your mixing bowl, and even the water you’ll be using (ice water is best!).
- Work quickly: The less you handle the dough, the less the lard melts.
2. The Right Flour and Mixing Technique
While all-purpose flour works well, a lower-protein pastry flour can yield an even more tender result. When mixing, the goal is to coat the flour particles with fat without developing too much gluten. Overworking the dough is the number one cause of toughness.
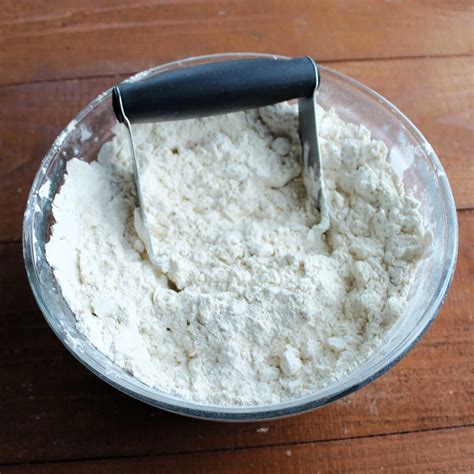
- Cut in the lard: Use a pastry blender, two knives, or your fingertips to cut the cold lard into the flour mixture. Aim for pieces ranging from pea-sized to small beans. These chunks of fat are what create flakiness.
- Minimal handling: Mix just until the flour is moistened. The dough might look a bit shaggy, and that’s perfectly fine.
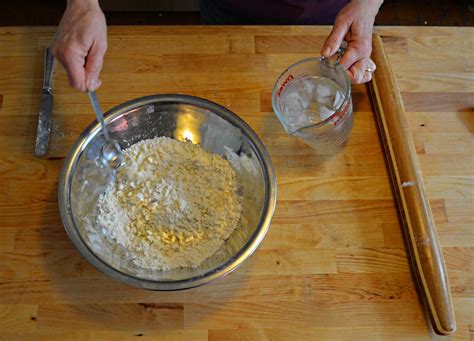
3. The Perfect Amount of Ice Water
Water binds the dough, but too much or too little can spell disaster. Use ice-cold water and add it gradually, one tablespoon at a time, until the dough just comes together. It should be moist enough to hold its shape when pressed, but not sticky or wet.
Test for consistency: Gently squeeze a small portion of the dough. If it holds together without crumbling, it’s ready. If it’s too dry, add a tiny bit more water. If it’s too wet, add a tablespoon of flour.
4. Rest and Chill for Best Results
Once your dough is formed into a disc, wrap it tightly in plastic wrap and refrigerate it for at least 30 minutes, or up to two days. This resting period allows the gluten to relax, which makes the dough easier to roll out and prevents shrinking during baking. It also allows the fat to firm up again.
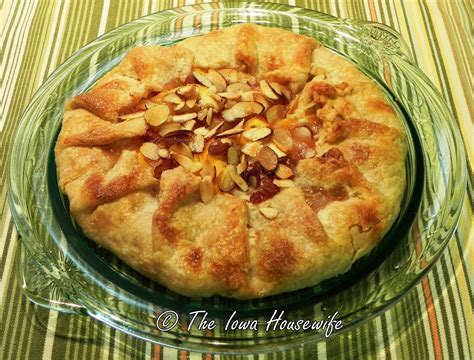
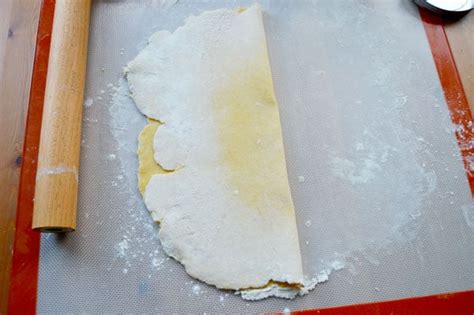
5. Rolling and Baking Techniques
When it’s time to roll, work on a lightly floured surface. Roll from the center outwards, rotating the dough frequently to prevent sticking and ensure even thickness. Avoid excessive re-rolling, as this develops gluten and can make the crust tough.
- Even thickness: Aim for a consistent thickness, usually about 1/8 to 1/4 inch.
- Blind baking: For a crisp bottom crust, especially with wet fillings, consider blind baking. Pierce the bottom of the crust with a fork, line with parchment paper, and fill with pie weights or dried beans. Bake until lightly golden before adding your filling.
Troubleshooting Common Pie Crust Problems
- Tough crust: Almost always due to overworking the dough or using too much water. Remember minimal handling and precise hydration.
- Crumbly crust: Not enough water, or the lard wasn’t properly incorporated. Ensure enough ice water is added until the dough just comes together.
- Shrinking crust: Usually a sign of insufficient chilling time, or overworking the dough which then contracts when baked. Give your dough ample rest.
Embracing homemade lard in your pie crust recipe is a game-changer. By following these tips – keeping ingredients cold, working quickly, and understanding the role of fat and gluten – you’ll be well on your way to baking pies with a tender, flaky crust that will impress everyone at your table. Happy baking!