Tips for perfect flaky pie crust from scratch with real butter?

The Quest for Flaky Perfection
Creating a truly flaky, buttery pie crust from scratch can feel like a culinary Everest for many home bakers. But fear not! With the right techniques and a good understanding of your ingredients, you can conquer this challenge and achieve a pie crust that’s tender, crisp, and melts in your mouth. The secret weapon? Real butter, of course, combined with a few crucial steps.
1. Start with the Best Ingredients
High-Quality Butter is Non-Negotiable
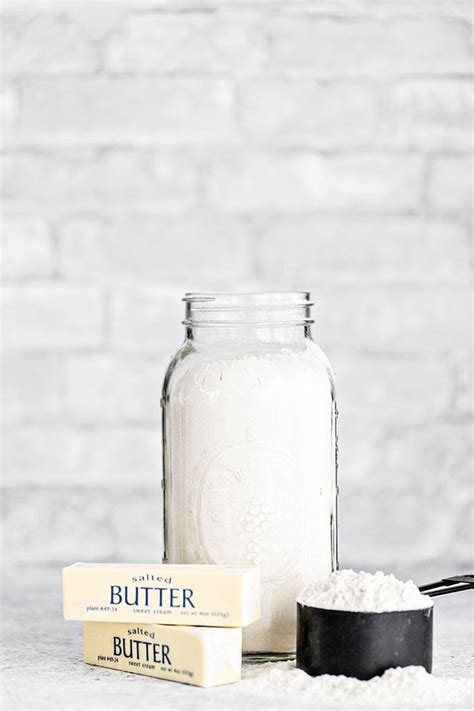
Forget shortening or oil; real unsalted butter is the foundation of a flavorful, flaky crust. Choose a good quality European-style butter if possible, as it often has a higher fat content, contributing to better texture and flavor. Crucially, your butter must be ice-cold. Cut it into small cubes (about 1/2 inch) and even pop them back into the freezer for 10-15 minutes before you begin.
The Right Flour and Ice Water
Use all-purpose flour, but don’t over-measure it – lightly spoon it into your measuring cup and level it off. For the liquid, only use ice-cold water. Some even suggest adding a splash of vodka to some of the water, as the alcohol evaporates quickly, reducing gluten development and making the dough more tender. Keep a bowl of ice water ready.

2. Mastering the Mixing Technique
Keep Everything Cold
This cannot be stressed enough: the key to flakiness is keeping the butter from melting until it hits the hot oven. Work quickly, and if your kitchen is warm, consider chilling your mixing bowl and even your flour for a few minutes before starting. Your hands can warm the butter, so some prefer using a food processor or a pastry blender.
Cutting in the Butter
Whether by hand with a pastry blender, two knives, or a food processor, the goal is to break the butter into pea-sized (or slightly larger, for extra flakiness) pieces within the flour. You want distinct pieces of butter, not a uniform mixture. These pockets of butter will create steam in the oven, lifting the layers of dough to form those coveted flakes.
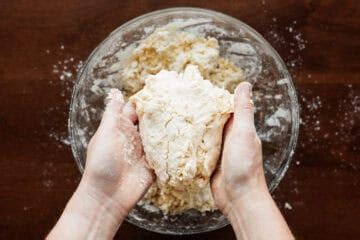
3. Hydration and Minimal Handling
Adding Water Gradually
Slowly add the ice water, one tablespoon at a time, mixing until the dough just comes together. You might not need all the water specified in a recipe, or you might need a little more. The dough should be moist enough to hold together when squeezed, but not sticky or wet. Over-hydrating or under-hydrating can both lead to tough crusts.
Don’t Overwork the Dough
Once the dough comes together, stop. Overworking the dough develops gluten, which makes the crust tough and elastic. Form the dough into a disc (or two, if making a double-crust pie), wrap it tightly in plastic wrap, and resist the urge to knead it further.
4. The Crucial Chill Factor
Resting is Not Optional
After forming the dough discs, refrigerate them for at least 30 minutes, or preferably an hour or two. This allows the gluten to relax, making the dough easier to roll out without shrinking. It also re-chills the butter, preparing it for the rolling process.
Chilling During Rolling
If the dough becomes too warm and sticky while you’re rolling it out, or if the butter starts to melt, don’t hesitate to pop it back into the fridge for 10-15 minutes. This pause is better than struggling with warm dough and compromising your flakiness.
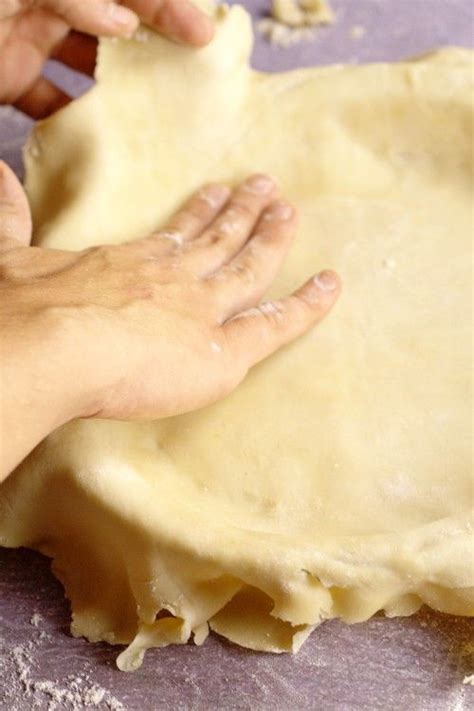
5. Rolling and Baking for Success
Even Rolling, Light Hands
Flour your surface and rolling pin lightly. Roll from the center outwards, rotating the dough frequently to prevent sticking and ensure an even thickness. Aim for about 1/8-inch thick. Use light, even pressure, avoiding excessive force that can overwork the dough.
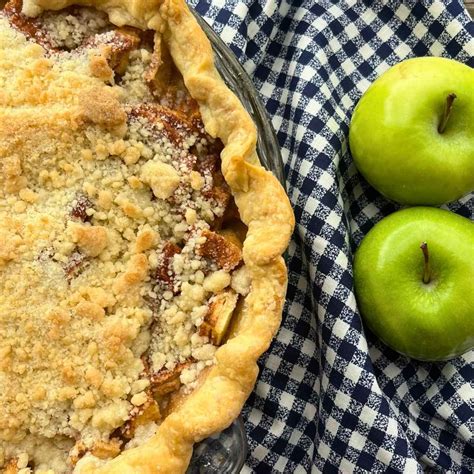
Bake it Right
For a par-baked or blind-baked crust, line it with parchment paper and fill with pie weights, dried beans, or rice. Bake until the edges are just set, remove the weights and parchment, then continue baking until golden. The initial high heat is key to puffing up those butter pockets.
Conclusion: Practice Makes Perfect Pie
Making a perfect flaky pie crust from scratch is a skill that improves with practice. Don’t be discouraged by initial attempts. Focus on keeping everything cold, minimizing handling, and giving the dough ample time to chill. Soon, you’ll be creating stunning, buttery, and utterly delicious pie crusts that will be the envy of every dessert table. Happy baking!