


Tips for perfectly crusty homemade sourdough bread from a wood-fired oven?

The Magic of Wood-Fired Sourdough
Baking sourdough in a wood-fired oven is a transformative experience, offering a depth of flavor and an unparalleled crust that conventional ovens struggle to match. The intense, radiant heat and unique environment of a wood-fired oven can elevate your homemade loaves from good to extraordinary. However, achieving that perfect, shatteringly crisp crust requires understanding and leveraging the specific characteristics of your oven. Here are essential tips to guide you on your journey to wood-fired sourdough perfection.
Mastering Your Wood-Fired Oven
Preheating and Heat Distribution
The foundation of great wood-fired sourdough is proper oven preheating. You need to build a significant heat reserve in the oven’s dome and floor. This often means burning a good fire for 2-3 hours, allowing the internal temperature to reach 700-800°F (370-425°C), and then letting it equalize. Once the flames have died down and the embers are pushed to the side, or completely removed for a ‘cool-down’ bake, the oven’s floor and dome will radiate heat evenly. A crucial step is to clean the oven floor thoroughly before baking to prevent burnt flour or ash from sticking to your bread.
Achieving Consistent Temperatures
While the initial temperature might be high, sourdough typically bakes best around 450-500°F (230-260°C). After your initial intense preheat, you’ll need to monitor the temperature carefully as it drops. Use an infrared thermometer to check the floor and dome temperatures. Often, it’s best to load your bread when the floor temperature is in the desired range, even if the dome is still hotter. The residual heat from the dome will provide the initial powerful spring, and the decreasing temperature will allow the crust to develop color without burning.

Dough Hydration and Shaping for Success
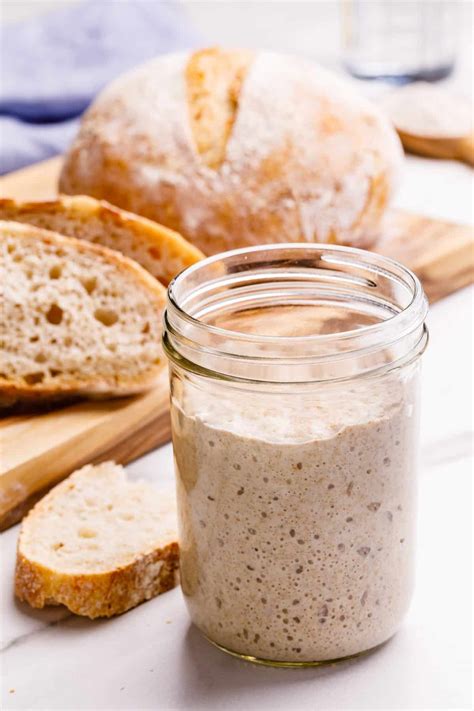
The Role of Hydration
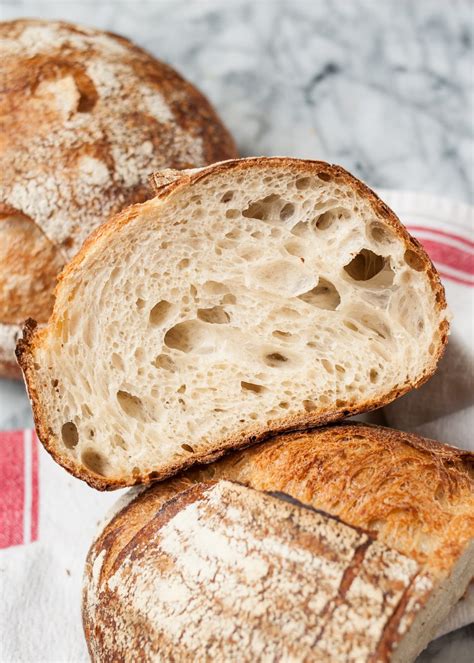
For a truly crusty loaf, a higher hydration dough (75-80% or even higher) is often beneficial. More water in the dough means more moisture to convert to steam during the initial bake, which helps prevent the crust from forming too quickly and allows for maximum oven spring. High hydration also contributes to a more open, airy crumb.
Proper Shaping Techniques
Even with high hydration, proper shaping is critical. Develop good surface tension in your dough during the final shape. A taut outer skin helps the loaf hold its structure and contributes to a better crust. Ensure your banneton is well-floured to prevent sticking, and score your dough just before loading to guide expansion and create visual appeal.
The Crucial Element: Steam
Creating a Steamy Environment
Steam is the secret weapon for a perfectly crusty sourdough. In a wood-fired oven, this can be challenging as they are typically very dry. One effective method is to use a large cast-iron Dutch oven or a cloche. Preheat it in the wood-fired oven until it’s scorching hot. Place your dough into the hot Dutch oven, put the lid on, and bake for the initial 20-25 minutes. The lid traps the moisture released from the dough, creating a steamy environment that prevents the crust from setting too soon, allowing for maximum rise and a thin, blistered crust.
Alternative Steam Methods
If you’re not using a Dutch oven, you can try placing a pan of water or ice cubes in the oven as you load the bread. Some bakers also spray the oven walls with water using a garden sprayer, though this can be less effective and potentially damaging to certain oven types. For best results, the Dutch oven method is highly recommended for consistent steam.

Baking Strategy and Final Touches
Oven Placement and Rotation
The heat distribution in a wood-fired oven is rarely perfectly even. Pay attention to where your firebox was or where embers are pushed. Place your bread in a spot that will allow for even baking. After the initial steamy phase (if using a Dutch oven, remove the lid), you may need to rotate your loaf every 10-15 minutes to ensure uniform browning. Watch for hot spots and adjust accordingly.
The Art of Cooling
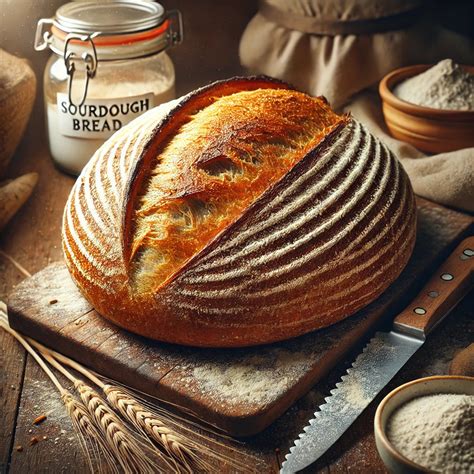
Once your sourdough has achieved a deep, golden-brown crust and registers around 200-210°F (93-99°C) internally, remove it from the oven. Resist the urge to cut into it immediately. Cooling is a critical step for crust development and crumb setting. Place the loaf on a wire rack for at least 1-2 hours (or longer for larger loaves). During this time, residual heat continues to cook the interior, and the crust dries out and becomes firm and crisp.
Conclusion
Baking crusty sourdough in a wood-fired oven is a rewarding craft that combines science, art, and a bit of intuition. By meticulously managing your oven’s temperature, focusing on proper dough hydration and shaping, creating an effective steamy environment, and patiently cooling your loaves, you’ll consistently produce bread with an unforgettable crust and an incredible depth of flavor. Enjoy the process, experiment with your specific oven, and savor every magnificent slice!


