


Tips for preventing soggy crust on homemade fruit pies, fresh from the garden?
There’s nothing quite like the taste of a homemade fruit pie, especially when it’s brimming with fresh, ripe produce straight from your garden. However, the joy can quickly turn to disappointment when you cut into a slice only to find a soggy, unbaked bottom crust. This common baking woe is entirely preventable! With a few strategic steps, you can achieve that coveted crisp, flaky crust that stands up beautifully to juicy fruit fillings.
Fruit Selection and Preparation
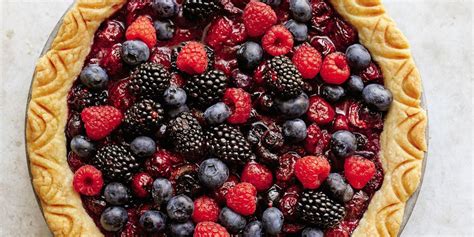
The journey to a perfect pie crust begins with the fruit itself. Overly ripe or watery fruits are major culprits for soggy bottoms. Choose fruits that are ripe but firm. For very juicy fruits like berries or stone fruit, consider macerating them with sugar for 30 minutes to an hour. This draws out excess liquid, which you can then drain off or reduce into a syrup to add back later, intensifying flavor without adding unwanted moisture.
Using the right thickener is also crucial. Flour, cornstarch, tapioca, or arrowroot starch all work to absorb fruit juices. Cornstarch provides a clear, glossy finish, while tapioca (especially instant tapioca) is excellent for fruit pies as it thickens well and holds up during freezing and thawing. Flour gives a more opaque filling. Be sure to mix your chosen thickener thoroughly with the fruit and sugar before adding it to the crust.
Blind Baking (Pre-baking) Your Crust
One of the most effective ways to prevent a soggy bottom is to partially bake your pie crust before adding the filling. This process, known as blind baking or pre-baking, sets the crust and creates a barrier against the fruit’s moisture.
- Roll out your pie dough and fit it into your pie plate. Crimp the edges as desired.
- Prick the bottom and sides of the crust thoroughly with a fork to prevent bubbling.
- Line the crust with parchment paper or foil, then fill it with pie weights, dried beans, or rice. These weights prevent the crust from shrinking or puffing up.
- Bake in a preheated oven (usually around 400°F/200°C) for 15-20 minutes, or until the edges are lightly golden.
- Remove the weights and parchment, and continue baking for another 5-10 minutes, or until the bottom looks dry and lightly golden. Let it cool completely before adding your fruit filling.

Creating a Moisture Barrier
Even if you blind bake, an extra layer of protection can make a significant difference. Before adding your filling to the pre-baked (or even unbaked) crust, consider adding a thin moisture barrier.
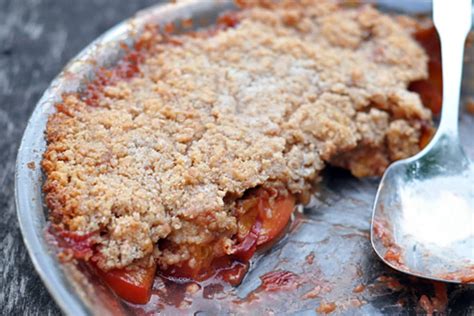
- Crumbs: A light dusting of crushed cornflakes, graham cracker crumbs, or even finely ground nuts (like almonds or walnuts) on the bottom of the crust can act as a sponge, absorbing excess moisture.
- Egg Wash: Brush the bottom of the pie crust with a lightly beaten egg white (or a whole egg) before blind baking. This creates a waterproof seal when baked, helping to keep the crust crisp.
- Cheese/Shortbread: Some recipes call for a thin layer of grated hard cheese or a pre-baked shortbread-like layer at the bottom for an even more robust barrier, especially for very wet fruit fillings.
Mastering Your Pie Dough
The foundation of any great pie is the dough itself. A well-made dough is less prone to sogginess.
- Keep Ingredients Cold: Ensure your butter or shortening and water are ice cold. This prevents the fat from melting into the flour too quickly, creating pockets of steam during baking that contribute to flakiness.
- Don’t Overwork the Dough: Overworking develops gluten, which can make the crust tough and less absorbent. Mix just until combined.
- Chill the Dough: After mixing, wrap your dough and chill it for at least 30 minutes (or longer). This relaxes the gluten, making the dough easier to roll and less likely to shrink.
- Roll Evenly: Roll your dough to a consistent thickness. Thin spots can overbake and burn, while thick spots might remain doughy.

Baking Temperature and Time
The right oven temperature and baking duration are critical for ensuring the bottom crust fully cooks and crisps up.
- Start High, Finish Lower: Many pie recipes recommend starting with a higher oven temperature (e.g., 425°F/220°C) for the first 15-20 minutes. This provides an initial burst of heat to set the crust quickly and encourages browning. After this initial period, reduce the temperature to a moderate level (e.g., 375°F/190°C) for the remainder of the baking time.
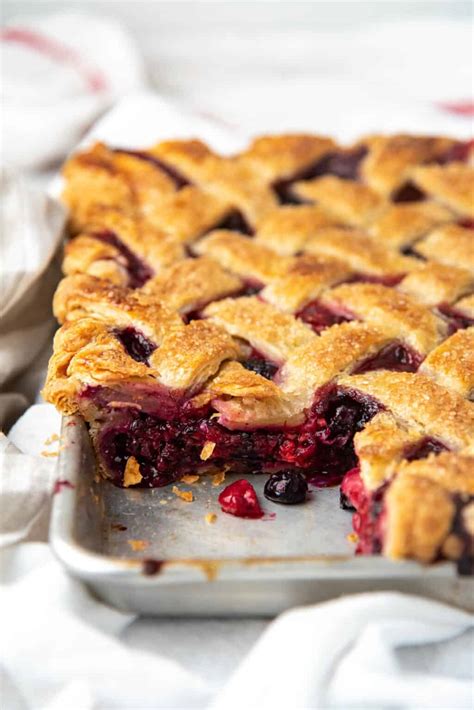
- Bake Until Deeply Golden: Don’t pull your pie out too soon. The crust, especially the bottom, should be deeply golden brown, not just lightly colored. If the top crust is browning too quickly, loosely tent it with foil.
- Check the Bottom: If possible, carefully lift the pie with a spatula to check the color of the bottom crust. If it’s pale, continue baking.

Cooling Is Key
Patience is a virtue when it comes to pie. Once your pie is out of the oven, resist the urge to cut into it immediately. Allow the pie to cool completely on a wire rack for several hours, or even overnight. This crucial step allows the filling to set properly and any residual steam to dissipate. Cutting into a hot pie traps steam, which can condense and re-saturate your perfectly baked crust.
By implementing these tips, you’ll be well on your way to baking beautiful, garden-fresh fruit pies with a perfectly crisp and flaky crust every time. Enjoy the fruits of your labor!


