


Tips for safely canning excess garden tomatoes for winter meals?
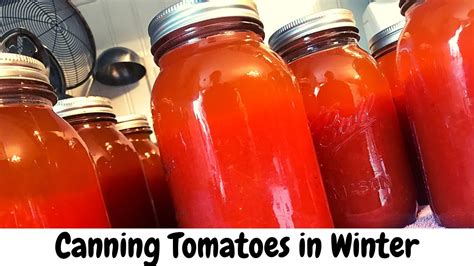
As summer wanes and your garden yields a bountiful harvest of ripe, juicy tomatoes, the thought of preserving that fresh flavor for colder months becomes a delicious necessity. Canning tomatoes is a rewarding way to capture the essence of your garden, providing a taste of summer for winter stews, sauces, and chilis. However, safety is paramount when it comes to home canning, especially with low-acid foods like tomatoes. This guide will walk you through the essential steps and crucial safety tips to ensure your canned tomatoes are not only delicious but also safe for your family to enjoy all winter long.
Why Can Tomatoes?
Canning allows you to enjoy your homegrown tomatoes long after the growing season has ended. Beyond the satisfaction of eating your own preserved produce, it helps reduce food waste, saves money on groceries, and provides healthy, additive-free ingredients for your winter cooking. Imagine the rich flavor of homemade tomato sauce or salsa in January!
Essential Equipment for Safe Canning
Before you begin, gather all necessary equipment. Having everything ready will streamline the process and ensure safety. You’ll need:
- Canning Jars: Mason jars specifically designed for canning, with new lids and bands.
- Canner: A large water bath canner with a rack for high-acid foods (like acidified tomatoes) or a pressure canner for low-acid foods (or tomatoes without added acid).
- Basic Tools: Jar lifter, canning funnel, headspace tool, bubble remover, clean towels.
- Ingredients: Fresh, ripe tomatoes, citric acid or lemon juice, salt (optional).
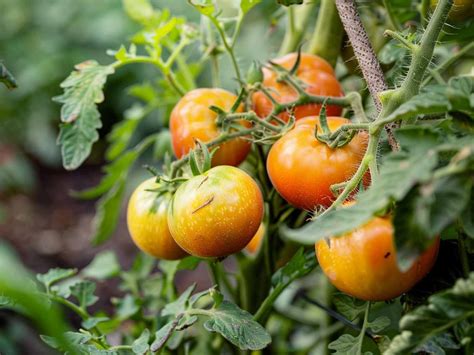
Selecting and Preparing Your Tomatoes
The quality of your canned tomatoes starts with the quality of the fresh produce. Choose firm, ripe, unblemished tomatoes. Avoid any with soft spots, mold, or disease. Wash tomatoes thoroughly under cool running water.
Next, you’ll need to peel and core them. A quick dip in boiling water for 30-60 seconds, followed by an ice bath, makes peeling a breeze. Core the tomatoes, and then you can chop, halve, or crush them depending on your intended use. Some recipes also call for deseeding, which can be done by squeezing gently or scooping out seeds.

The Crucial Step: Acidification
This is perhaps the most critical safety step for canning tomatoes. Tomatoes are on the border between high-acid and low-acid foods. Their acidity can vary depending on the variety, ripeness, and growing conditions. To ensure safety and prevent the growth of Clostridium botulinum bacteria (which thrives in low-acid, oxygen-free environments), all home-canned tomatoes must be acidified.
For pint jars, add 1 tablespoon of bottled lemon juice or 1/4 teaspoon of citric acid. For quart jars, add 2 tablespoons of bottled lemon juice or 1/2 teaspoon of citric acid. Do not use fresh lemon juice, as its acidity can vary. Add the acid directly to the bottom of the clean jar before filling with hot tomatoes.
Packing and Processing Your Jars
Hot Pack vs. Raw Pack
You can either hot pack (heat tomatoes before filling jars) or raw pack (fill jars with raw tomatoes and then heat in the canner). Hot packing generally results in a better quality product with less “floating” of solids and better headspace retention. Fill jars, leaving 1/2 inch headspace. Remove air bubbles with a non-metallic spatula or bubble remover, adjust headspace if necessary, and clean jar rims thoroughly.
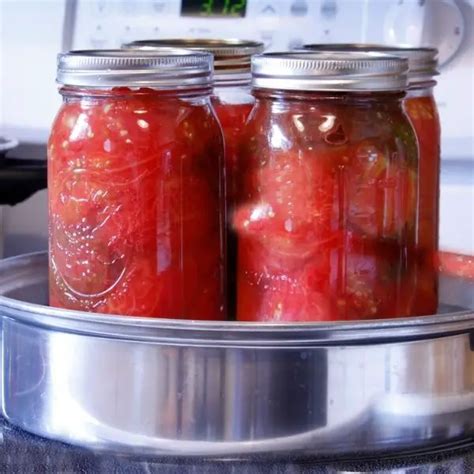
Water Bath Canning
For acidified tomatoes, a boiling water bath canner is sufficient. Ensure jars are fully submerged in boiling water (at least one inch of water above the jar tops). Process for the time specified by a tested recipe (e.g., USDA or university extension recipes), adjusting for altitude. Processing times vary by tomato form (whole, crushed, juice) and jar size.
Pressure Canning (Optional but Recommended for Some)
While acidified tomatoes can be safely processed in a water bath, pressure canning offers an extra layer of safety, particularly if you are unsure about the acidity of your tomatoes or want to process them without adding acid (which is generally not recommended for beginners). Always follow precise pressure canning instructions for your specific canner and altitude.
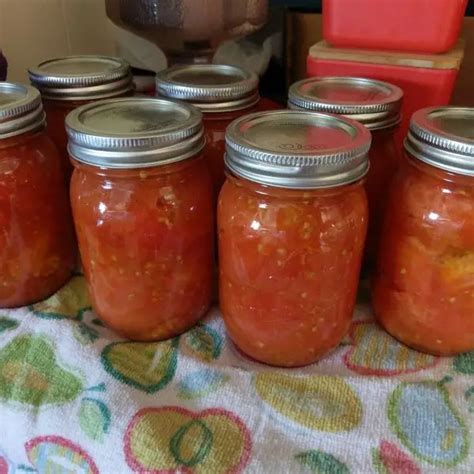
Sealing, Cooling, and Storage
Once processing is complete, carefully remove jars from the canner with a jar lifter and place them on a towel-lined surface in a draft-free area, leaving space between jars. Do not disturb them for 12-24 hours. You should hear the “ping” sound as lids seal. Check seals after 24 hours: the center of the lid should be concave and not flex when pressed. If any jar hasn’t sealed, refrigerate and use within a few days, or reprocess within 24 hours with a new lid.
Label your sealed jars with the contents and date. Store them in a cool, dark, dry place away from direct sunlight or freezing temperatures. Canned tomatoes are best consumed within one year for optimal quality.
Common Canning Mistakes to Avoid
- Ignoring Acidification: Never skip adding acid to tomatoes.
- Using Damaged Jars/Lids: Always use canning-specific jars and new lids for each batch.
- Improper Headspace: Too little can prevent a seal; too much can lead to discolored food.
- Not Adjusting for Altitude: Processing times need to be increased at higher altitudes.
- Over-tightening Bands: Can buckle lids and prevent proper sealing. Tighten to fingertip-tight.
- Reprocessing Multiple Times: Only reprocess once if a jar doesn’t seal, using a new lid.
- Not Following Tested Recipes: Always use recipes from reputable sources like the USDA, university extension offices, or recognized canning guides.
Enjoy Your Winter Bounty
Canning your garden tomatoes is a skill that brings immense satisfaction and culinary rewards. By adhering to these safety guidelines and using tested recipes, you can confidently preserve the vibrant flavor of summer’s harvest, ensuring your pantry is stocked with wholesome, homemade ingredients for delicious winter meals. Happy canning!


