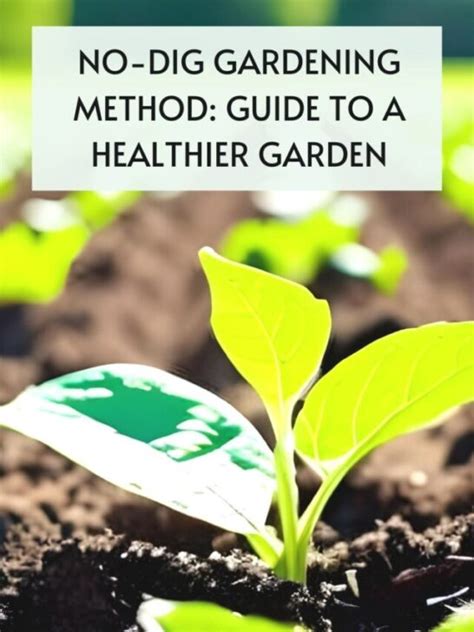
Tips for starting a no-dig garden for organic vegetable growing?
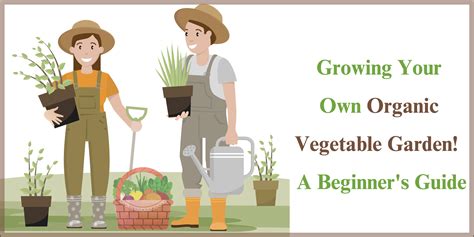
Embracing the No-Dig Revolution for Healthy Organic Vegetables
No-dig gardening is a revolutionary approach that prioritizes soil health and minimizes disturbance, leading to more fertile soil, fewer weeds, and healthier organic vegetables. Far from being a lazy gardener’s shortcut, it’s a smart, sustainable method that works with nature to build a thriving ecosystem right in your backyard. If you’re looking to start an organic vegetable patch with less back-breaking work and better results, the no-dig method is an excellent choice.
Why Choose No-Dig Gardening?
Traditional gardening often involves extensive digging, which can disrupt the delicate soil structure and beneficial microbial life. No-dig, however, focuses on layering organic materials on top of existing soil. This approach offers numerous benefits:
- Improved Soil Structure: Layers decompose naturally, creating a rich, crumbly soil structure.
- Enhanced Biodiversity: Less disturbance encourages a thriving ecosystem of earthworms, fungi, and bacteria.
- Weed Suppression: The initial layers effectively smother existing weeds.
- Water Retention: High organic matter content helps soil retain moisture, reducing watering frequency.
- Reduced Effort: No need for strenuous digging, making gardening more accessible.
- Healthier Plants: Plants grown in rich, undisturbed soil are generally more robust and disease-resistant.
Getting Started: Essential Steps
Starting a no-dig garden is simpler than you might think. Here’s a step-by-step guide to get your organic vegetable patch flourishing:
1. Choose Your Location Wisely
Select a sunny spot that receives at least 6-8 hours of direct sunlight daily. Ensure it has good drainage and is easily accessible for watering and harvesting. You can create your no-dig bed directly on grass, weeds, or even an existing paved area.
2. Gather Your Materials
The beauty of no-dig lies in using readily available organic materials. You’ll need:
- Cardboard: Unwaxed, undyed, with all tape removed. This forms the base layer to suppress weeds.
- Compost: The heart of your no-dig bed. Use well-rotted garden compost, mushroom compost, or a good quality organic potting mix.
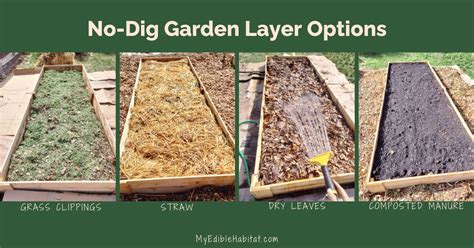
- Organic Matter: Shredded leaves, straw, untreated wood chips, grass clippings (in moderation), and aged manure can be used in lower layers.
- Water: Essential for moistening layers as you build.
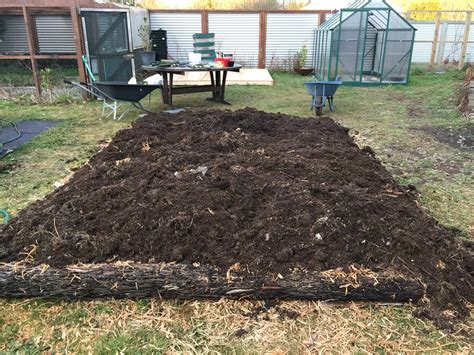
3. Prepare the Base Layer
Lay down a thick layer of cardboard directly over your chosen area, overlapping the edges significantly to prevent weeds from popping through. Wet the cardboard thoroughly as you go; this helps it break down and attracts earthworms. This layer acts as a weed barrier and slowly decomposes, feeding the soil below.
4. Build Up the Layers
Now comes the fun part – layering! While there’s no single “right” way, a common sequence involves:
- Initial Organic Matter (Optional but Recommended): If you have a lot of bulky organic waste (e.g., small branches, wood chips, coarse straw), a thin layer can go down after the cardboard.
- Green/Brown Layers: Alternate layers of “green” (nitrogen-rich like grass clippings, food scraps) and “brown” (carbon-rich like straw, dried leaves). Keep these layers relatively thin, about 2-4 inches each.
- Compost Layer: This is the most crucial layer. Add a substantial layer of high-quality, well-rotted compost, ideally 6-12 inches deep. This is where your plants will primarily grow and where most of the nutrients will be found.
Moisten each layer as you add it to encourage decomposition and microbial activity. The finished bed should be at least 12-18 inches high initially, as it will settle over time.
5. Planting Your Organic Vegetables
Once your bed is built, you can plant almost immediately! Create small depressions in the top compost layer for your seeds or seedlings. Ensure good contact between the plant roots and the compost. Water well after planting.
6. Ongoing Maintenance for a Thriving Garden
- Top Up Compost: Each year, ideally in autumn or spring, add another 2-4 inches of fresh compost to the surface of your beds. This continuously feeds the soil and replaces nutrients.
- Mulching: Apply a layer of organic mulch (straw, leaves, wood chips) around your plants. This conserves moisture, suppresses weeds, and further enriches the soil as it breaks down.
- Watering: While no-dig beds retain moisture well, consistent watering is still essential, especially during dry spells and for young plants.
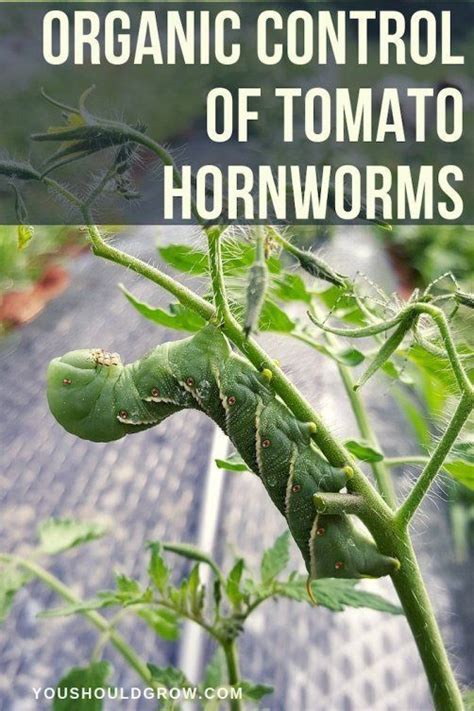
- Pest and Disease Management: Healthy soil leads to healthy plants, which are naturally more resistant. Practice good crop rotation and encourage beneficial insects.
Benefits Beyond the Harvest
Beyond bountiful organic vegetables, a no-dig garden fosters a deeper connection to nature and promotes environmental stewardship. By improving soil health, you contribute to carbon sequestration, support local ecosystems, and reduce your reliance on synthetic fertilizers and pesticides. It’s a garden that gives back in more ways than one, making gardening a truly rewarding experience for both you and the planet.

Conclusion
Starting a no-dig garden for organic vegetable growing is an accessible and highly effective way to cultivate a productive and healthy garden. With a little initial preparation and a commitment to feeding your soil, you’ll soon be enjoying delicious, chemical-free produce with less effort and a greater sense of satisfaction. Embrace the layers, nurture your soil, and watch your organic garden flourish!