Top tips for beginners on canning garden tomatoes safely at home?

Embrace the Harvest: Safe Home Canning for Beginners
There’s nothing quite like the taste of homegrown tomatoes, and preserving that fresh flavor to enjoy year-round is a rewarding experience. Canning your own garden tomatoes can seem daunting for beginners, but by following a few critical safety guidelines and steps, you can confidently stock your pantry with delicious, safely processed jars.
Why Can Your Own Tomatoes?
Canning allows you to enjoy the peak season’s bounty long after the garden stops producing. It’s a fantastic way to control ingredients, avoid additives found in store-bought products, and enjoy the satisfaction of a well-stocked pantry. For tomatoes, this means fresh salsa bases, pasta sauces, and diced tomatoes ready for any recipe, all year long.
Essential Equipment You’ll Need
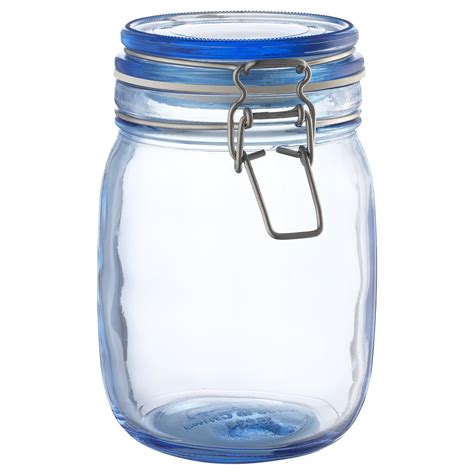
Before you begin, gather your tools. Investing in quality canning equipment is crucial for safety and efficiency. You’ll need:
- A large water bath canner with a rack
- Canning jars (pint or quart size) with new lids and bands
- Jar lifter, canning funnel, bubble remover/headspace tool
- Large pots for preparing tomatoes
- Bowls, knives, and cutting boards
- Measuring spoons and cups
- Clean towels
Ensure all your equipment is clean and in good working order before you start. New lids are essential for a proper seal, while bands can be reused if they are rust-free.
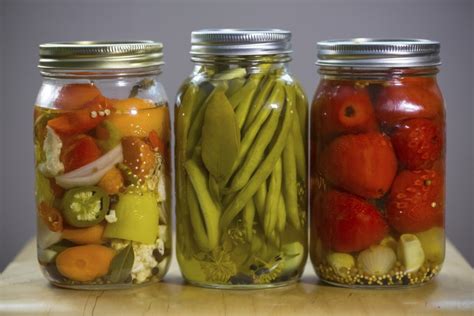
Tomato Selection and Preparation
The success of your canned tomatoes starts with the quality of your produce. Choose ripe, firm, blemish-free tomatoes. Avoid overripe or damaged tomatoes, as they can compromise the safety and flavor of your canned goods. Wash your tomatoes thoroughly under cool running water. For most canning recipes, you’ll need to peel and core your tomatoes. This can be done by briefly blanching them in boiling water, then transferring them to an ice bath to loosen the skins.
The Crucial Step: Acidification
Tomatoes are a borderline acidic food, meaning their pH can vary. To ensure safe water bath canning and prevent the growth of harmful bacteria like Clostridium botulinum, you MUST add acid to your jars. This is not optional for tomatoes. For pint jars, add 1 tablespoon of bottled lemon juice or 1/2 teaspoon of citric acid. For quart jars, add 2 tablespoons of bottled lemon juice or 1 teaspoon of citric acid. You can also use vinegar (5% acidity), but it might alter the flavor more significantly. Always use bottled lemon juice, as its acidity is standardized, unlike fresh lemon juice.
Step-by-Step Water Bath Canning Process
1. Sterilize Jars and Lids
Wash jars in hot, soapy water and rinse well. Keep them hot (in simmering water or a dishwasher cycle) until ready to fill. New lids should be simmered in water according to manufacturer instructions; do not boil them.
2. Pack Tomatoes
Prepare your tomatoes according to your recipe (whole, halved, diced, or crushed). Pack them tightly into hot jars, leaving adequate headspace (usually 1/2 inch) as specified in your recipe.
3. Add Acid and Liquid
Add the required amount of lemon juice or citric acid to each jar. If your recipe calls for it, you can add hot water or tomato juice to cover the tomatoes, maintaining the correct headspace.
4. De-bubble and Clean Rims
Run a non-metallic utensil (like the bubble remover tool) around the inside of the jar to release any trapped air bubbles. Adjust headspace if necessary. Wipe jar rims clean with a damp paper towel; any food residue can prevent a proper seal.
5. Process in Water Bath
Place lids and screw bands on fingertip-tight. Carefully lower jars onto the rack in your water bath canner, ensuring jars are covered by at least 1-2 inches of water. Bring the water to a rolling boil and process for the time specified in your tested recipe, adjusting for altitude.

Post-Canning Safety and Storage
Once processing is complete, turn off the heat and remove the canner lid. Let jars sit in the hot water for 5 minutes before carefully removing them with a jar lifter and placing them on a towel-lined surface, away from drafts. Do not tighten bands. Let them cool undisturbed for 12-24 hours. After cooling, check seals: lids should be concave and not flex when pressed. If a lid does not seal, refrigerate and use within a week, or reprocess with a new lid within 24 hours. Remove bands, wash jars, label with contents and date, and store in a cool, dark, dry place.

Final Safety Tips for Success
- Always Use Tested Recipes: Never rely on old family recipes that haven’t been tested by reliable sources like the USDA or university extension services. Canning is a science, not an art, when it comes to safety.
- Don’t Cut Corners: Follow every step precisely. Skipping acidification or reducing processing times can lead to dangerous outcomes.
- Inspect Jars: Before opening, always check that the seal is intact. If there’s any sign of spoilage (bulging lids, mold, off-odor), discard the contents immediately.
With careful attention to detail and adherence to tested methods, you’ll be well on your way to enjoying the fruits of your labor safely and deliciously. Happy canning!