


What’s the most efficient DIY composting bin design for kitchen scraps?
Turning Kitchen Scraps into Garden Gold: Why DIY Composting?
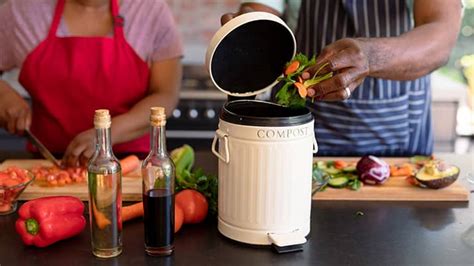
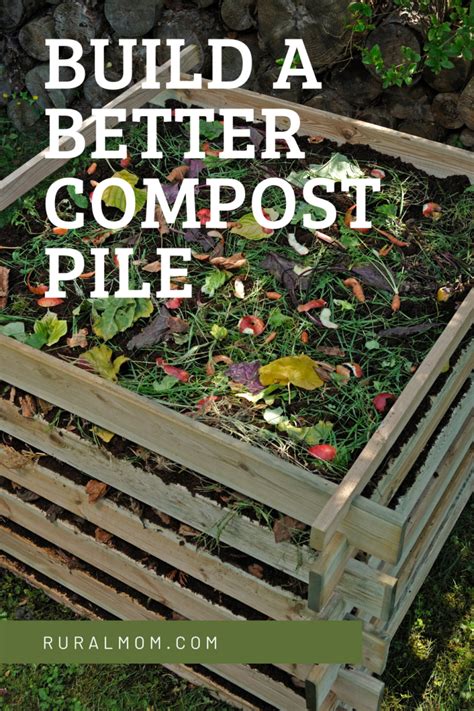
Transforming your daily kitchen waste into valuable, nutrient-rich compost is one of the most rewarding and environmentally friendly DIY projects you can undertake. Not only does it divert organic material from landfills, reducing methane emissions, but it also creates a free, potent fertilizer for your garden, improving soil structure and plant health. The key to successful composting, especially with kitchen scraps, lies in an efficient bin design that balances aeration, moisture, and ease of access.
Key Design Principles for Optimal Composting
Before diving into specific designs, understanding the fundamental principles of efficient composting will help you choose or build the best bin for your needs:
- Aeration: Compost piles need oxygen to thrive. Designs that allow for good airflow or easy turning are crucial for preventing anaerobic conditions (which lead to foul odors).
- Moisture Retention: The pile should be damp, like a wrung-out sponge. Designs that prevent excessive drying out or waterlogging are ideal.
- Pest Control: A good bin should be enclosed or elevated to deter rodents and other pests attracted to food waste.
- Ease of Access & Turning: You’ll be adding scraps regularly and ideally turning the pile. The design should make both tasks simple.
- Size: It needs to be large enough to generate heat for decomposition but not so large that it’s unmanageable for kitchen scraps alone.
Top DIY Composting Bin Designs for Kitchen Scraps
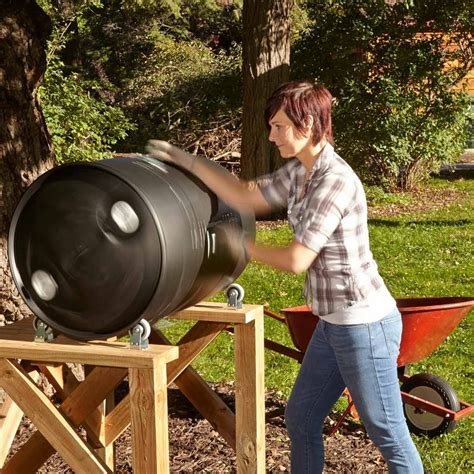
1. The Tumbling Composter (Rotary Bin)
Concept: A sealed, often elevated, drum-shaped container that rotates on an axle. You add scraps, close it, and spin it periodically to mix and aerate the contents.
- Pros: Excellent aeration with minimal effort, faster decomposition due to frequent mixing, good pest deterrence, aesthetically pleasing, elevated for easy loading/unloading.
- Cons: Can be costly if bought; DIY versions require some construction skill (e.g., using a plastic barrel, pipes, and a frame). Limited capacity.
- Ideal For: Those who want fast compost, minimal manual labor, and good pest control. Excellent for a steady supply of kitchen scraps.
2. Vermicomposting (Worm Bin)
Concept: A system where specific types of worms (like Red Wigglers) break down organic material. Usually involves stacked trays or a single large bin with drainage.
- Pros: Extremely efficient for kitchen scraps (worms love them!), produces nutrient-rich worm castings, virtually no odors if managed correctly, can be done indoors or outdoors, very compact.
- Cons: Requires managing live creatures, sensitive to temperature extremes, can’t handle large amounts of woody material or meat/dairy.
- Ideal For: Apartment dwellers, small spaces, those who want a continuous supply of highly potent fertilizer, and don’t mind caring for worms.
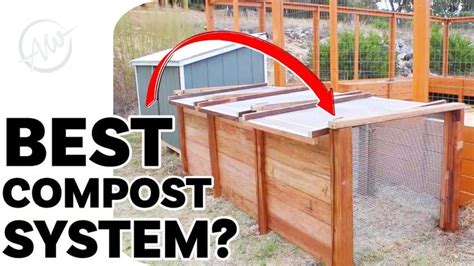
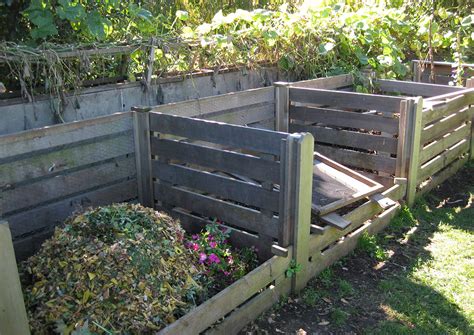
3. Simple Stackable Bins (Pallet or Cinder Block)
Concept: A series of two or three interconnected bins, often made from repurposed pallets, wooden planks, or cinder blocks. You move material from the first bin (active composting) to the second (curing) and then the third (ready compost).
- Pros: Very cost-effective to build, good capacity for larger volumes (can combine kitchen scraps with garden waste), allows for excellent airflow, easy to turn.
- Cons: Takes up more space, less pest-proof than sealed bins, requires more manual turning/transferring.
- Ideal For: Gardeners with more outdoor space, those who want to combine kitchen scraps with garden waste, and value low-cost, robust designs.
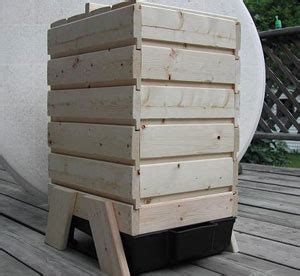
4. DIY Continuous Flow Composter
Concept: A vertical bin, often a repurposed trash can or a custom-built wooden tower, with an opening at the bottom to harvest finished compost and an opening at the top for adding new material. The material slowly migrates downwards, decomposing as it goes.
- Pros: Continuous supply of compost, minimal turning required (gravity does the work), relatively compact, good for pest deterrence if properly sealed.
- Cons: Decomposition can be slower than tumblers, harder to aerate the middle layers effectively.
- Ideal For: Those who prefer a ‘set it and forget it’ approach and need a steady trickle of compost.
Choosing Your Perfect Design and Maintaining Success
The “most efficient” design ultimately depends on your specific needs: available space, desired speed of composting, budget, and willingness to interact with the bin. For sheer efficiency with kitchen scraps in a compact, low-odor setup, vermicomposting or a well-built tumbling composter often takes the lead.
Regardless of the design, consistent maintenance is key:
- Balance Green & Brown: Aim for a good mix of nitrogen-rich ‘greens’ (kitchen scraps) and carbon-rich ‘browns’ (shredded cardboard, dry leaves).
- Keep it Moist: Water if too dry; add more browns if too wet.
- Turn or Aerate: Ensure oxygen circulates.
- Avoid Problematic Items: No meat, dairy, oily foods, or diseased plants to deter pests and odors.
Embracing DIY composting is a fantastic step towards sustainable living. With the right design and a little care, you’ll be enjoying the benefits of homemade compost in no time.


