What’s the secret to perfectly flaky, buttery homemade pie crust for country pies?
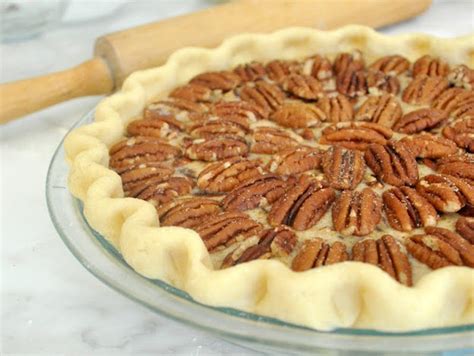
There’s something uniquely satisfying about a country pie, and its soul often lies in the crust: tender, flaky, and rich with the unmistakable taste of real butter. While store-bought crusts offer convenience, achieving that coveted homemade perfection is well within your grasp with a few fundamental secrets. Forget intimidation; embrace the art of the perfect pie crust.
The Essential Ingredients: Quality and Temperature are Key
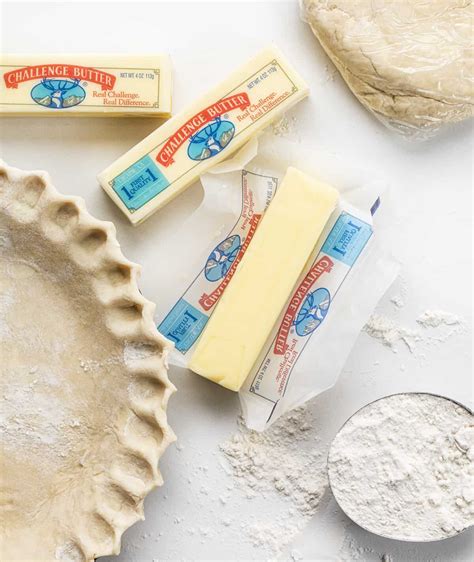
The foundation of a great pie crust begins with your ingredients, and their temperature. Always opt for high-quality unsalted butter; its fat content and flavor are unparalleled. Ensure it’s cut into small pieces and kept exceptionally cold—even frozen for a few minutes before use. All-purpose flour is standard, while a pinch of salt enhances flavor, and ice-cold water is crucial for binding without overdeveloping gluten.
Mastering the Method: Cold Hands, Quick Work
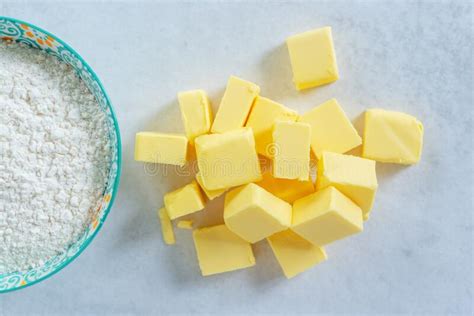
The goal is to integrate the cold butter into the flour in such a way that distinct pieces of fat remain. These butter pockets are what create the steam during baking, separating the layers of dough into beautiful flakes. Whether you use a pastry blender, two knives, or or even a food processor (pulsing sparingly!), work quickly to avoid warming the butter with your hands. The mixture should resemble coarse meal with some pea-sized pieces of butter still visible.
Next, add ice water a tablespoon at a time, mixing just until the dough comes together. It should be shaggy but hold together when squeezed. Over-hydrating or over-mixing will lead to a tough, inelastic crust. Remember, less is more when it comes to handling pie dough.
The Crucial Role of Chilling
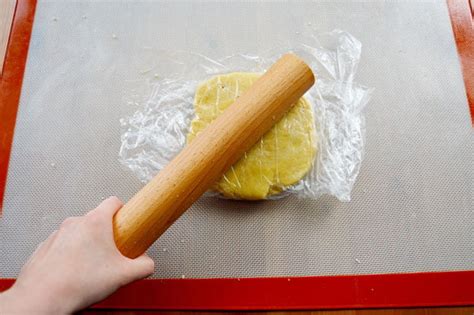
Chilling is arguably the most vital step. Once your dough is loosely formed into a disc, wrap it tightly in plastic wrap and refrigerate for at least 30 minutes, or preferably an hour or two. This rest period allows the gluten to relax, making the dough easier to roll. It also solidifies the butter, ensuring those precious fat pockets don’t melt prematurely when you start rolling. A second chill after the crust is in the pie plate further prevents shrinkage and helps maintain its shape.

Rolling Out Perfection: Gentle and Even
When it’s time to roll, work on a lightly floured surface. Start from the center and roll outwards, rotating the dough frequently to prevent sticking and to create an even thickness. Avoid pressing down too hard or overworking the dough, which can develop gluten and make your crust tough. Aim for about an 1/8-inch thickness for a sturdy yet tender crust that will stand up to hearty country fillings.
Baking for Maximum Flakiness and Golden Hue
For many country pies, especially those with wet fillings, blind baking the crust partially or fully is essential to prevent a soggy bottom. Prick the bottom with a fork, line with parchment paper, and fill with pie weights or dried beans. Start baking at a higher temperature (e.g., 400°F/200°C) for the first 15-20 minutes, then reduce it. This initial blast of heat helps set the butter layers quickly, promoting maximum puff and flakiness. Keep an eye on the edges; if they brown too quickly, cover them with foil.
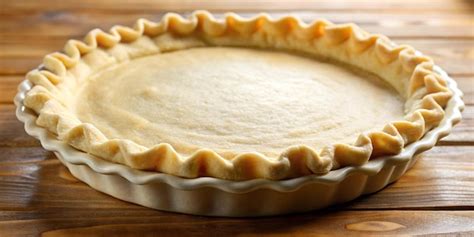
With these secrets—cold ingredients, minimal handling, ample chilling, and smart baking—you’re well on your way to crafting a homemade pie crust that’s not just good, but truly unforgettable. Your country pies will thank you, one buttery, flaky bite at a time.