


What’s the trick to perfectly flaky homemade pie crust every time?

The Quest for Flaky Perfection
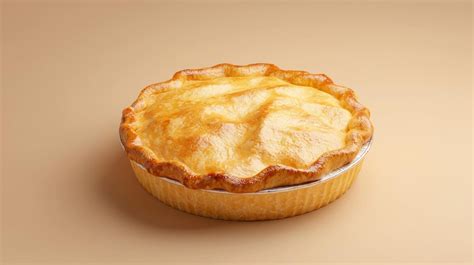
There’s nothing quite like the satisfaction of a homemade pie, and at the heart of every great pie is a perfectly flaky crust. It’s the golden, tender, and airy foundation that cradles your delicious filling, and while it might seem intimidating, achieving that coveted flakiness every time is entirely within your reach. It all comes down to a few fundamental principles and careful execution.
Many home bakers struggle with crusts that turn out tough, crumbly, or simply not light enough. The good news is that the ‘trick’ isn’t a secret family recipe or an advanced technique; rather, it’s a combination of understanding your ingredients and respecting the dough.

The Cornerstone: Cold Ingredients & Quality Fat
The number one rule for a flaky crust is cold, cold, cold. Every ingredient, from your butter or shortening to your water, should be as chilled as possible. Cold fat is crucial because it creates pockets of steam during baking. As these tiny pockets expand, they separate the layers of dough, resulting in that delightful flakiness. If your fat melts before baking, you’ll end up with a greasy, dense crust.
When it comes to fat, a blend of unsalted butter and shortening often yields the best results. Butter provides superior flavor and browning, while shortening contributes to tenderness and helps maintain structure at higher temperatures. All-butter crusts are delicious but can be trickier to work with, especially for beginners.
Flour Power and Hydration Control
- Flour: Use all-purpose flour. Don’t overmix it, as this develops gluten, leading to a tough crust.
- Water: Ice-cold water is essential. Add it slowly, just enough to bring the dough together. Too much water makes the dough sticky and tough; too little will make it crumbly.

Mastering the Mixing Technique
The way you incorporate the fat into the flour is critical. The goal is to cut the cold fat into the flour until you have a mixture of different-sized pieces. Some should be pea-sized, others as small as oats, and a few slightly larger. These varying sizes are what create those distinct flaky layers.
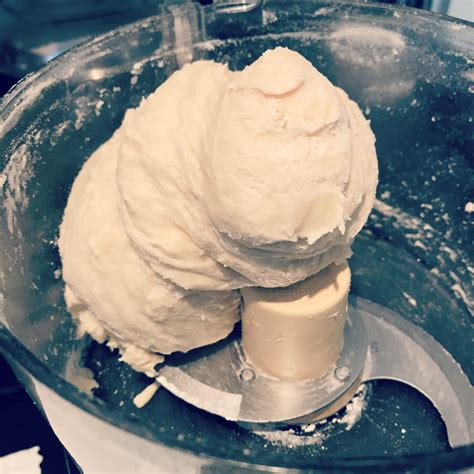
You can use a pastry blender, two knives, or even your fingertips (working quickly to avoid warming the butter) to cut in the fat. A food processor can also work, but be very careful not to over-process, as this can turn the fat into a paste and develop too much gluten. Pulse only a few times until the desired texture is reached.
Minimal Handling is Key
Once the water is added, mix just until the dough barely comes together. Overworking the dough develops gluten, which makes the crust tough and elastic. Instead of kneading, gently bring the shaggy dough together into a disk. The less you handle it, the more tender your crust will be.
The Crucial Chill and Rolling Strategy
After forming your dough into a disk, wrap it tightly in plastic wrap and refrigerate it for at least 30 minutes, or preferably an hour or two. This chilling period allows the gluten to relax (again, preventing toughness) and the fat to firm up. It also gives the flour time to fully hydrate, making the dough easier to roll.
When rolling, work on a lightly floured surface. Roll from the center outwards, rotating the dough frequently to prevent sticking and ensure an even thickness. If the dough starts to crack, gently pinch it back together. If it gets too warm and soft, pop it back into the fridge for 10-15 minutes. Aim for a consistent thickness of about 1/8 inch.
Baking for Optimal Flakiness
Many recipes call for blind baking (pre-baking) your pie crust, especially for custard or fresh fruit pies. This helps prevent a soggy bottom and ensures the crust is fully cooked. Line the chilled dough with parchment paper, fill with pie weights or dried beans, and bake until the edges are set. Remove the weights and parchment, then continue baking until the bottom is lightly golden.
When baking your filled pie, ensure your oven is preheated to the correct temperature. A slightly higher initial temperature can help the fat pockets expand quickly, promoting flakiness, before reducing the heat to finish baking. Keep an eye on the edges of the crust; if they start to brown too quickly, cover them loosely with aluminum foil.
Troubleshooting Common Pitfalls
- Tough Crust: Likely due to overworking the dough or adding too much water.
- Greasy/Dense Crust: Fat was too warm, melting into the flour instead of staying in distinct pieces.
- Crumbly Dough: Not enough water, or ingredients weren’t properly integrated.
- Soggy Bottom: Not blind-baking, or the filling was too wet.
Your Flaky Future Awaits
Achieving a perfectly flaky homemade pie crust every time isn’t a mystical art but a science rooted in cold ingredients, careful technique, and minimal handling. Practice makes perfect, so don’t be discouraged if your first attempt isn’t exactly what you envisioned. With these tips in mind, you’re well on your way to baking beautiful, flaky, and utterly delicious homemade pies that will impress everyone at your table.