When to harvest and cure garlic for long-term homestead storage?
Understanding the Optimal Harvest Window for Garlic
For homesteaders and home gardeners, the satisfaction of growing your own garlic is unmatched, but its long-term storage success hinges entirely on perfect timing for harvest and proper curing. Harvesting too early or too late can significantly impact both the size and the storage life of your bulbs.
The tell-tale sign that your garlic is ready for harvest is when the lower leaves begin to yellow and brown, but there are still 3-5 green leaves remaining on the plant. This usually occurs in late spring or early summer, depending on your climate and the variety of garlic you’re growing. Waiting until all the leaves are brown means the outer wrappers may have disintegrated, exposing the cloves and making them more susceptible to disease during storage.
The Gentle Art of Harvesting Garlic
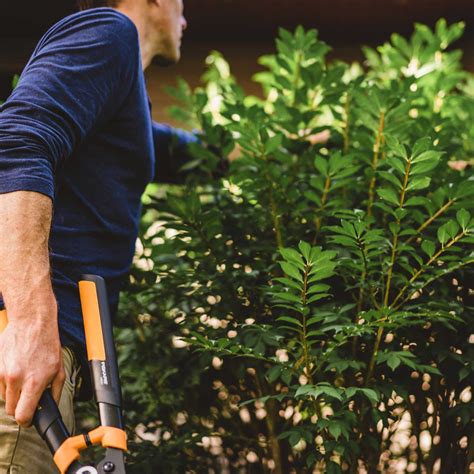
Once you’ve determined your garlic is ready, the harvesting process itself requires care. Resist the urge to simply pull the plants from the ground, as this can easily snap the stems from the bulbs or bruise the cloves, reducing their storage potential. Instead, use a garden fork or spade to gently loosen the soil around the bulbs, then carefully lift them from the earth.
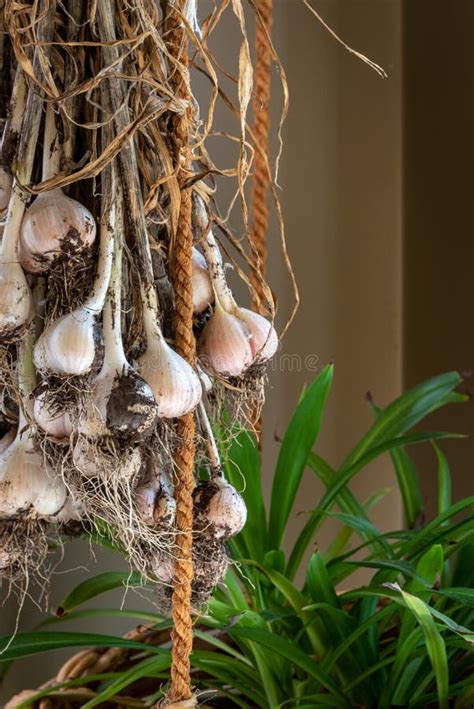
Shake off any loose soil, but do not wash the bulbs. Excess moisture can encourage rot during the curing process. Leave the roots and stems intact for now; they will play a role in the curing.
The Crucial Step of Curing Your Garlic
Curing is not just a fancy term; it’s a vital process that prepares your garlic for extended storage. It involves drying the outer layers and necks of the garlic, which helps seal in the flavor and creates a protective barrier against moisture and disease. Without proper curing, garlic bulbs will quickly spoil.
For successful curing, you need a location that is warm (ideally 75-85°F or 24-29°C), dry, and has excellent air circulation, away from direct sunlight. Good options include a shaded porch, an airy garage, or a well-ventilated shed. You can hang the garlic in small bundles (about 4-6 plants) or spread them out on screens or racks, ensuring air can circulate all around them.
The curing process typically takes 2-4 weeks. You’ll know your garlic is fully cured when the outer wrappers are papery and dry, the neck where the leaves meet the bulb is completely shriveled and dry, and the roots are brittle.
Preparing Cured Garlic for Long-Term Storage
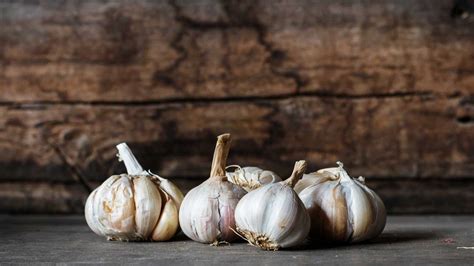
After curing, your garlic is almost ready for its long sleep. First, you’ll need to trim the roots and stems. Use sharp shears to snip off the roots close to the bulb. For the stems, you can either cut them down to about 1-2 inches above the bulb, or leave them long if you plan to braid your garlic.
The ideal conditions for long-term garlic storage are cool (50-60°F or 10-15°C), dark, and dry, with good air circulation. Avoid storing garlic in the refrigerator, as the cold can signal the cloves to sprout. Humidity is also an enemy, as it can encourage mold and rot.
Mesh bags, old nylon stockings, or open baskets work well for storage, allowing air to circulate around the bulbs. Braiding the long stems of hardneck varieties is also a traditional and attractive storage method.
Maximizing Your Homestead Garlic Supply
By carefully following these steps for harvesting and curing, you can significantly extend the life of your homegrown garlic, often keeping it fresh and flavorful for 6-12 months, or even longer for some varieties. This allows you to enjoy the fruits of your labor long after the gardening season has ended, providing a steady supply of this culinary staple from your own homestead.