When to harvest winter squash for optimal long-term storage?
For home gardeners, there’s immense satisfaction in storing a bounty of winter squash to enjoy throughout the colder months. However, the secret to truly long-lasting squash isn’t just in the variety; it’s meticulously tied to the timing of your harvest. Picking too soon compromises flavor and storage life, while waiting too long risks frost damage. Understanding the precise indicators of ripeness is paramount for ensuring your harvest remains firm, flavorful, and free from spoilage for many months.
The Critical Signs of Ripeness
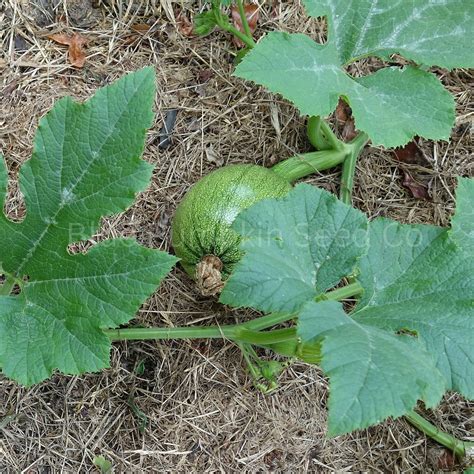
Determining the optimal harvest time for winter squash involves observing several key indicators. The most crucial sign is the hardening of the skin. A ripe winter squash will have a tough rind that resists being punctured by a fingernail. If you can easily indent or scratch the skin, the squash is likely not ready and its sugars haven’t fully developed, nor has its protective outer layer completely formed for storage.
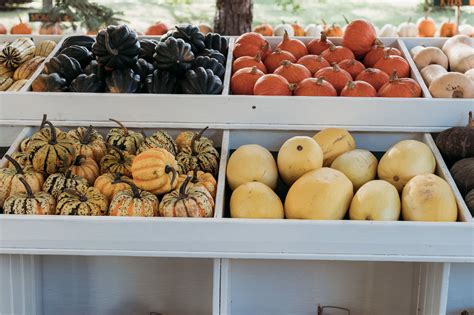
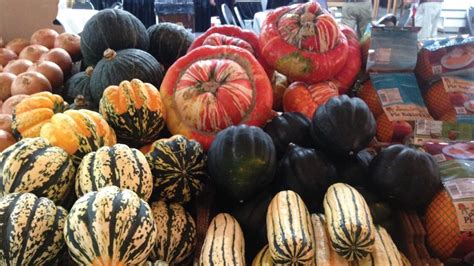
Another reliable sign is the change in color. Most winter squash varieties, like butternut, acorn, and spaghetti squash, will develop a deep, uniform color characteristic of their mature state. For instance, butternut squash will turn a rich tan, and acorn squash will be dark green with perhaps an orange spot where it rested on the ground. Pale or patchy coloration often indicates immaturity.
Pay close attention to the stem. A mature winter squash will develop a hard, dry stem that often starts to shrivel and change color, sometimes turning corky. This natural process signifies that the squash has stopped receiving nutrients from the vine and is ready to be independent. If the stem is still green and pliable, the squash is likely still actively growing.
Timing Your Harvest: Before the Frost
While patience is a virtue, it’s essential not to wait too long. Winter squash must be harvested before the first hard frost. Frost can severely damage the skin, creating soft spots and significantly reducing its storage potential. A light, “kissing” frost might be tolerable for some varieties if they are otherwise fully mature, but a hard freeze will ruin them. Keep an eye on your local weather forecast as late summer transitions into fall and plan your harvest accordingly.
Generally, most winter squash varieties are ready for harvest 75 to 120 days after planting, depending on the specific type. However, rather than relying solely on calendar days, prioritize the visual and tactile cues of ripeness for the best results.
The Importance of Curing

Once harvested, winter squash benefits greatly from a process called “curing.” Curing toughens the skin, heals any minor cuts or abrasions, and allows some of the starches within the squash to convert into sugars, enhancing flavor. This process significantly extends storage life.
To cure your squash, gently wipe off any dirt and then place them in a warm, well-ventilated area for 7 to 14 days. Ideal conditions for curing are temperatures between 80-85°F (27-29°C) with 70-80% humidity. A sunny porch, greenhouse, or even a warm room can work. Ensure good air circulation around each squash. Butternut and spaghetti squash benefit most from curing, while acorn squash prefers cooler, drier conditions for curing and should not be cured at high temperatures for extended periods.
Harvesting Techniques and Storage Tips
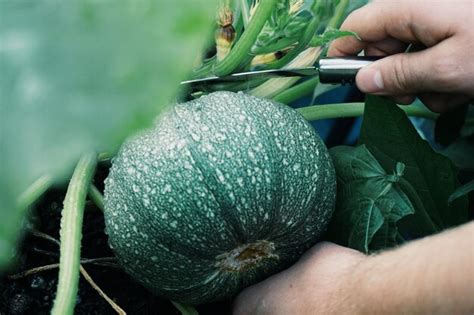
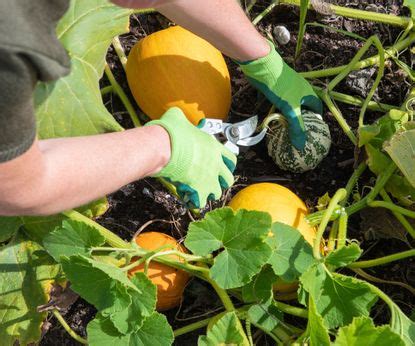
When harvesting, use a sharp knife or pruners to cut the squash from the vine, leaving at least 2 to 4 inches of stem attached. This stem acts as a natural seal, protecting the squash from rot and fungal infections during storage. Never carry or lift squash by its stem, as breaking it off can create an entry point for pathogens and drastically shorten its storage life. Handle each squash carefully to avoid bruising, which can also lead to premature spoilage.
After curing (or directly after harvest for acorn squash), store your winter squash in a cool, dark, and moderately dry place. Ideal storage temperatures range from 50-55°F (10-13°C) with 50-70% humidity. Basements, cool closets, or unheated spare rooms often provide suitable conditions. Ensure good air circulation by storing squash in a single layer, not stacked, and check them periodically for any signs of spoilage, removing affected squash promptly to prevent spread.
Conclusion
Mastering the art of harvesting winter squash for optimal long-term storage is a rewarding skill for any gardener. By diligently observing the signs of ripeness—hard skin, deep color, and a dry stem—and protecting your crop from early frosts, you set the stage for success. Followed by proper curing and thoughtful storage conditions, your efforts will ensure a delicious supply of homegrown goodness that lasts well into the winter and beyond, proving that good things truly do come to those who wait, but not too long!